DIY Nativity Display and pallet art tutorial
This year I’ve been trying to focus our Christmas more on service and celebrating the true meaning of Christmas. It’s so easy to get caught up in everything else. You may remember the 25 days of service advent calendar I made last week. We will be starting that this weekend, and I cannot wait.
I wanted the main table in our home to have our nativity on it this year. I wanted this display to have elements from the time period when Jesus Christ was born. I really love how it all came together. I found some Muslin fabric that I put down first. Then I placed my Nativity in the center. My mom has given me a new piece each year since I have been married and I finally have the whole collection.
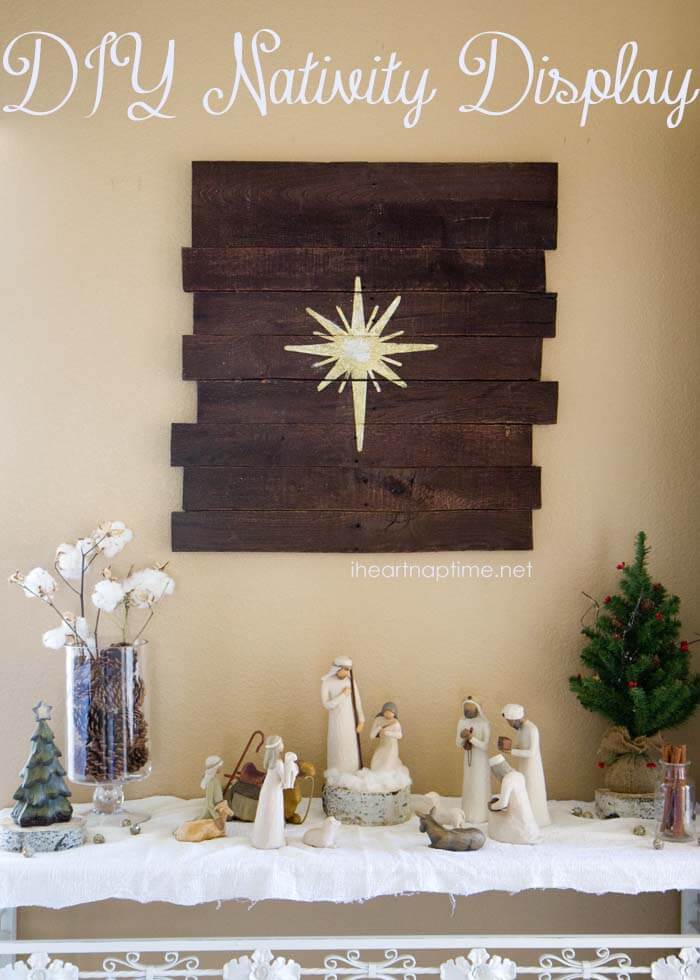
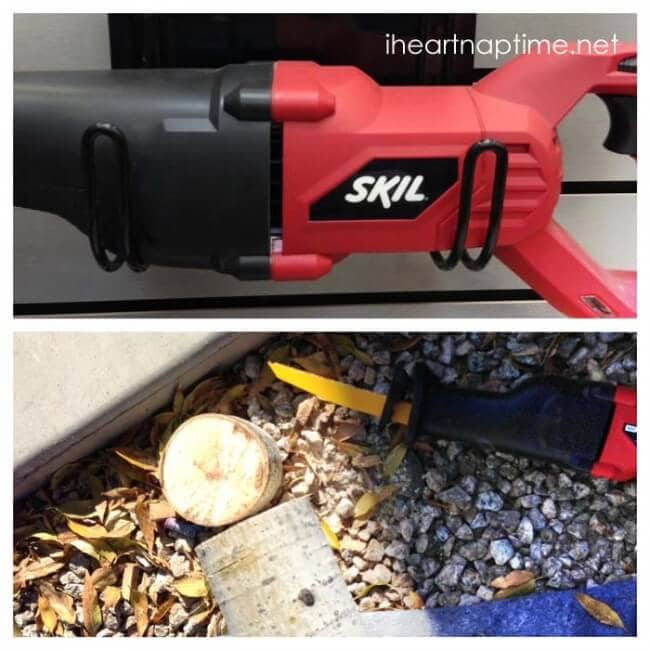
I really wanted to place a large shining star above my nativity and thought it would look fabulous on wood. For this project I knew I would need a new saw… so I found this one at Lowes. I got it on sale (score!) and it works like a charm. Why didn’t I get one of these sooner?!
The first thing I made for my display was natural birch tree slices. My Uncle lives up in Sundance, UT (the most beautiful place on earth) and I asked if he would send down a log with my sister. My sister was riding down to AZ (from Utah) for Thanksgiving with 5 other people and was quite embarrassed to be carrying the 3 foot tree log to the car. “Umm… will this fit?” hehehe! They are the best!
I bought a bigger blade for my saw and it cut right through the log. I cut about 2 inch slices.
The next thing I made was a pallet sign with a shining star. Here’s how I did it…

For the pallet art I asked the nice folks at Lowes if they had any extra pallets in the back and they went back and grabbed me one. Sweet! I took it home and had my husband help me take the boards off (see more detailed instructions below). Then I sanded the pieces, cleaned them off and gave them a coat of dark cherry stain. Then I cut a star out with my CAMEO. I used a roll contact paper as my stencil (found at Lowes for $2) … it is much cheaper than vinyl! It works great for things like this, where you wont actually be using the vinyl.
Once the vinyl was cut, I took the center of the star out and used the outer layer as my stencil. I placed decoupage inside the star and then poured glitter on top. You could also find a stencil of a star at a craft store or hand draw it to get this same effect for cheap!
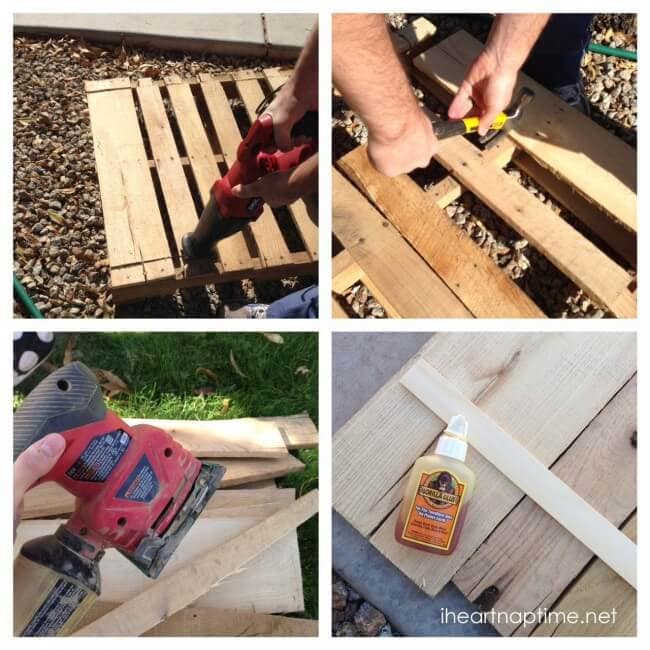
Here’s a closer look at how I tore the pallet apart. I’m not going to lie… it wasn’t as easy as it looks! 🙂 I really wanted the rustic look though, so I was determined. I will say it is MUCH easier with a saw. All you do is saw along both sides and then you can remove the boards easier with a hammer. If you don’t have a saw you could remove them with a crow bar. After the boards were removed I sanded them down with my electric sander. Then I glued wooden craft sticks (similar to paint sticks) all across the back to hold the boards together. Make sure to use wood glue for this. I placed some paint cans on the sticks after and let it dry over night so that it would be extra sturdy.
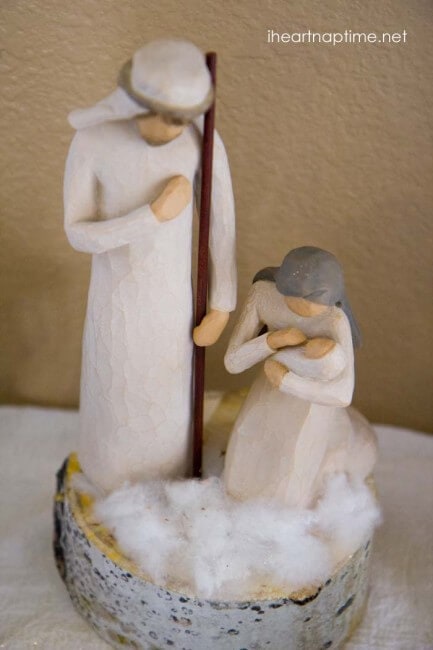
Here are some more elements from my display…
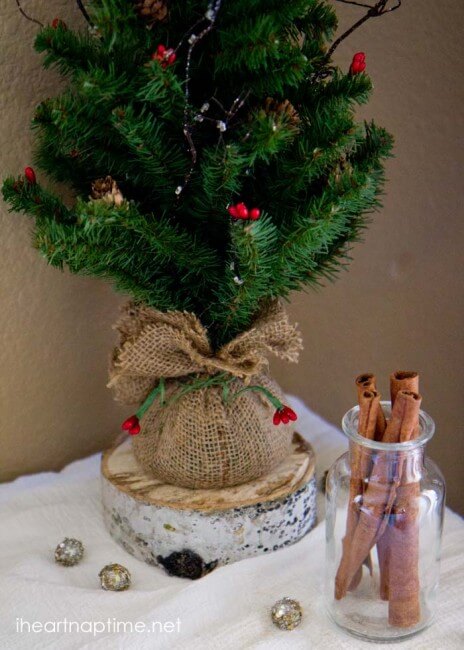
I found this tree at Jo-Ann’s and then placed it on top of the wood slice and added red berries and pine cones with glue. Then I added cinnamon sticks in a jar. Such an easy and cute idea!
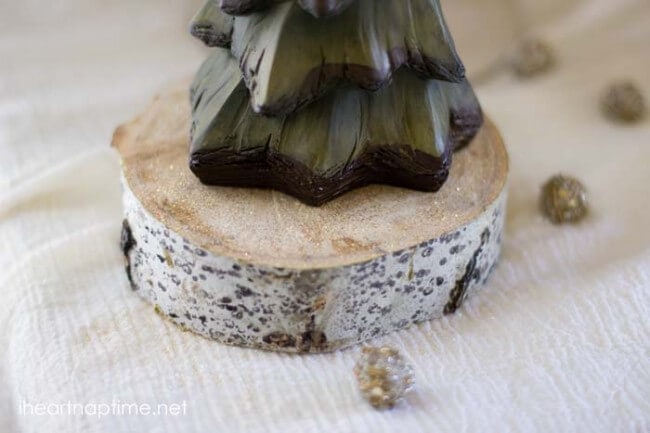
I sprinkled glitter on a few of the pieces… you can never have enough glitter at Christmas. 😉 Although, my husband would have to disagree.
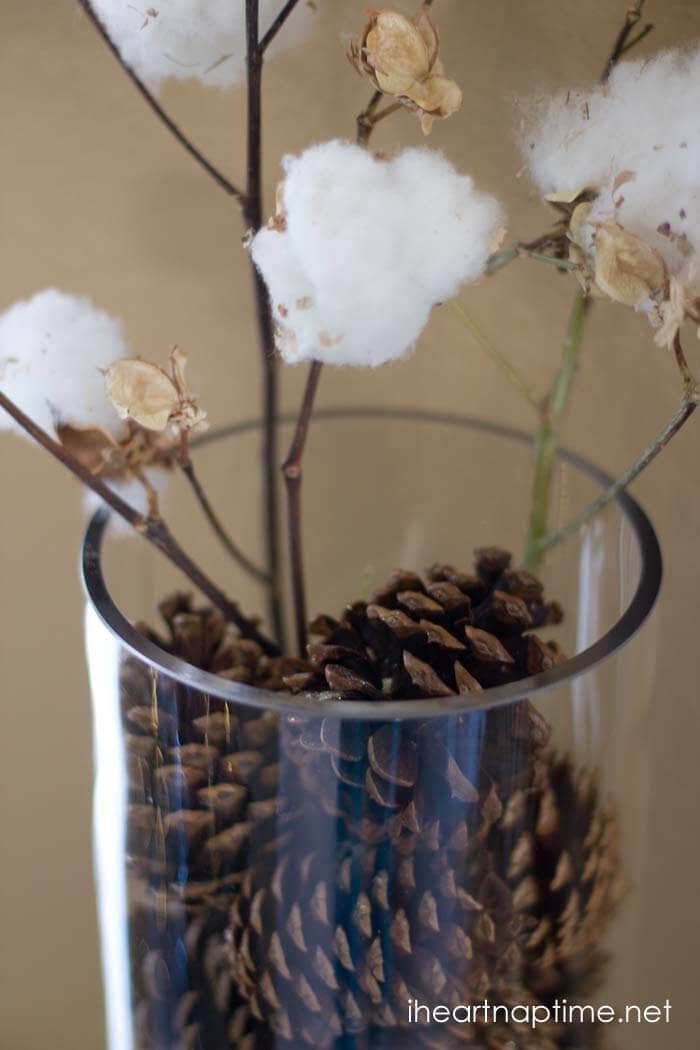
Near our house we have a huge cotton field. One day I decided to drive by and just *see* if there was any pieces laying on the ground. To my surprise there was A LOT… so I grabbed a few pieces and stuck them in a jar with scented pine cones.
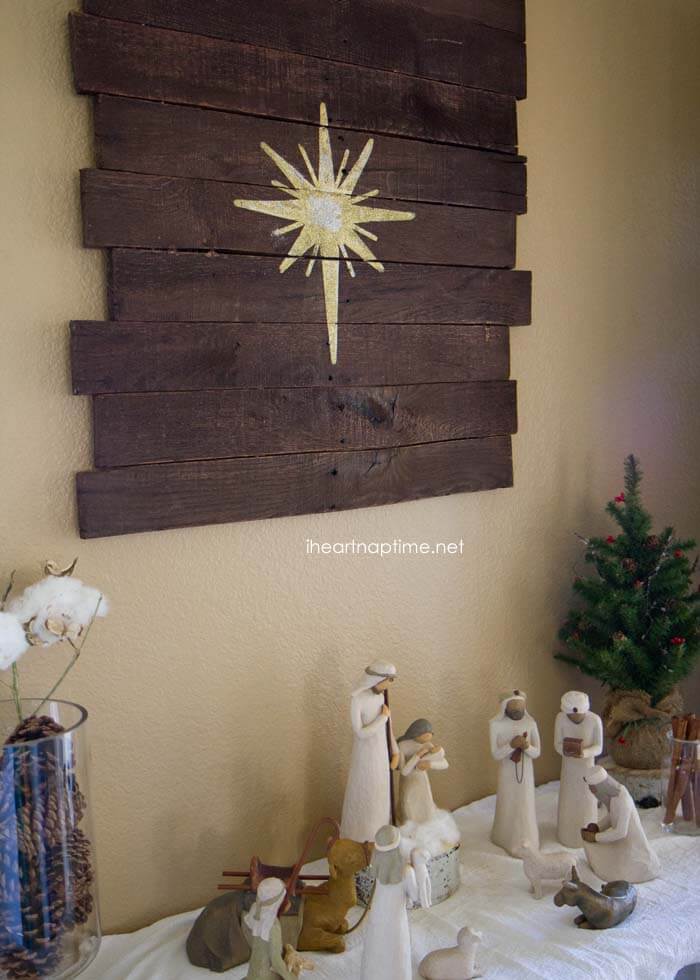
Here is another close up of the pallet art. I really love how it all came together. This is my favorite Christmas display in my home!

I love it! And I love that you mentioned we could used contact paper instead of vinyl for stencils! That will save a ton of money!!
Super adorable display! I love the pallet star! Im going to have to try it now 🙂
Super cute Jamielyn! I would have loved to see that birch tree in the car- oh, the things we make our friends and family do!! It was definitely worth it though.
This is so cute and I LOVE the pallet sign! What color stain did you use?
Genius! Beautiful display!
It’s so beautiful! I love the idea of the star!
Love the north star! So pretty!!
It’s really pretty! I love all the natural elements throughout. Thanks for sharing!
I have the willow tree nativity too! it’s my favorite. great idea to make a backdrop for it!
I love it Jamielyn. The star is the perfect addition to your nativity set.
Warmly, Michelle
I love that you said, “I’m not gonna lie, it was tough work” on tearing apart the palette. When I first asked my husband to do that….after an hour he said he’d rather buy the wood. But it’s true, the rustic edges are nice on a used palette. This display is SO beautiful and your details are very sweet. LOVE the birch tree touch (great little sis and uncle) and the cotton.
Absolutely lovely! Thanks for sharing this with us. I might even get a little of my old crafty urges back. 😉
Oh! And, according to my Daddy, you shouldn’t have any trouble finding “spare” cotton in the fields. The mechanical pickers don’t pick as clean as did the human ones (he was one of those).
That’s a really sweet nativity set up you have. LOVE the pallet art, and I know that wasn’t easy to remove those boards ;-).
I love the way you used a wood slice stand for your nativity display! I shared it on my blog along with my nativity set, I hope you don’t mind!
~Edith