
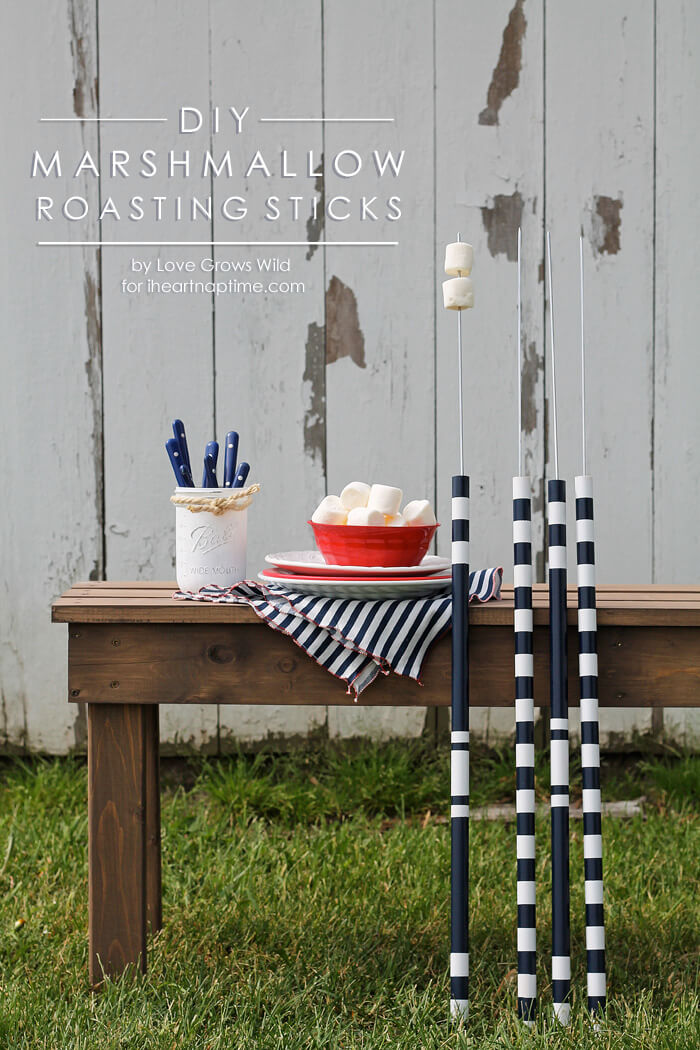
DIY Marshmallow Roasting Sticks
DIY Marshmallow Roasting Sticks by Liz Fourez of Love Grows Wild for I Heart Nap Time.
Hi again, friends! Are you ready for summer? My kids just finished school yesterday, and although I’m not sure how we’re all going to survive being home together 24/7 (you feel the same way, right?), I must say that I’m pretty excited to enjoy all the things I love about summer! Swimming in the pool, cooking out on the grill, camping with the family, and of course, roasting marshmallows over a bonfire!
There’s nothing I love more than an ooey, gooey s’more with a perfectly toasted marshmallow and plenty of chocolate. Have you ever tried making a s’more with a Reese’s peanut butter cup? Oh, yum! But rather than searching our yard for sticks every time we want to roast marshmallows, I had the idea to create my own roasting sticks that we could store and use again and again!
Not only are they super cute with the festive blue and white stripes I painted on the handles, but I also made them extra long so kids can safely stand back away from the fire while toasting their marshmallows. Safety first, right? There’s nothing that will make a Momma more nervous than a little one standing next to a campfire, so these DIY roasting sticks are perfect! Here’s how I made them:
Supplies:
3/4″ x 48″ wooden dowel rod
metal skewers
drill
super glue
spray paint
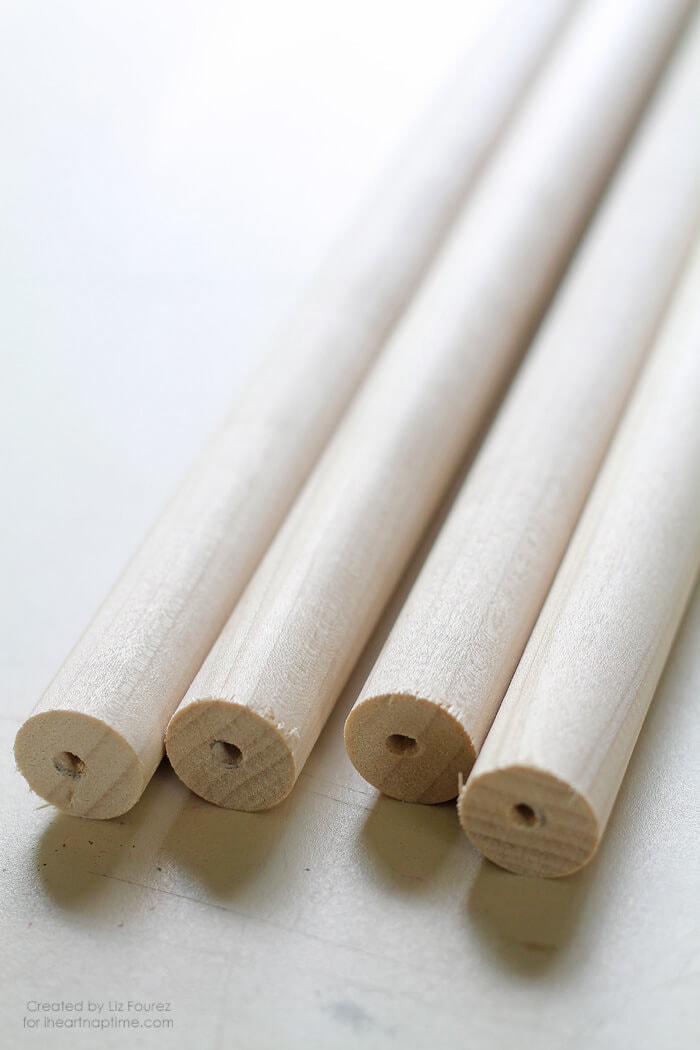
Step 1: Cut the dowel rod in half. Each dowel rod will make 2 roasting sticks. Then drill a hole in one end of the rod, as deep as you can go and as wide as your metal skewer.
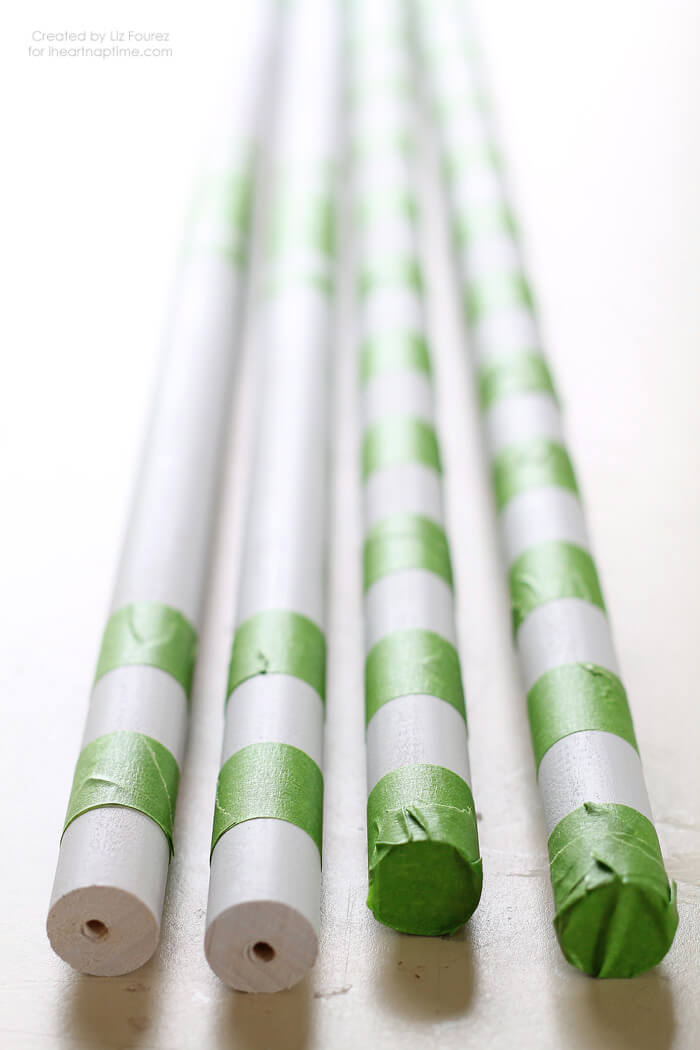
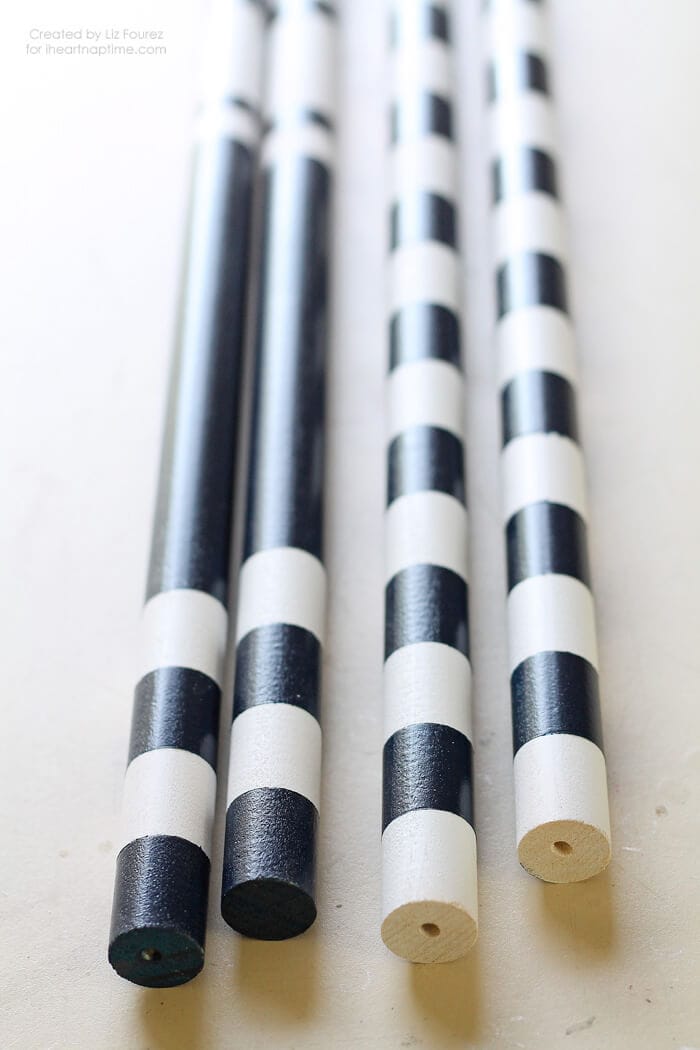
Step 2: Paint the sticks, if desired. I decided to be festive for summer and went with navy blue and white stripes on mine. To do that, I first spray painted the sticks white all over, then taped off stripes with painter’s tape and spray painted the exposed areas navy blue.
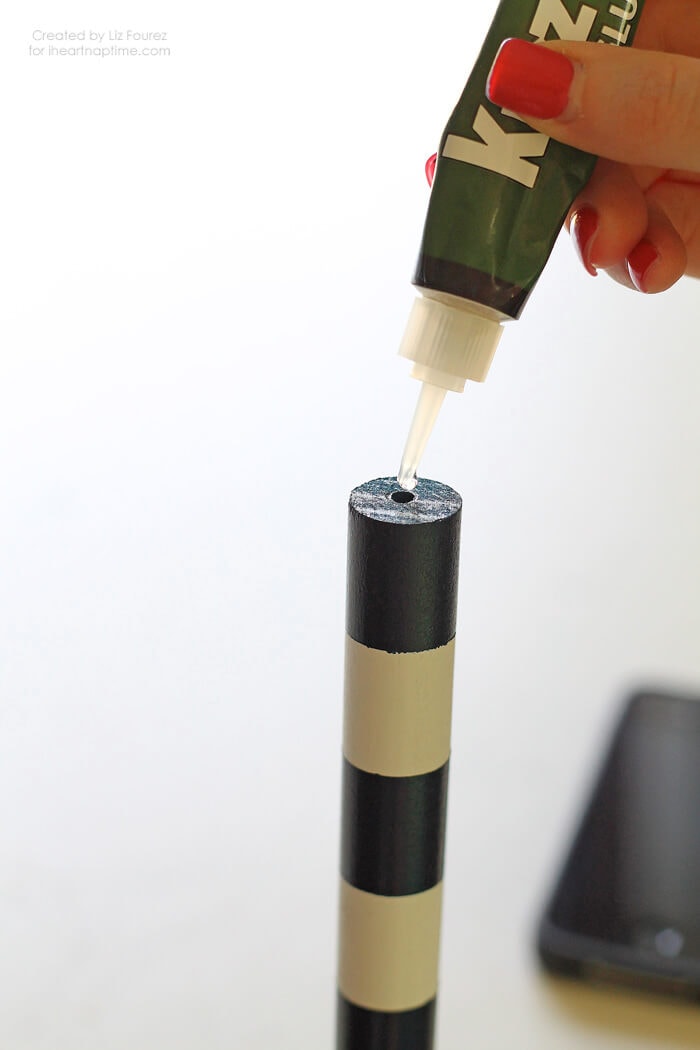
Step 3: Add super glue inside the hole you drilled previously, and drop your metal skewer into the hole. You want the skewer to be held securely, so add more glue as needed.
Once everything is completely dry, you are ready to take your new roasting sticks outside and roast some marshmallows! It probably goes without saying, but I’d recommend only letting older children carry these sticks around, as the metal skewers are pretty sharp on the pointed end. My boys had a blast making their own s’mores at this little station I set up for them!
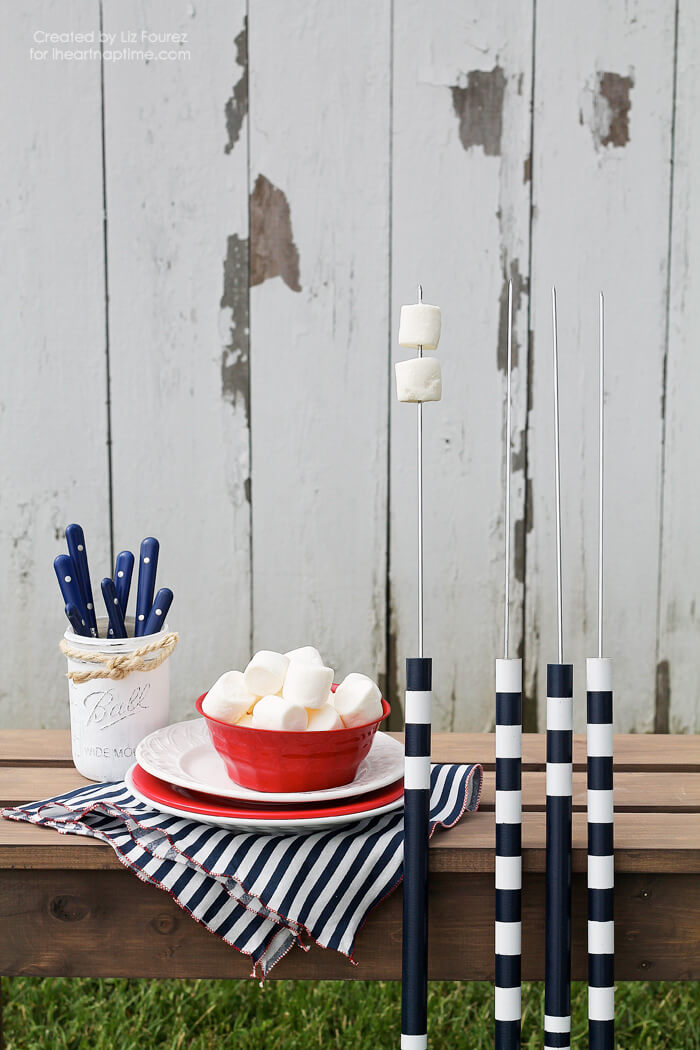
And I definitely ate my fair share of them too! : )

I hope you enjoyed today’s project! Now let’s all go eat some s’mores!
Be sure to stop by Love Grows Wild to see what other projects I’ve been working on lately:
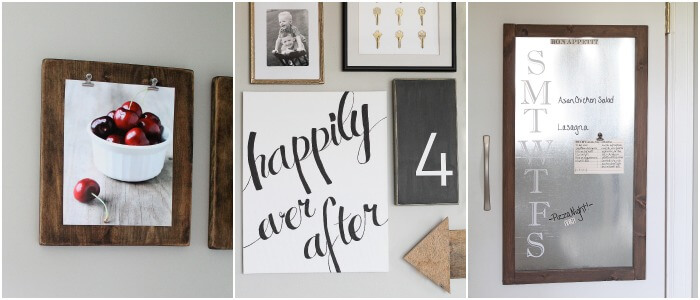
DIY Photo Clipboards // DIY Canvas Script Art // Galvanized Metal Menu Board
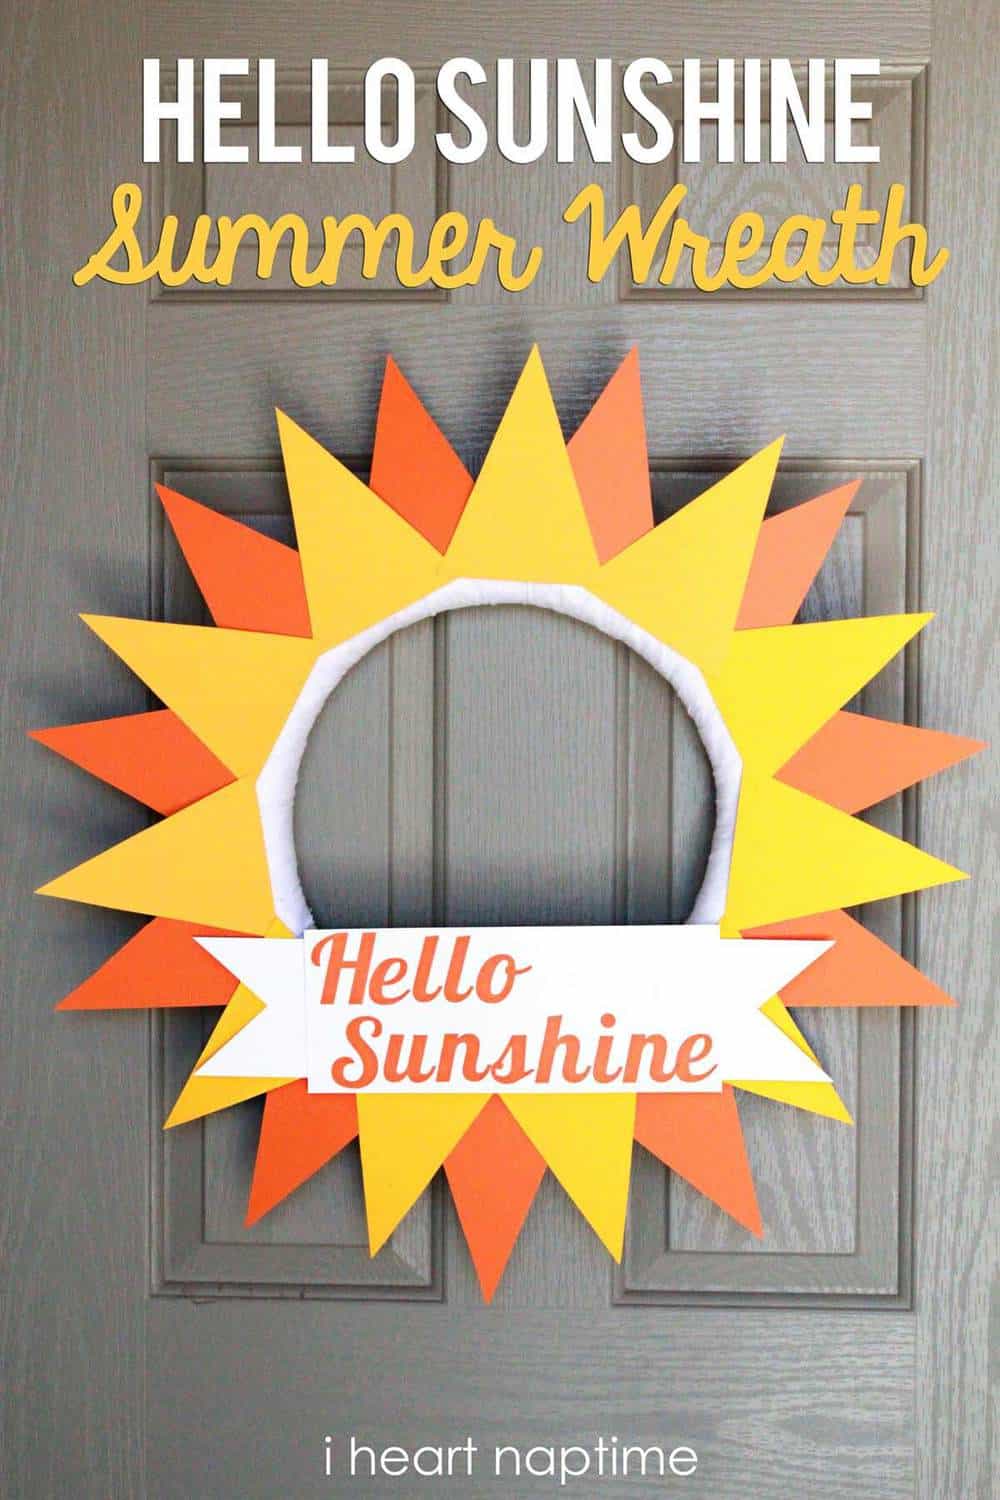
If you’re looking for more summer DIY crafts, you’ll love these:


Cute idea! We always scrounge around for sticks. These would be so much nicer! 🙂
Oh my goodness, these roasting sticks are so cute. There have been so many amazingly cool projects posted this spring, my head is spinning! 🙂 These will definitely go on my “must do” list. Have a great day!
Absolutely Adorable! Making some of these! Pinned
Such a cute idea! Would be perfect for Father’s Day!!
xoxoxo
I love these! Where did you get your metal skewers?
Hey Danielle! I got mine from JoAnn’s, but I’ve also seen them at Menard’s and other hardware stores too!
Did you cut the round end off the skewers or did you find some straight skewers?
You can get metal rods from Home Depot and cut them. They come in 3′ lengths for around $2-3 each. 😀
Awesome thanks in a couple of weeks our 3 grandsons & 2 g – daughters will be here for 4 wks. We plan on camping the whole time . Your sticks will be great for hotdogs, Campfire Fondue steaks, BK sausage, maybe even bacon. The list goes on and on, just let the kids go with it. Mary Clower Murphy 6/11/14 Remember “Let The Good Times Roll”
I am struggling to find skewers without loops or handles at the end.
I was wondering where you found the navy/white napkins! I love those along with the skewers!!
They are lovely. I hunt for fresh sticks every summer, cuz the grandsons want marshmallows over the fire. Thought of making permanent ones, but enjoyed cutting the branches. I choose straight branches from our lilac bushes. They are perfect. I put them in the fire to clean them a bit, then into the clean bucket of water. with 2 boys , ages 6 & 7, soft sticks are dangerous enough!!!
But yours ae beautiful, and perhaps I will make a couple for my husband and me!
Margie
I haven’t been able to find the skewers either, even at Joann’s and we don’t have a Menard’s. However, I did see another instructional piece that said you could get 4 foot lengths of metal from Home Depot and have them cut down. I may go that route.
Love this Marshmallow Roasting Stick project!! Where do you find plain metal skewers? The only ones I can find have a loop on the end.
Thanks!
This is Brilliant. I love it and will be working on making my own skewers here shortly. Brilliantly a fantastic idea. Thank you so very much for offering this GREAT idea 🙂