
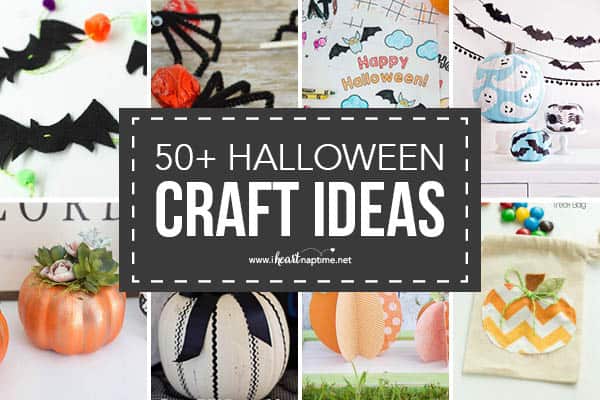
DIY burlap craft {utensil holders}
Last week I was asked by my friend Mallie at Deco Art to create a fall craft for Hobby Lobby. I kind of have an obsession with Hobby Lobby, so I was ALL on board! I swear I’m in that store at least once a week!
The first thing that comes to mind when I think about fall is Thanksgiving. It’s one of my favorite holidays and one that sometimes gets overlooked. It’s a great day to reflect our blessings. I also love being able to spend that day with my family. And I especially love all the yummy food. I thought it would be nice this year to dress up the dinner table, so I created these burlap utensil holders. They only took about 10 minutes to make and are NO-SEW. Can’t beat that! Want to make your own? Let’s get started! 🙂
{ Burlap Craft }


Burlap craft {utensil holders}
Supplies needed:
- Burlap
- Paint and stencil brush
- Twine or ribbon
- Tag
- Chevron stencil below

Instructions:
- Cut a piece of burlap (15in x 5in). Beware it’s messy!
- Download chevron stencil above (you could also use a different stencil). Print and cut out the stencil. Place the stencil about 4 inches from the bottom of your fabric and tape down the edges. Then paint in between the lines. Make sure to do more of a dabbing, rather than painting strokes.

3. Fold in the bottom edge (about 5 inches) and hot glue the sides together. You don’t need a ton of glue here.

4. Glue (a small dot will do) a piece of twine or ribbon to the back and tie it around the front.

5. Next I stamped “Let’s Eat” onto a simple tag and tied it on. It would also be fun to write your guests name on different tags.

These would add the perfect touch to your fall display or Thanksgiving table!
Thanks for reading. Hope you have a great day!
If you liked this post you’ll love these:
Paper Pumpkins , Fall Craft, Paper Pumpkins, and DIY fall wreath.
Those are so cute! What a great idea. I’m obsessed with burlap!
I love these! Cute and so easy! Pinned!
So pretty!! Needless to say I just pinned this too ; )
These are soo cute Jamielyn! How you can come up with new and exciting crafty ideas day after day boggles my mind;) Keep up the good work!
Too cute! I love it! And no sew. I love anything burlap and chevron and you’ve combined the two!
So cute Jamielyn! Love it! It really adds such a beautiful touch to the dining table.
Brilliant. Simple and beautiful. Hope the meal you use this for is a wonderful affair! 🙂
Soooooooooooooooooo tiny!
Omg! I love this!! I’m totally doing this for turkey day!
Super cute – I just love these!
Hi Jamielyn –
I bought a bunch of burlap recently – it was almost free so I could not pass it up. I had no idea what I was going to do with it – now I know how I will use some of it – love these utensil holders.
This is so sweet!
<3 Christina at I Gotta Create!
Wildly Original linky party is open
These are great! And i have some wide burlap ribbon with finished edges that I have been wondering what to do with. This might just be it. Visiting from Funky Junk…
These are adorable! I’m pinning!
These are gorgeous and I love how simple they are! Great job!
how wonderfully simple and cute are these?! They are perfect for my autumn table. I think my boys will love to help me make these with our last name initial on them 🙂
Thanks for sharing!
This would be a perfect idea for my fall decor!
Very cute! Featuring you today. XO, Aimee
Oh, I love this! So cute and perfect for Thanksgiving! Thanks!
Simple and stylish! Have pinned on my pinterest board, am going to give this a go. Very creative!
Thank you for sharing!
Just an idea…for the Chevron stipes you could use RICK RACK!
How adorable! The possibilities are endless… red burlap with a white chevron pattern for Christmas… or blue and silver for New Year’s! Thank you for sharing.: )
xoxo
Love this idea! I am featuring it on my site tomorrow with 1 image & a link to you! Hope that’s fine. I found it via Pinterest. I have left over burlap from wedding crafts I have been making so this is perfect. I can’t wait to make some for our holiday table.
Great idea! Awesome instructions. Thanks for sharing!
bravo, j’adore!
merci pour ce tuto
douce journée
bises
kty
Such a great project for fall/Thanksgiving-themed weddings!
We love this DIY over at Pocket-Sized Spaces. So cute and easy!
I love everything burlap these days and I especially love the silverware holders. I just completed a huge batch of them for gifts and have given some away already. My girlfriends absolutely love them.
There are so many tutorials and different ideas of websites that I’ve come across . Thanks for sharing your tutorial as well.
My website is http://maresmarvellouscreations.wordpress.com/miscellaneous/silverware-holders/
Thanks for your comment Mare! I’m so glad you tried this tutorial! 🙂
I love it. i try to make it this weekend.