
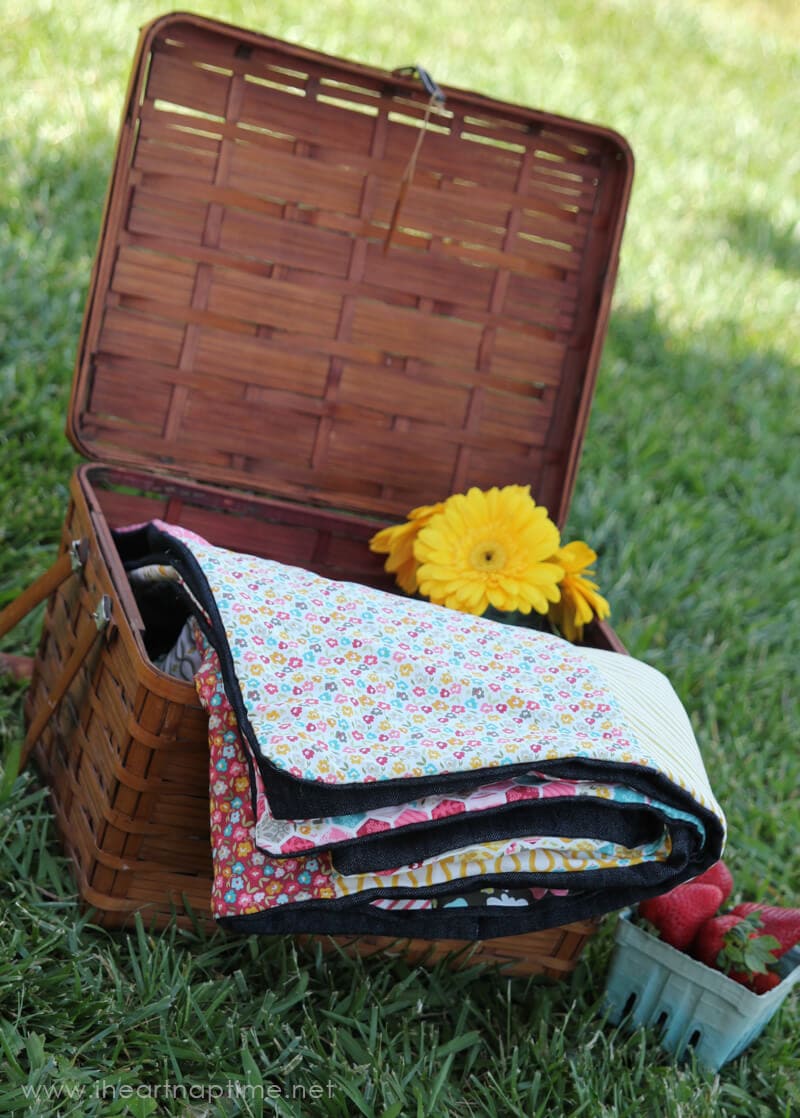
Easy Picnic Quilt
By Stefanie of Girl. Inspired. for I Heart Nap Time.
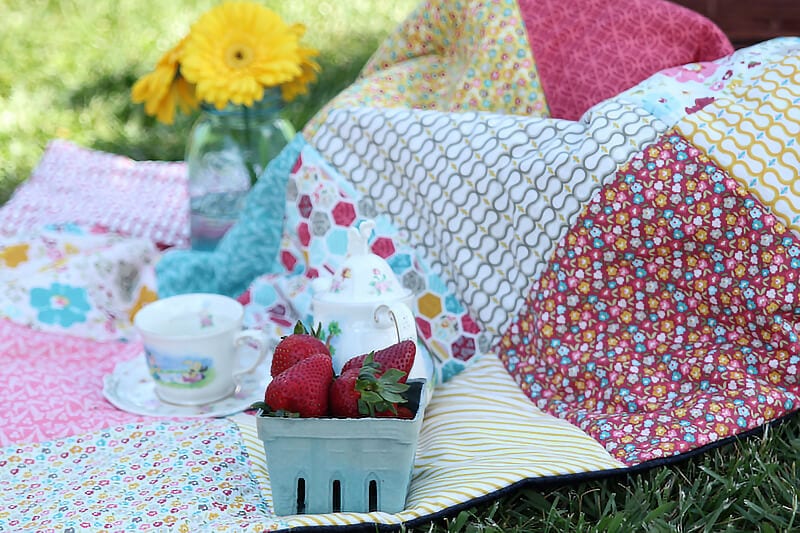
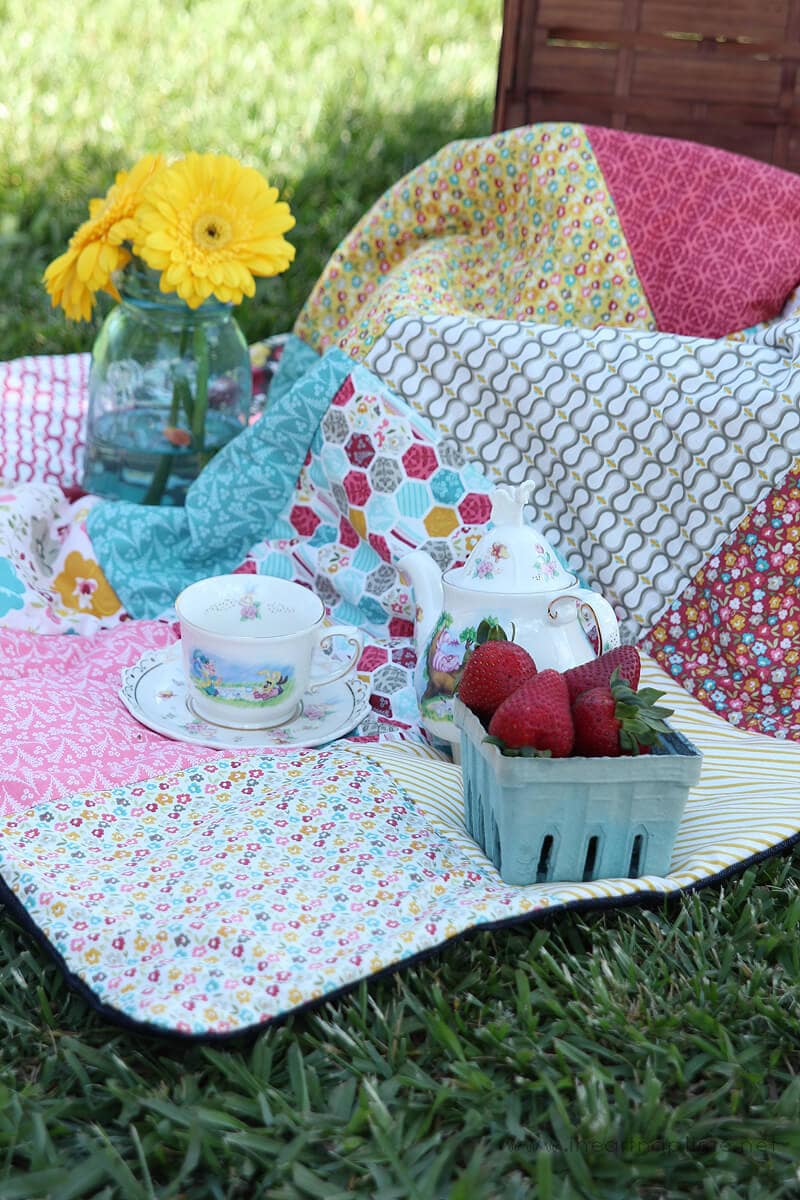
The summer is so close I can almost touch it! My girls and I are looking forward to a lot of outdoor time and we are always needing something to set down outside for playing or lounging on. Today, I have a sewing tutorial for you to make an easy picnic quilt.
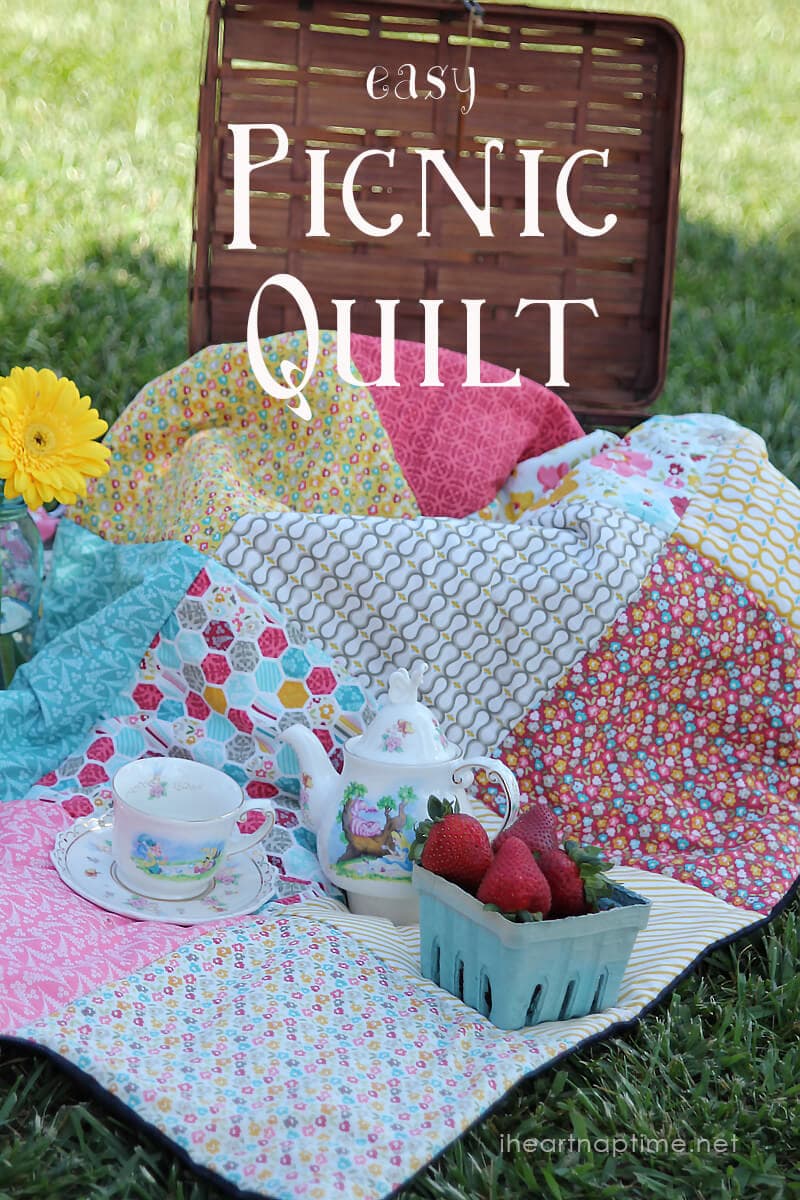
By using pre-cut fabric squares, you can put this 36″ x 46″ quilt together in 90 minutes, I promise. We’re going to piece together the “quilt top”, add some batting to the middle, and put on a backing made of denim. Some quick stitching through the layers finishes this quilt off and it will be ready for all the outdoor wear and tear this summer brings. Let’s get started!
Supplies:
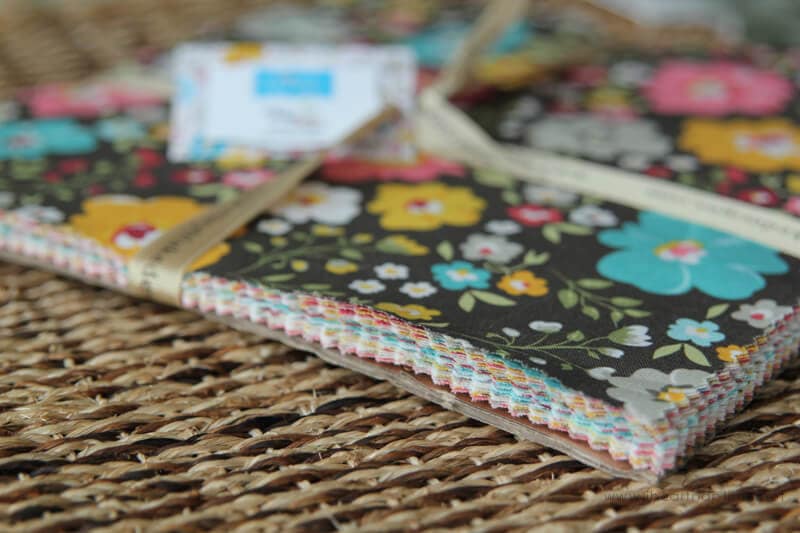
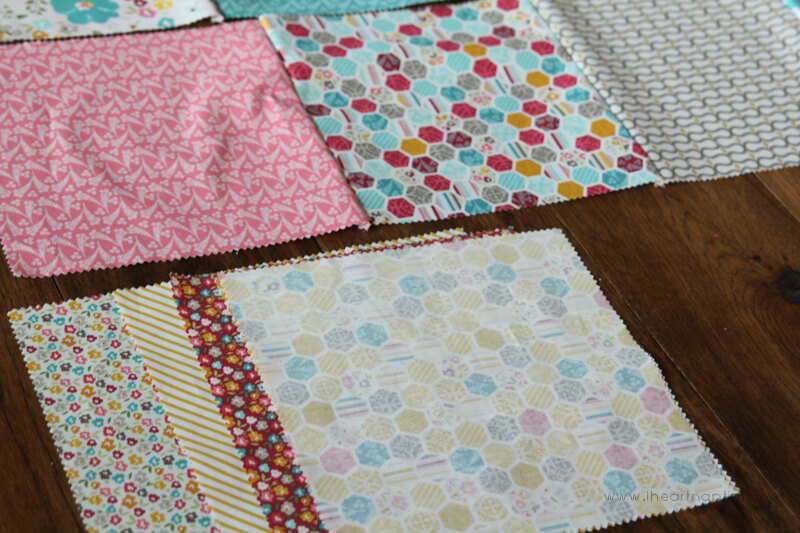
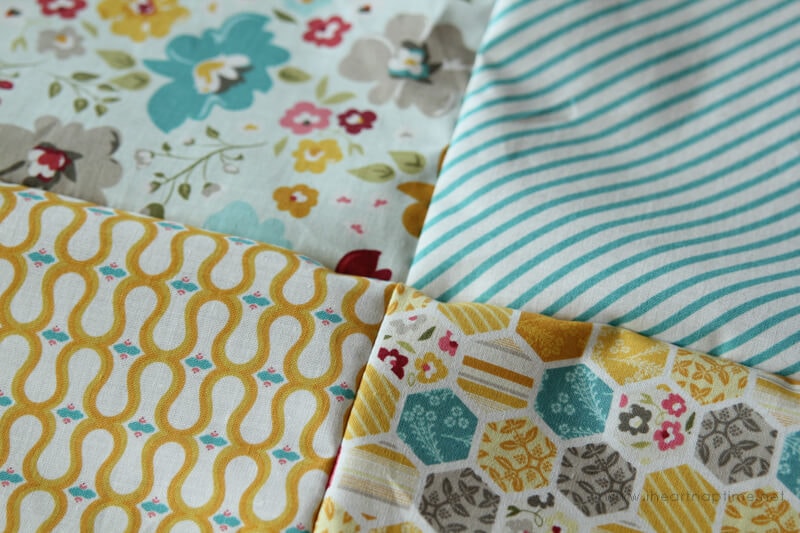
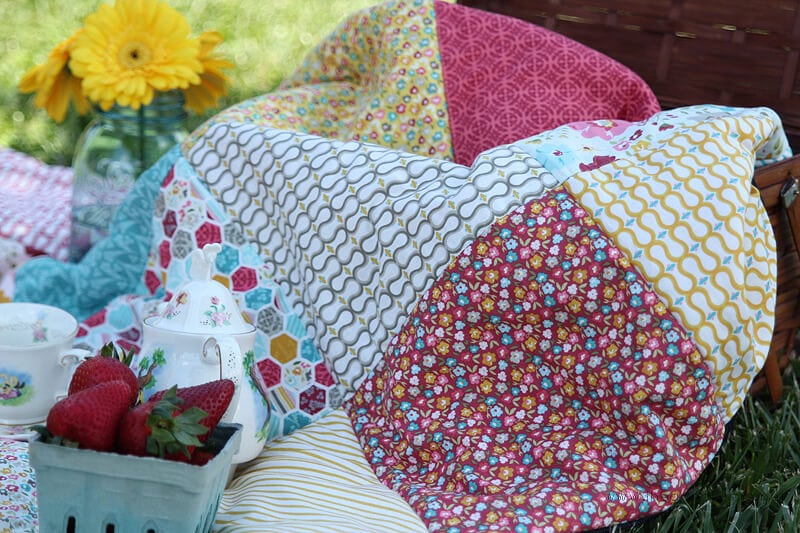
1 bundle of 10-inch fabric squares (20 squares total) – sometimes sold as “Stackers” (I used “Vintage Happy” stackers from Riley Blake)
1 1/2 yards of batting or fleece for the middle
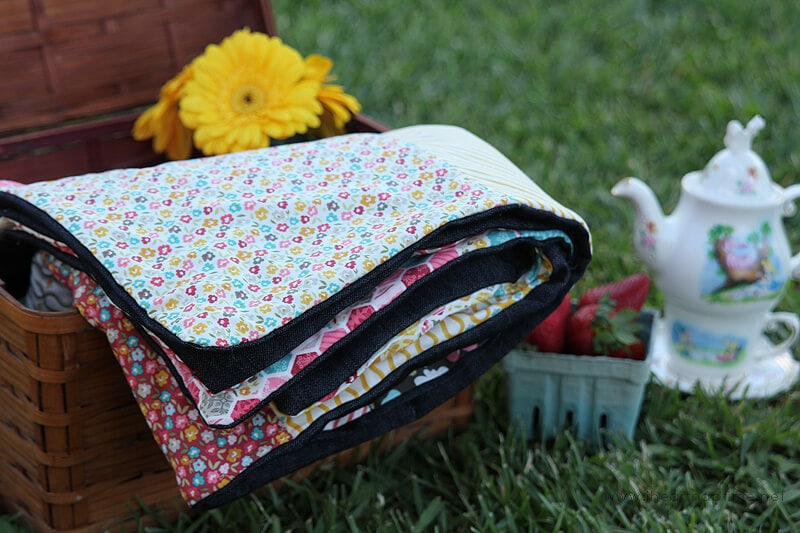
1 1/2 yards of backing fabric – denim or laminate work nicely for outdoor quilts
sewing machine and thread (serger optional)
walking foot attachment for your sewing machine
Instructions:
The trick to sewing this quilt so quickly is using pre-cut fabric squares. They are typically sold in bundles of prints all from the same fabric line. This means that the fabric is already coordinated and cut for you. You can skip pre-washing the squares for fast assembly.
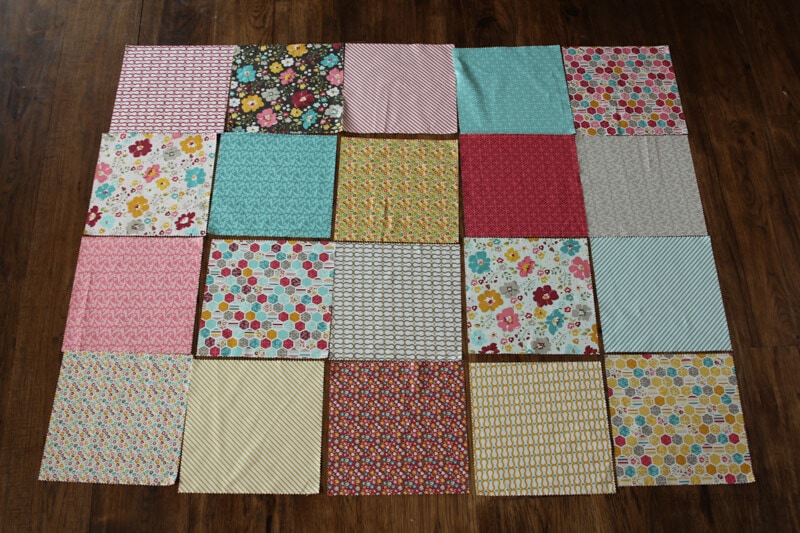
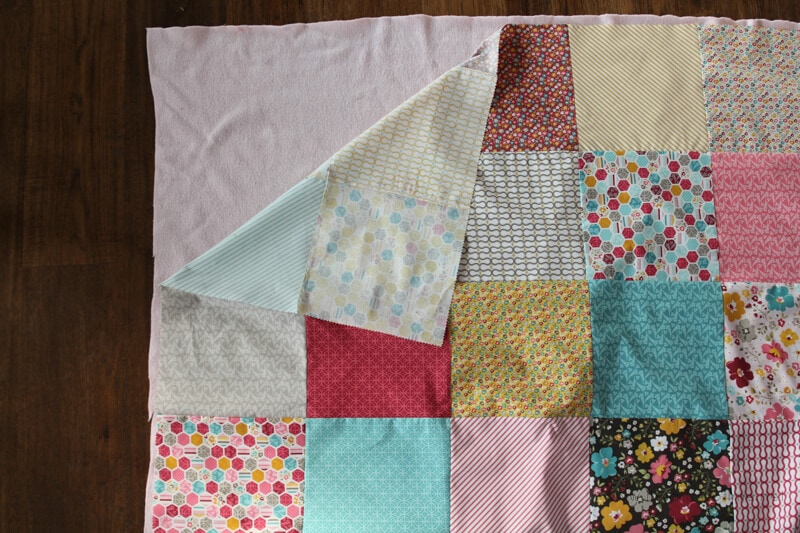
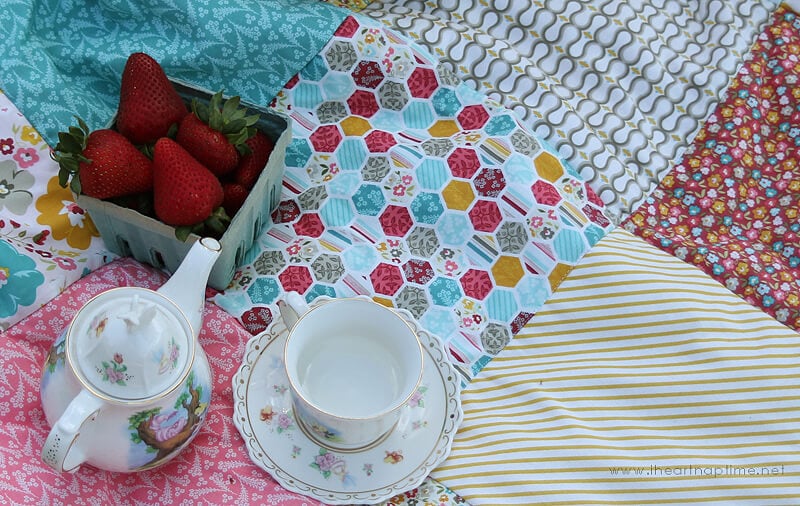
Begin by laying out the squares in a rectangular shape. Move the squares around until you have the layout designed to your liking – I created a 5 x 4 grid. This should take just 5 minutes! Keep in mind that you can make a larger quilt the exact same way – you’ll just need more squares (and a bit more time!)
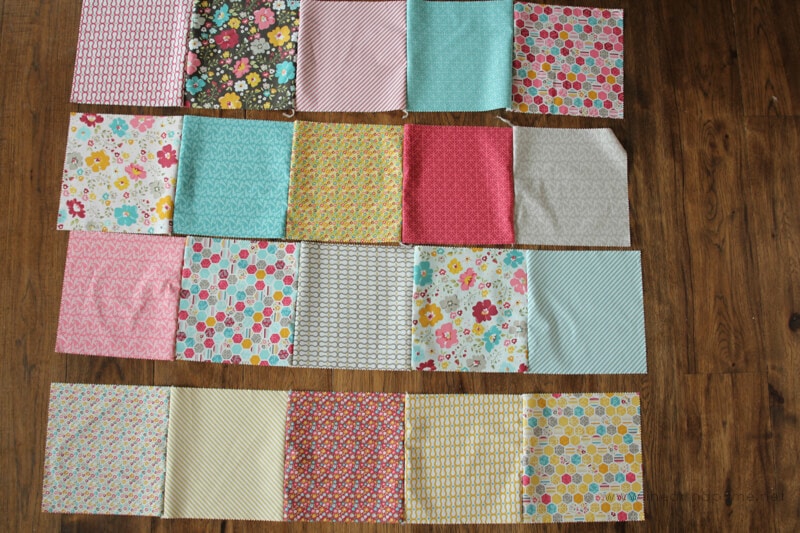
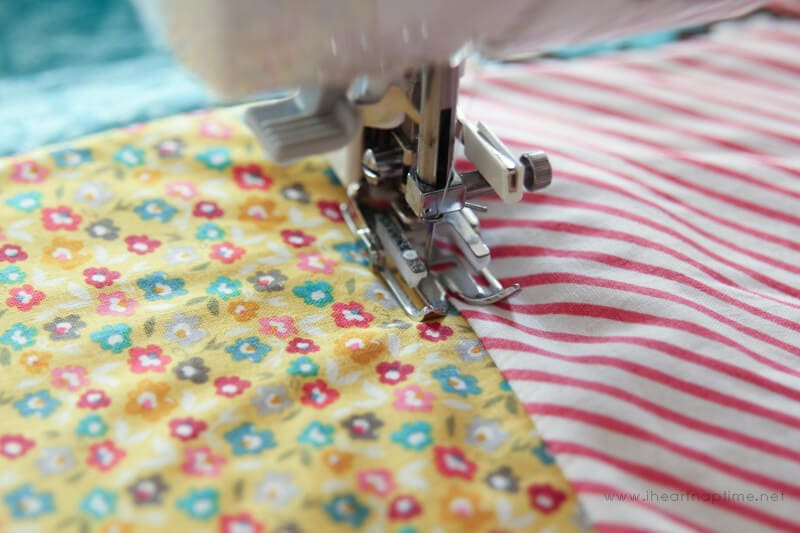
Now, we’re going to sew together the horizontal rows. Begin on the top row and stack each square on top of the one to the left. Place the last fabric square right sides together on the square below it and take the stack to your sewing machine or serger. Sew each square one to the next, matching right sides and keeping the fabric in a horizontal line as you piece together the line. It doesn’t really matter what seam allowance you use, as long as you keep it consistent for every piece and every row!! I used a serger to sew together my entire quilt top – this is definitely the way for a speedy result! It took me just two minutes to piece together each row.
Next, you’re going to have four horizontal rows to sew together. Begin at the top and place the first row right sides together with the row below it. Sew the two rows together. Then sew the third row to the bottom of the second row, and so on.
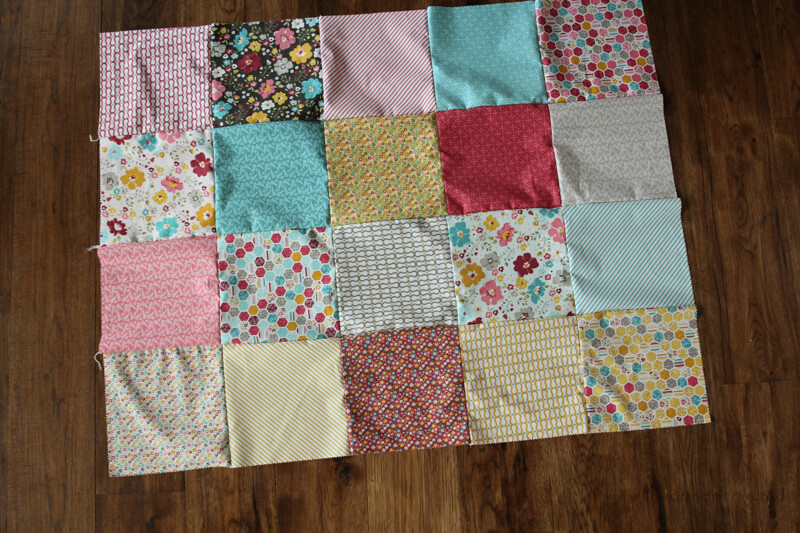
The only thing to keep in mind here is that you’d like the intersections of each set of squares to match with the intersection of squares below it, making a neat finish where all four corners meet. Don’t get too hung up on perfection, though, just do your best and remember that your little ones are NEVER going to call you out on imperfect corners!!

Now that your quilt top is assembled, iron the seams really well.
Measure the quilt top and cut a piece of batting or fleece the same size as the quilt top. I used a fleece remnant that I had on hand – it gives the quilt a plush feel, but you can use traditional quilt batting, too. Lay the batting out on a large surface and layer the quilt top, face up, on top of the batting.
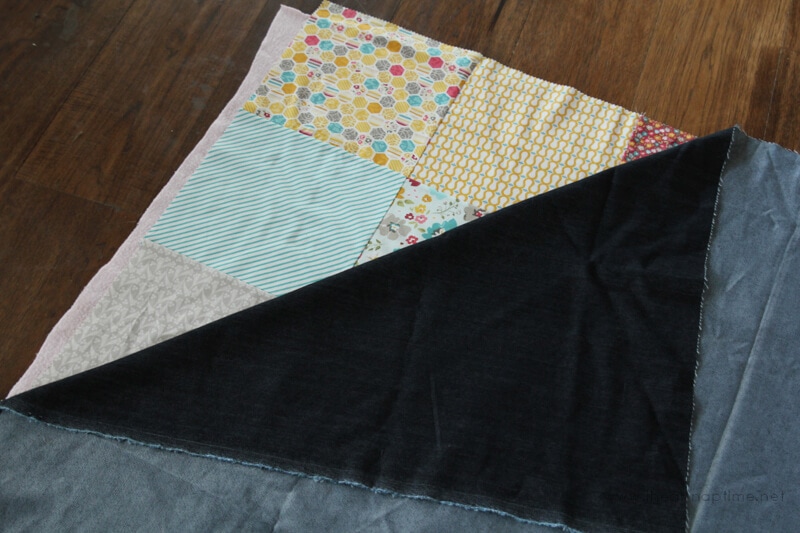
Cut a piece of backing fabric the same size as the quilt top and batting. Layer the backing fabric, right side down, on top of the quilt top. Pin through all three layers all the way around the perimeter of the quilt. Sew around the perimeter of the quilt – use a walking foot on your sewing machine to feed the layers evenly through the machine. Leave a 6″ opening on one side of the quilt for turning.

Trim any excess fabric from the seam allowances and corners. Reach into the opening between the quilt top and the backing fabric and turn the whole thing right side out.
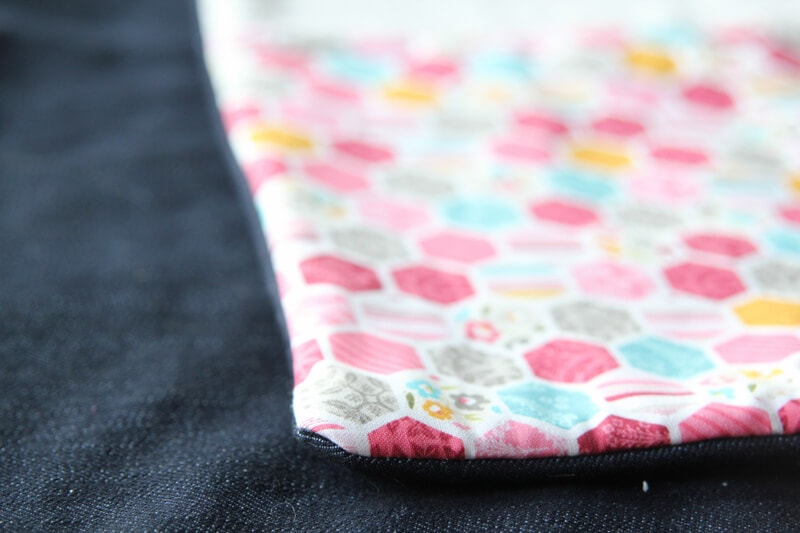
Press the quilt well, adjusting the fabric and edges so that your quilt lays flat. Use a ladder stitch to sew the opening closed by hand.
Now, it’s time to add some quick “quilting” to finish this off! If you want to stitch fancy designs or do intricate quilting, you most certainly can, but I was really aiming for a quick finish with this project. The “Stitch in the ditch” technique is when you plunk your needle down right on top of each seam and sew along the lines that are already there for you. Stitch in the ditch down each vertical and horizontal row. You can also edgestitch around the whole perimeter, but I didn’t. Use your walking foot for all the quilting, too. This should only take about 20 minutes to complete and you are done!
What do you think? Not too shabby for 90 minutes of your time, huh? I’d love for you to stop by Girl. Inspired. for more inspiration as you head into the summer! Some other fun summer projects that I’ve shared include:

30-Minute Mermaid Skirt Tutorial – Lemon Crepe Cake – Knot Headband Tutorial
If you’re looking for more sewing projects, you’ll love these:

Oversized Beach Bag


Wonderful tutorial! I always wanted to sew a quilt, but was intimidated by the thought of it. I’ll just have to start with a picnic quilt! My kids are starting middle school next year, and so I want to spend as much time as possible with them this summer. Some picnics with a new quilt would be fun! Thanks! 🙂
This is so pretty! I love quilts, and have several in my home. =) Pinned to my Quilt board.
Thank you for making pinning your ideas so SUPER easy!! Love so many of them!
Thanks!
I love this tutorial and your quilt is beautiful! You’ve inspired me to give it a try myself 🙂 Just a quick question about the quilting process – if I stitch in the ditch out to the edges, where or how do I stop? Do I stitch right off the edge of the quilt, or stop and backstitch, perhaps? Thanks so much!
I would love to give this a try, and I have the perfect fabric begging to be used! But I’m a beginner at quilting – can you please tell me how you finish the end when you “stitch in the ditch”? Do they go right off the sides? How do you stop it looking messy on the back of the quilt? Thx 🙂
OMG, thank you so much for this post! I’m awfully clumsy at sewing, so I desperately needed to find some simple idea on how to make a quilt… Now, with your help, it doesn’t seem so scary anymore! Wish me luck 😉
Good luck! You’ll do great! 🙂
I am just getting back into sewing and wanted something fairly easy to work on. I love this idea. My only problem is – I don’t wan’t to ‘stitch in the ditch’ with the backing on My lines are not going to be straight enough to have them on the denim side looking good, So I’m going to try and stitch in the ditch first with the backing and then attach the denim. Not sure how it will work but it’s worth a try.