
Back to Basics: hand sewing
By Stefanie of Girl. Inspired. for I Heart Nap Time.

Hi again! If you’ve spent much time on my blog, you know I like to get a lot of projects done in as little time as possible. That typically means using my sewing machine in every way possible, but sometimes, a little hand sewing is necessary. Today, I thought we’d go back to the basics and talk a little about some useful hand sewing techniques. Even if you aren’t a sewing fanatic, knowing the basics of hand sewing will certainly come in handy!

To begin, you’ll need just a few basic supplies:
- needles
- thread
- scissors

The type of needle and thread you need will depend on your project.
Needles: for most sewing projects, you can use “sharps”, which are good for woven fabrics, sewing on buttons, stitching together seams, and general handwork. Embroidery needles have larger eyes at the end, making them easier to thread your thicker/multiple strand embroidery floss. Ball point needles have a rounded point and are used on knit fabrics; the rounded point allows the needle to glide between the fabric fibers rather than cut the fibers and create holes in the knit. There are other types and a variety of sizes of needles, but these will get you started.
Thread: If you are doing mending work, try to match your type of thread to the thread you are replacing. All-purpose thread is good for most projects. You may need to use an upholstery weight thread (and hence, a needle with a larger eye) for seams that need extra strength. Embroidery thread can be used to add decorative stitching to your projects.
Scissors: Any sewing scissors will do nicely for handwork. I like to use little pairs that are easy to handle for quick snipping.

Before you can begin a hand sewing project, you will need to thread your needle and tie a knot in the end of the thread. Using a double thickness of thread works well for most projects. Simply cut a manageable length of thread (e.g., 36 inches). Thread one end through the eye of the needle and bring the end to meet the other end of the thread. Tie a double knot to join the two ends and snip the excess tails. Now, you’re ready to get to work.

Today, we’re going to cover what I think is the most useful hand stitch:
The Ladder Stitch or Slip Stitch
This type of stitch is used to close up the opening between two folded edges. When the stitches are completed, they won’t be visible from the right side of the fabric. Projects that I use this for include: sewing pillows after turning, stitching up broken stuffed animals (my children appreciate this skill very much), and sewing the linings of bags and such closed. You will always begin by inserting the needle from the wrong side of the fabric out so that the knot catches on the backside of the project. Also, begin your stitches a few cm from where the opening actually begins so that you secure where the seam has opened (this is particularly useful if you’re repairing a torn stuffed animal or mending a torn seam.)
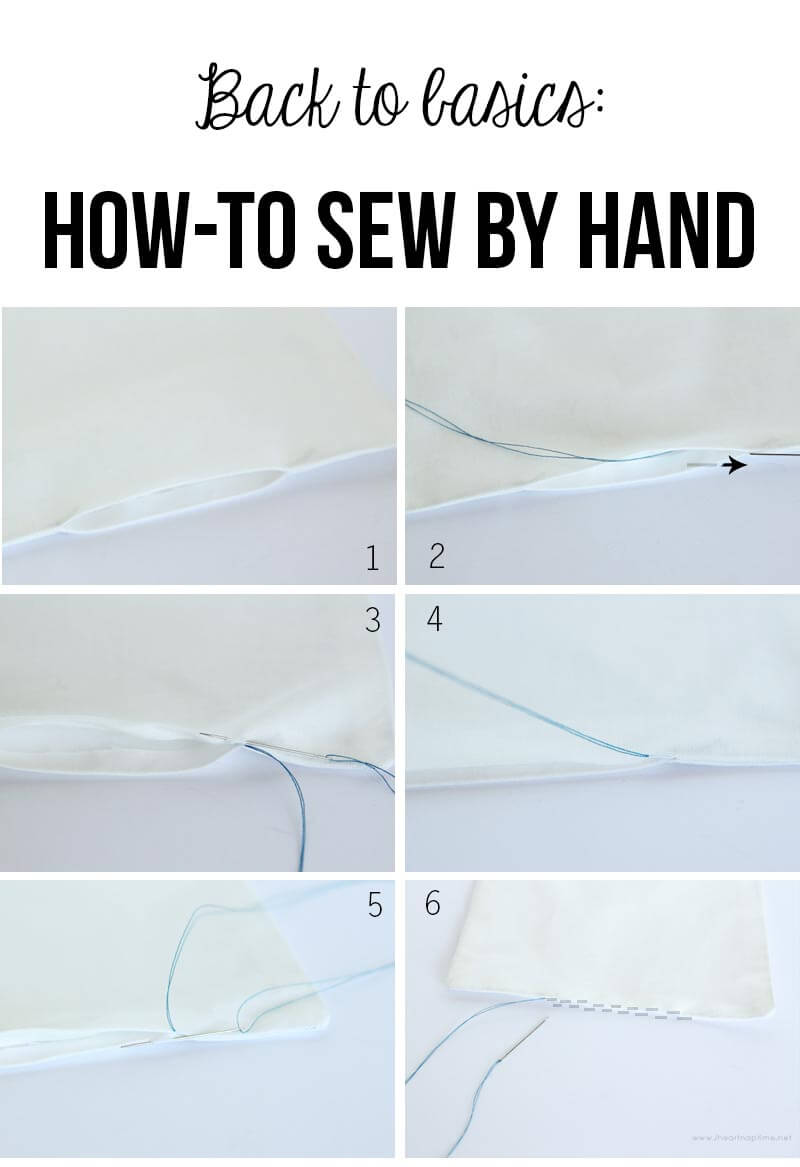
Ladder Stitch (Slip Stitch)
- Identify and iron (if possible) the two folded edges where they will be joined together.
- From the inside (wrong side), poke the needle out through one of the folds and pull.
- Poke the needle back into the other fold directly across from first stitch, slide the needle along within the fold, and poke it back out from the same side.
- Pull the needle gently until the thread pulls all the way and closes the opening.
- Poke the needle back into the first fold directly across from the previous stitch, slide along inside the fold, and so on.
- Continue the ladder stitch until the two folded edges are joined down the entire length of the opening.
Take care that you don’t pull the stitching too hard as this will gather the fabric and cause puckers in the seam. Finish your ladder stitch a few cm beyond the opening and tie a knot:


Loop the needle up and under the thread. Catch a few strands of the very edge of the fabric fold in your needle to anchor the knot. Pull tight down through the loop to form the knot. Repeat if necessary.

To hide the knot and thread tails, poke the needle one more time down into seam, directly alongside the knot. Poke the needle out through the fabric about an inch or two from the seam. Pull the needle and threads all the way through, noting that the knot will slip down into the seam. Snip the threads and allow the tails to pull back inside the fabric. That’s it!

Other types of hand stitches:
Basting Stitch and Running Stitch: These stitches are a simple up and down from one side of the fabric to the other. A basting stitch might be used to hold fabrics in place until secure stitches can be added (e.g., temporarily join the layers for quilting). A running stitch (same thing, but shorter, more even stitches) might be used as a decorative element like in the border around the embroidery in the pillow pictured above. A running stitch can also be used to create gathers in fabric. Once you’ve stitched up and down a few times, pull the thread and move the fabric to the side to gather it.
Embroidery:
Embroidery is a hand sewing art. Lessons, patterns, classes, and examples can be found all over the web and in your local fabric supply stores. The pattern I used on the pillow above is from Sarah Jane Studios. You can also find a good introduction on the DMC floss website.
I hope these hand sewing basics will get you started on your way to creating beautiful projects! For more sewing and craft inspiration, I’d love for you to visit me over at Girl. Inspired. Here are some of the projects I’ve been working on lately:
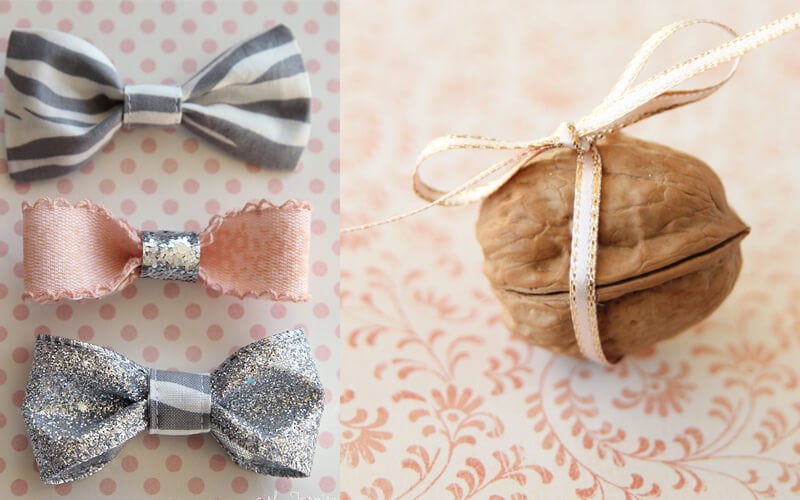
Cute, Little Hairbows and a Tiny Treasure Box
Thanks for stopping by! Happy Sewing!
Great tutorial! I’ve never knotted my thread before, and it’s never been an issue.
I love to hand sew, but I’ve never mastered this stitch,: ( and it really is an important one. Thank you for such clear instructions and photos… I’m going to practice on fabric scraps before I consider myself stuffed animal repair-certified! xoxo
Thanks for sharing!
Bless you for sharing your knowledge of sewing, by hand (that’s me) and by machine (I have a brand new sewing machine I got years ago but have never taught myself how to use it
Please can you provide videos on the various forms of stitches ,using needle and thread ,instead of a machine. I will really appreciate it. Thank you 🙏