
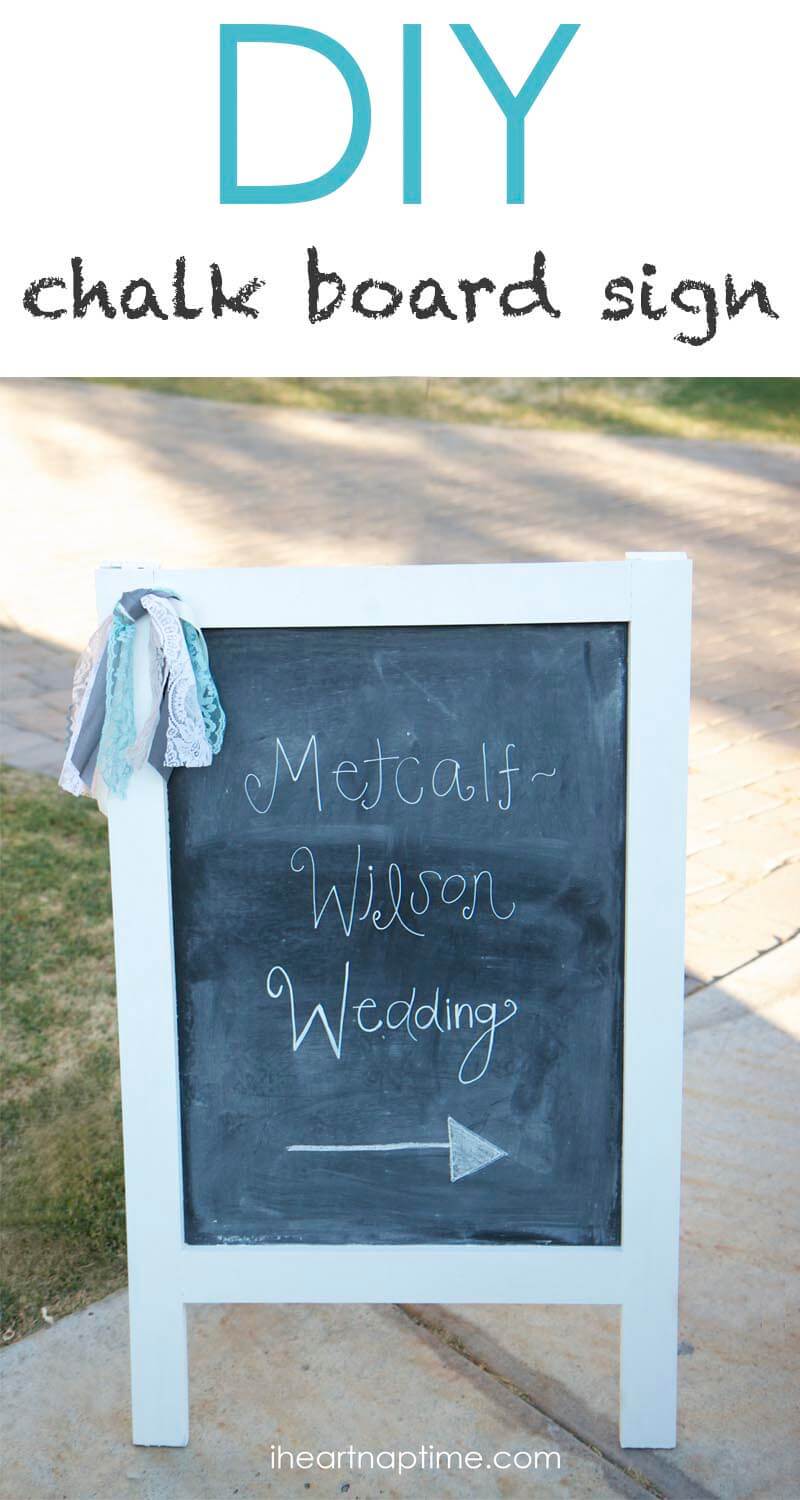
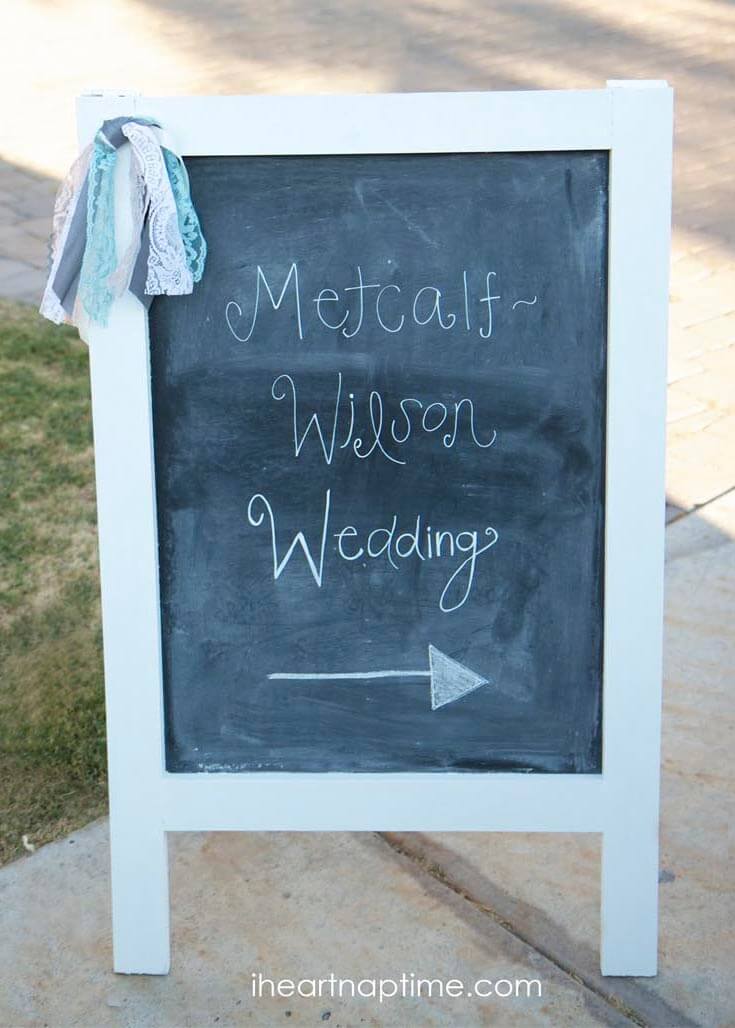
DIY chalk board sign
For my sisters wedding, we made this cute and functional DIY chalk board sign. After searching in several different stores and not being able to find one, me and the hubs decided to make one. It ended up being a fairly simple project, you just have to allow for proper drying times. These chalk board signs would be great for weddings, showers, parties, or even for your kids to color on. 😀
Supplies:
- 4 (1x3x6) pine boards
- wood glue
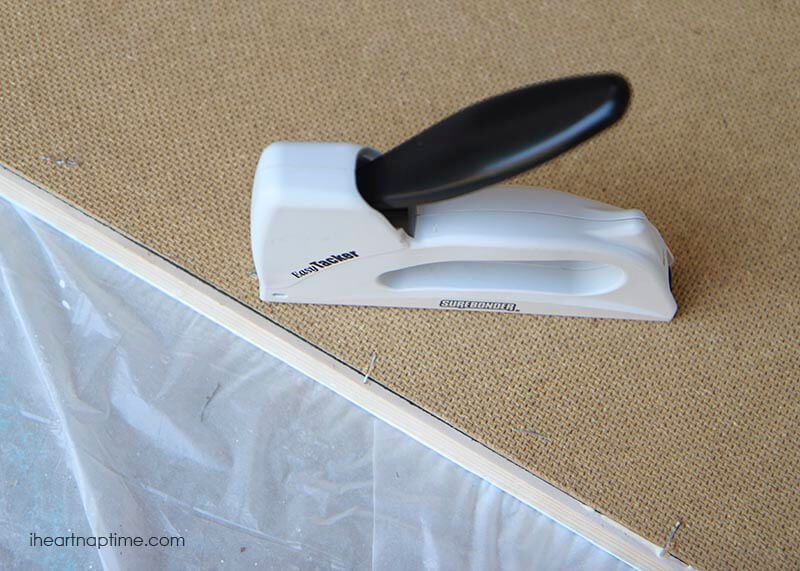
- staple gun (found mine at Hobby Lobby for $5 with a coupon)
- 1/8 in wood sheet or sturdy cardboard (22 x 32″ size)
- chalk board paint
- drill
- 2 hinges
- white spray paint (or desired color)
Instructions:
1. First things first, cut your wood. I had the nice guys at Lowes cut it down for me and they did a great job. Here’s the measurements I gave them. You can adjust the measurements, depending on how big you (or small) you want your chalkboard to be.
- 4 boards cut to 40″
- 2 boards cut to 20″ (4 if you’d like a chalkboard on the back side)
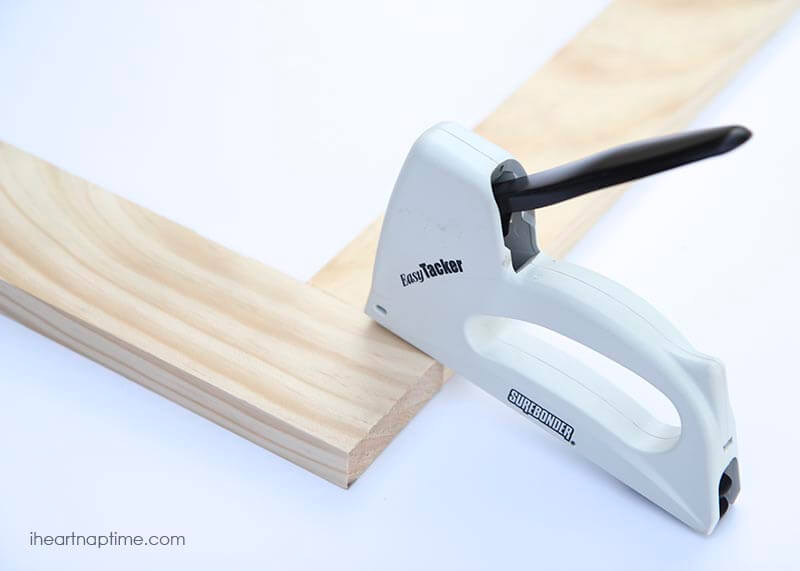
2. Align one 40″ board and one 20″ board, as shown below and staple them together. Repeat this step, for the other corner.
3. Place the other 20″ board in between the two 40″ pieces of wood 10″ from the bottom. Make sure your 20×30″ flat piece of wood will fit before stapling.
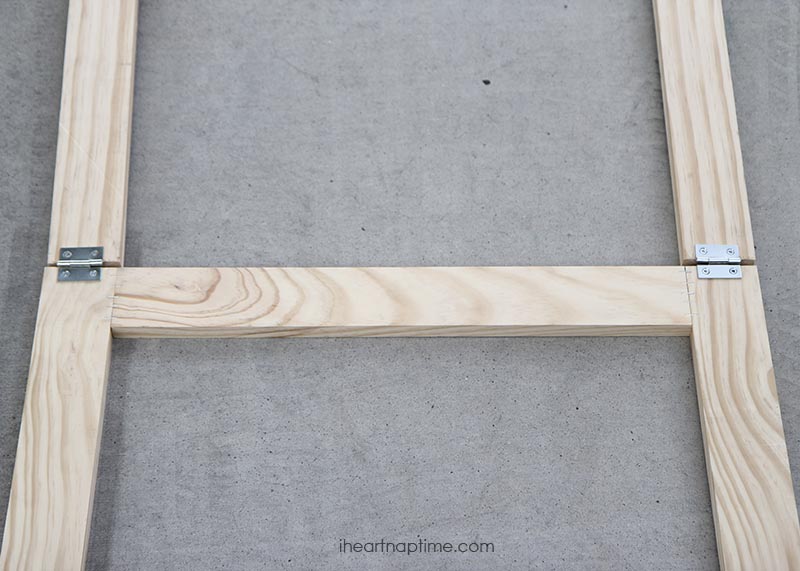
4. Place your hinges onto top corner of the easel. Make sure that it will open correctly before you screw it in. Then drill the screws into the board.
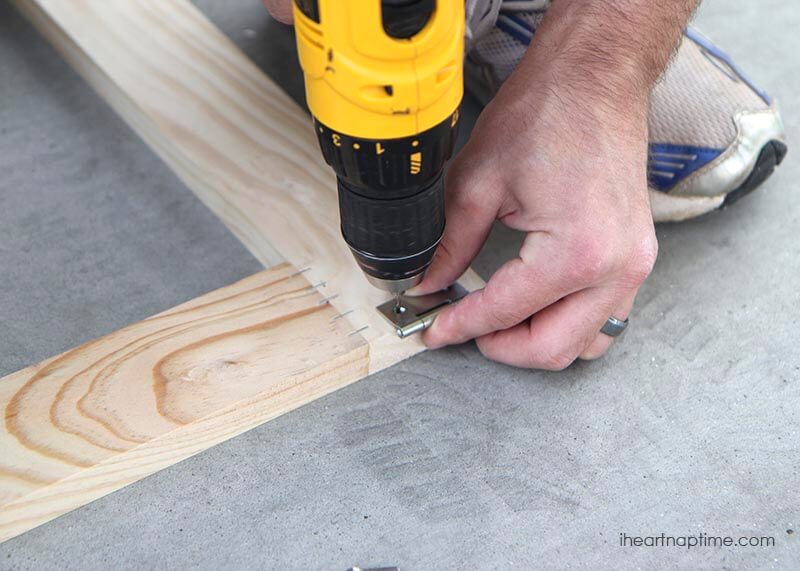
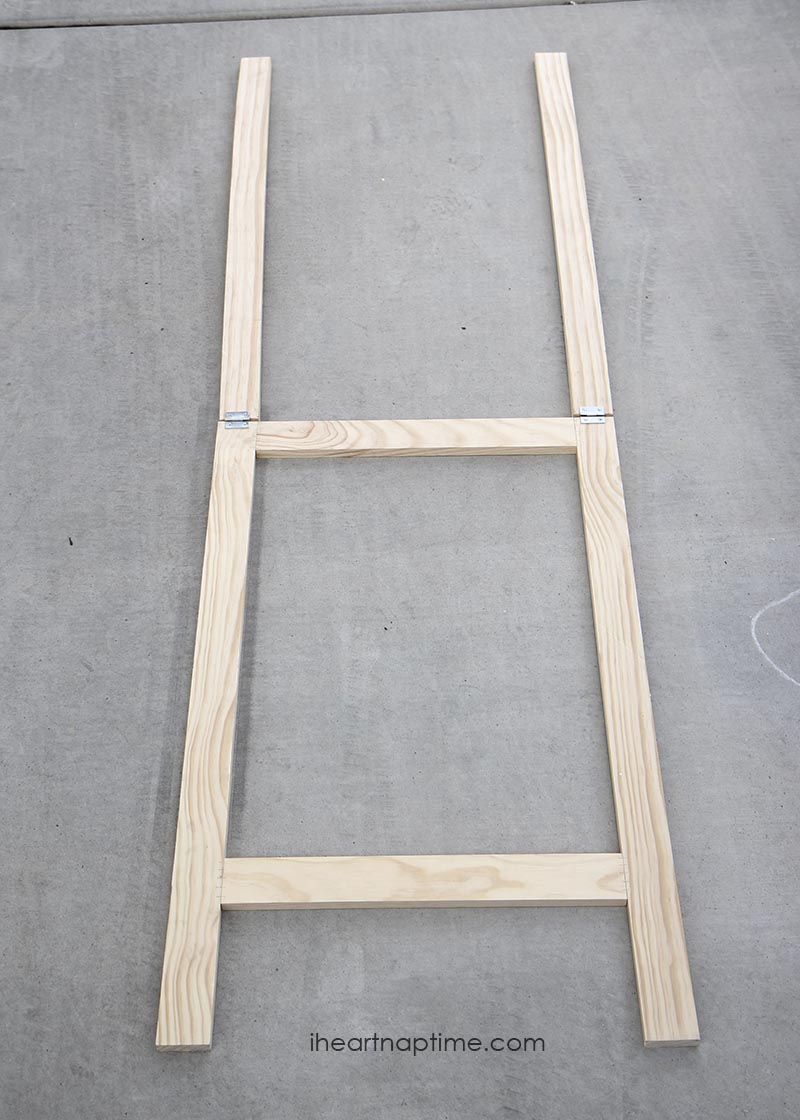
5. Align the other 40″ boards across from the hinges and drill and screw them in, as shown below. That view is showing the back side of the chalkboard sign.
6. Test to make sure it can open and close, then sand any rough edges you may have.
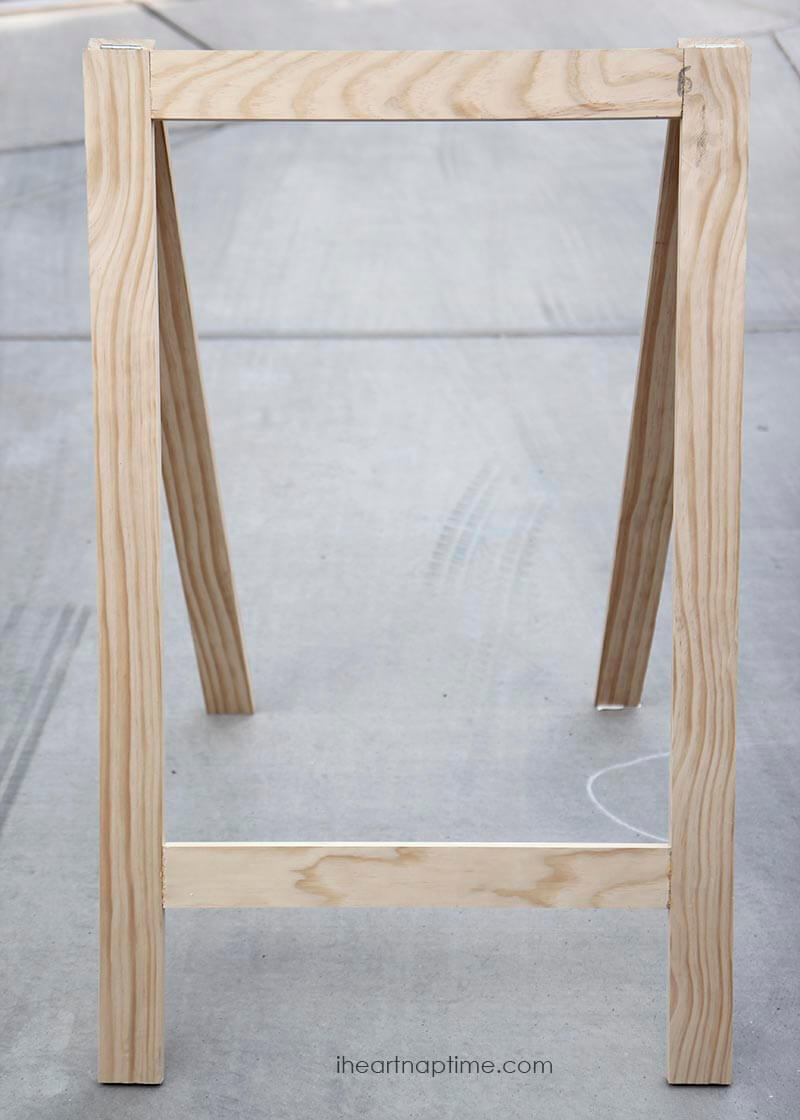
Here’s a close up view.
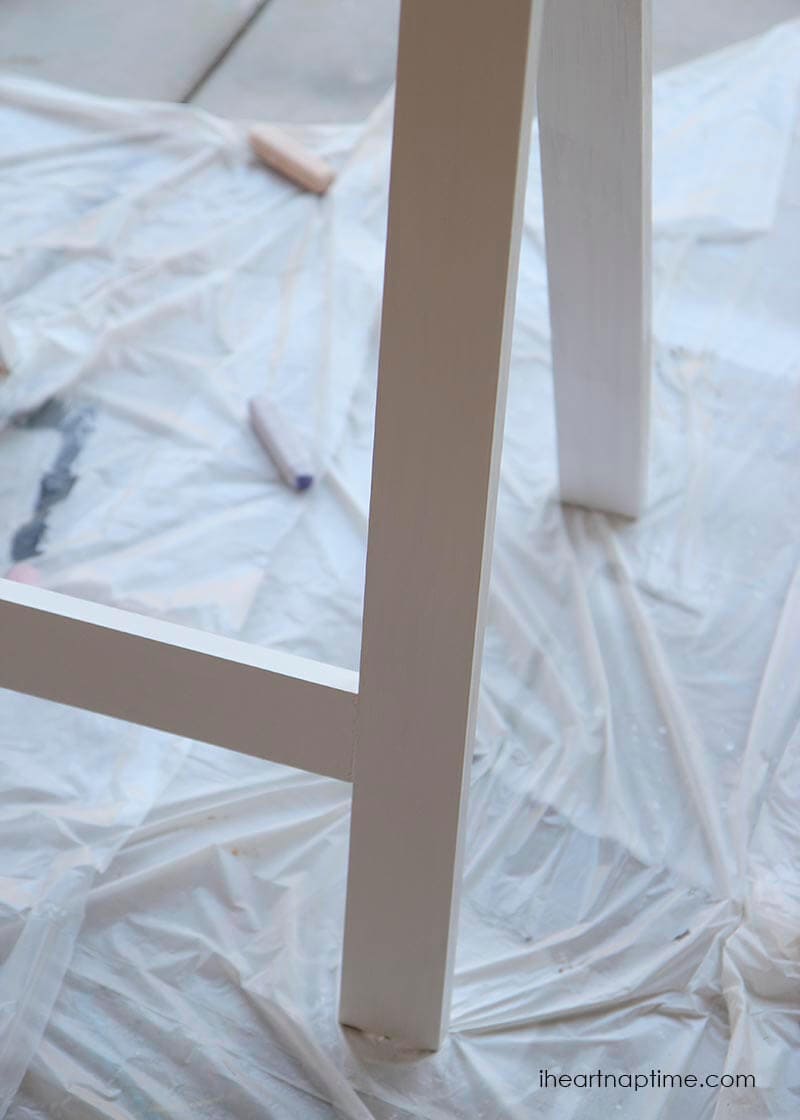
7. Spray paint two coats of paint with your desired color. Allow, to dry.
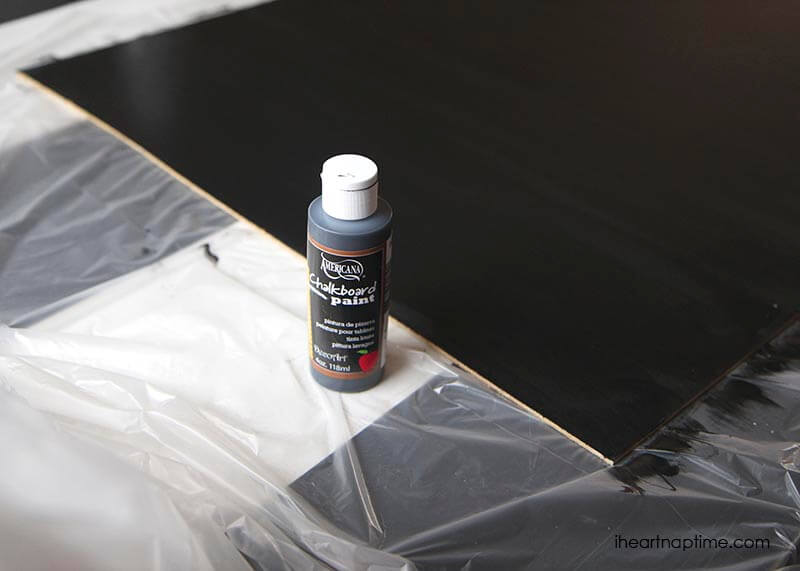
8. Paint your 20×30″ inch board with chalkboard paint. I used the Americana brand, but any brand will do. Make sure to paint vertically, wait an hour and then paint across horizontally. Allow 24 hours to cure and then rub chalk over the entire board to prime it before writing on it.
9. Place wood glue around the edges of where the chalkboard will go (on the BACK side) and then push the chalkboard down onto the easel.
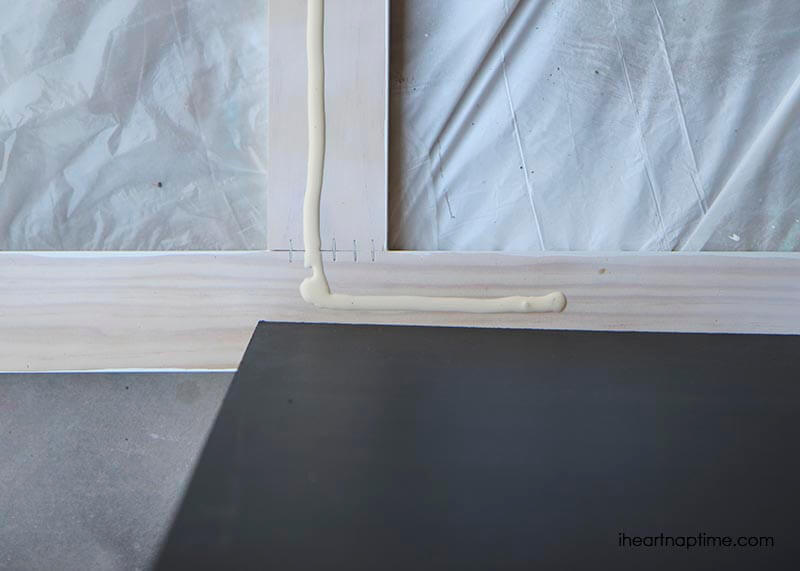
10. To secure the board, I added a few extra staples around the edges of the board. Keep your board flat until the glue is dry. Then it’s ready to go!
I added some ribbon on the top corner to tie in my sisters wedding colors. Flowers would be cute too! 🙂
Thanks for reading. Leave any questions/comments below. Have a great day! 😀
Disclosure: This post contains Amazon affiliate links.
My daughter and I just hosted a bridal shower and this would have been perfect! Such a great idea and pretty easy too. Thanks for the great pics!
This is a great idea! By the way, Home Depot or Lowe’s (can’t remember which one I was at) sells chalkboard sheets – in the lumber dept next to plywood, etc. Just another shortcut 🙂
No way?! I had no idea. Thanks for sharing!
Oops! Meant to actually write something. lol What a cute sign! I can imagine so many uses. Would be great to have for any party to welcome guests at the front door. Thanks for sharing this!
this is pretty and thank you for the tutorial; you make it look easy for me to do it! Would love to do something like this for my son’s bedroom! 🙂
Ingrid
Great idea!! Thanks for the tutorial!
This is perfect! You make it look so easy that I can’t wait to make one!
I am going to Home Depot today to get the materials for this project! So excited! Thanks for sharing,yet another, great tutorial Jamielyn!
Just an FYI… I made this sign yesterday. The thin sheet of wood for the chalkboard should be 22 x 32.
Thanks for commenting. Just updated the sheet, must have written that one down wrong. Just updated it. Thanks again! 🙂
This is the best tutorial I have come across for the DIY chalkboard signs. Thanks so much for sharing
Thanks so much for your comment Kristine! This chalk board was perfect for my sisters wedding and so much cheaper to make! 🙂
Tutorial for chalkboard paint on
http://www.lovediy.it/guide/come-fare-la-vernice-lavagna/
This looks amazing! Thank you SO much for sharing the idea:) I’m going to try to make one for my up-coming wedding! Do you remember about how much all the supplies cost?
Hi Angela! I’m sorry but I don’t remember, I wish I did!
I tried chalkboard paint on a plastic jar. It actually worked!