
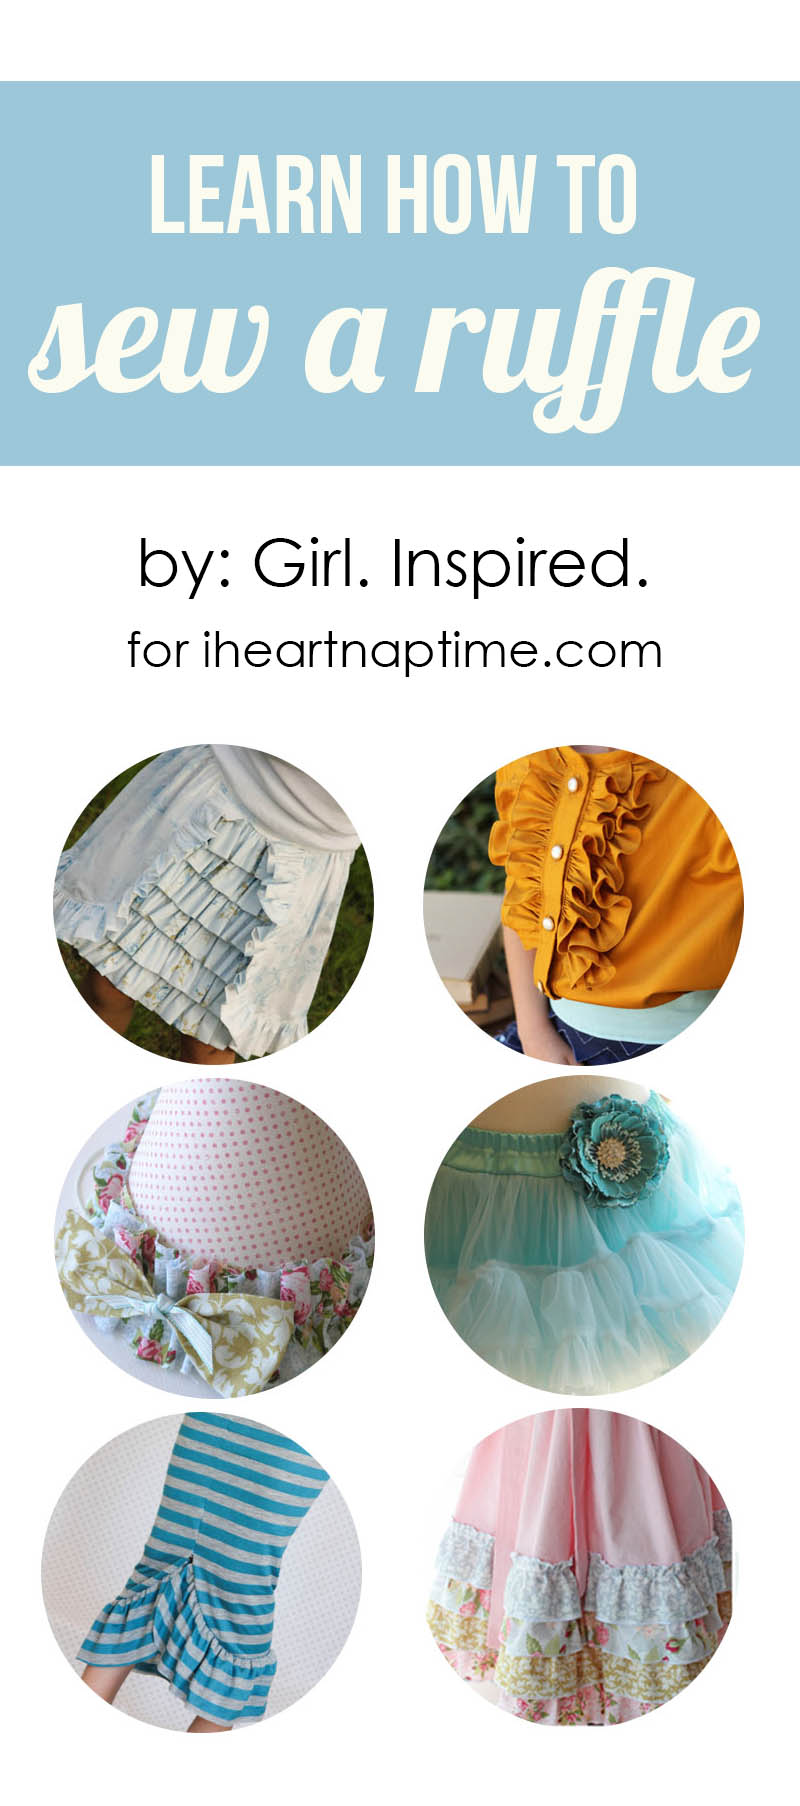
How to Sew a Ruffle – Four Methods

Hi there! It’s Stef, from Girl. Inspired. One of the most beautiful and decorative accents that you can add to a sewing project is a ruffle. Ruffles add a feminine touch to garments, home décor, even craft projects. Today, I wanted to show you four methods for learning how to sew a ruffle. Let’s get started! 
For this technique, I cut strips of fabric in 4 ½” sections; this width will vary depending on the project for which the ruffle is intended and the needed hem/seam allowances. Cut the fabric strip from selvage edge to selvage edge. In general, you will want the length of your fabric strip to be 2-3 times the length of the finished ruffle that you desire. A fuller, more gathered strip will require more length while a lightly gathered ruffle will require less. For the purposes of learning the ruffling techniques, we are not going to worry about the raw edge of the ungathered side of the strip. However, when sewing a ruffle for a finished garment/home décor project, you will probably want to finish the edge opposite the gathers prior to gathering/ruffling. A rolled/narrow hem works great (here’s a rolled hem video tutorial), as does turning the edge under ¼” and then another ¼” and stitching close to the edge. For crafting projects, people will often leave the edges unfinished for that fun, frayed edge effect. 
How to sew a ruffle
To turn your fabric strip into a ruffle, it is quite simple. Change the settings on your sewing machine to a long stitch length, with low tension (a basting stitch). Stitch about ¼” from the raw edge, leaving long tails at the beginning and end of your stitch lines. 
Remove the strip from your sewing machine. Find the bobbin thread tail on one end of the strip and begin pulling. The fabric will begin to gather. Continue to pull the bobbin thread and work the fabric down until the entire strip is evenly gathered and the length you desire. Be very careful that you don’t pull the thread all the way out from the other side! This is the most basic method to form a ruffle. 
For more evenly gathered ruffles and for ease of attaching a ruffle to another piece of fabric, I like to sew two parallel lines of basting stitches. You follow the exact same steps as above, but sew a second row of stitching ¼” below the first row of stitching.  Note that the fabric gathers more evenly as you pull the bobbin threads together at the same time.
If you’re going to be sewing a lot of ruffles, you might be interested in a ruffling foot for your sewing machine. This makes ruffle sewing SO easy. You simply remove your standard presser foot and replace it with the ruffling foot (available on Amazon). Place the fabric strip between the plates on the ruffling foot, adjust the settings on the foot for fullness, and stitch (your sewing machine settings should be standard length and tension – the foot does all the work for you). The ruffling foot will turn out a perfectly gathered piece of fabric, no bobbin thread pulling necessary! The main drawback to the ruffling foot, in my opinion, is that it takes more work to make sure that the settings are correct to give you a finished ruffle at the length you require for your project. 

You can see the three variations in the pictures above. Regardless of your method, you will want to press and steam the gathers once you have them even and at the desired finished length. This will help set them and make it easier to work with the ruffle as you continue with your project. 
One last method that is really fun for producing a quick ruffle where precision isn’t necessary, is to place the fabric strip in your machine, increase the stitch length and crank UP the tension, so it is super tight. Then, just stitch down your fabric and that tight tension will ruffle the fabric for you. 
This method doesn’t really allow for much adjustment in the gathers, but it is probably my favorite method for quick craft project ruffles or even creating party décor, such as ruffling crepe paper, like in the picture above. So, go experiment with these ruffling techniques and get to know the method you’re most comfortable with and which settings work best on your particular sewing machine. For more tips on gathering fabric and attaching a ruffle to another piece of fabric (such as attaching a gathered skirt to the bodice of a dress), you can read this Sewing Basics: Gathering post at Girl. Inspired.
Once you have your gathering/ruffling technique down, the options are really limitless. Above you can click through to a few other tutorials/projects to inspire you in your ruffling endeavors! Thanks so much for reading!
 Stef blogs at Girl. Inspired. where she shares sewing projects and tutorials, her latest adventures in cake-decorating and sugar consumption, and any sort of crafty thing she can squeeze into her day. She loves throwing parties and decorating her home with a little vintage and a lot of homemade. Stef and her husband are raising three little girls on their “farm” in Northern California. She loves dance parties with her girls, laughing with her husband, hoarding fabric, photography, and of course, coffee! Stop by and say hi! Find Stef on Facebook, Pinterest, or Instagram for more inspiration!

Thanks Stef! I’ve not done a lot of gathering before, so this is very helpful. I just pinned it! 🙂
Sheree
Great post Steph! You are so talented!
What a wonderful tutorial. Thanks for showing so many different methods for ruffling. The crepe paper ruffling had me at hello! very cute…
I really like your blog and it’s very helpfull for feminine crowd! Thank you
whats a loose stitch?
Wow, you really helped me to see the results of the various ruffling techniques! I was going to buy a ruffler, but I like the hand done ruffles better! They seem more uniform. I learned the 2 row method, but I like the results of your 1 row diagram best. I am embarking on a 3 tiered dust ruffle for my daughter in law-granddaughter’s crib, so any tips you could email me would be appreciated!
Thanks again!
Great tutorial Stef. Can’t wait to try it. Could I use one of these techniques to put ruffles on a baby’s onesie?
Hi, please help me I need to take short course to do ruffling ( to stich bedcovers)
. Kindly advise me where in Johannesburg can I get a school to do that.
YOUR HELP IN THIS REGARD WILL BE HIGHLY APPRECIATED.
I’m making a skirt, a gathered Lolita style, and I want a ruffle around the hem. do I need to hem the skirt first before adding the ruffle, or sew the raw edge and the ruffle edge together and that save me the trouble? I need to know because I want to make the length exact.
You can sew the ruffle to the raw edge, but make sure to allow enough seam allowance (at least 1/4 inch) and make sure the fabric isn’t fraying. 🙂
Thanks for the ruffling advice.
Thank you so much for this tutorial. It has saved my current project!! Also, I pinned so I wouldn’t love track of it! 🙂
Need a refresher on doing this ruffles as I have only done this once before…. But learned that there is a easier way.
Thanks
Tracy
Thank yo so much for your easy to understand tutorial on ruffles! I love restoring projects for our home, which often includes sewing. This is SO new to me, and I am grateful to pros, like yourself, for helping us newbies find a previously undiscovered hobby!
Hi, I noticed this is an older blog, but I’m so thankful I came across it.
Thank you for the simple to understand thorough instructions for the ruffles.
I’ve never read such easy to follow sewing instructions. It’s been 20 some years since I’ve really sewn a project and since I’m a self taught sewer. I never learned how to do ruffles. There was no internet back then :). I’m going to give some ruffles a try. I’m nervous, but I have to start back up somewhere and a ruffled shower curtain seems to be where I’ll learn how to make a ruffle. Thanks again. I can’t wait to read more of your blog and get some great ideas and some simple good instructions.
This is a fantastic tutorial! I have used the second method a couple times when I began sewing, but it’s been probably 8-9 years since I’ve even attempted a ruffle. I was getting nervous, since I am now venturing into sewing without a pattern, but your tutorial has given me the confidence to Get It Done! Thank you so much!
Awesome, thank you! I dont sew but once a year for halloween and basically taught myself but couldnt figure out how to make the ruffles i needed this year. I fought with it for a couple hours and wrecked a lot of fabric, and still hadnt figured it out.
I’m glad you were able to use this tutorial! 🙂