
This Dutch oven no knead bread is made with just 4 simple ingredients and 5 minutes of prep time, yet bakes up with bakery-quality results. This fresh homemade artisan bread is soft and tender with a golden crust.

This post may contain affiliate links. Read disclosure policy.
No Knead Dutch Oven Bread
This Dutch oven no knead bread is easy and hassle free with incredible flavor. Simply give the dough a quick stir, let it rise, shape it into a ball, and bake. Because it’s easier and less sour than sourdough, it’s the perfect from-scratch bread for beginners.
This homemade no knead bread is similar to artisan bread but cooked in a Dutch oven instead of on a pizza stone. Cooking it this way gives it a crusty outside and makes the bread soft and tender with airy holes in the center.
No Knead Bread Ingredients
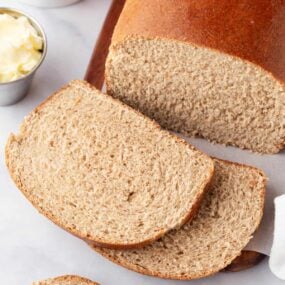
- Flour: All-purpose flour is my first choice of flour for this recipe. Bread flour can be used, it will give the bread a higher rise. You can replace 1 cup of flour with whole wheat white flour.
- Yeast: You use either active dry yeast or instant yeast. Instant yeast rises faster, so I prefer active yeast.
- Sugar: This helps feed the yeast.
- Salt: Adds flavor to the loaf.
- Warm water: The idea temperature for bread baking is 105°F. Hot water can kill the yeast so ensure it’s the right temperature.
- Optional mix-ins: Try some Parmesan cheese, fresh herbs, or roasted garlic for a fun variations.
How to Make No Knead Bread
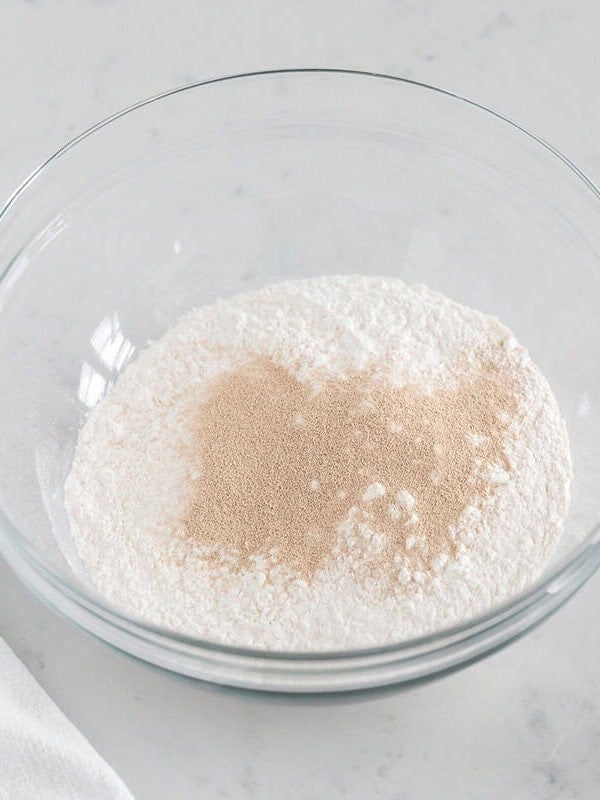
Proof the yeast by adding the flour, sugar ,salt and yeast in a large bowl, then pour the warm water on top.
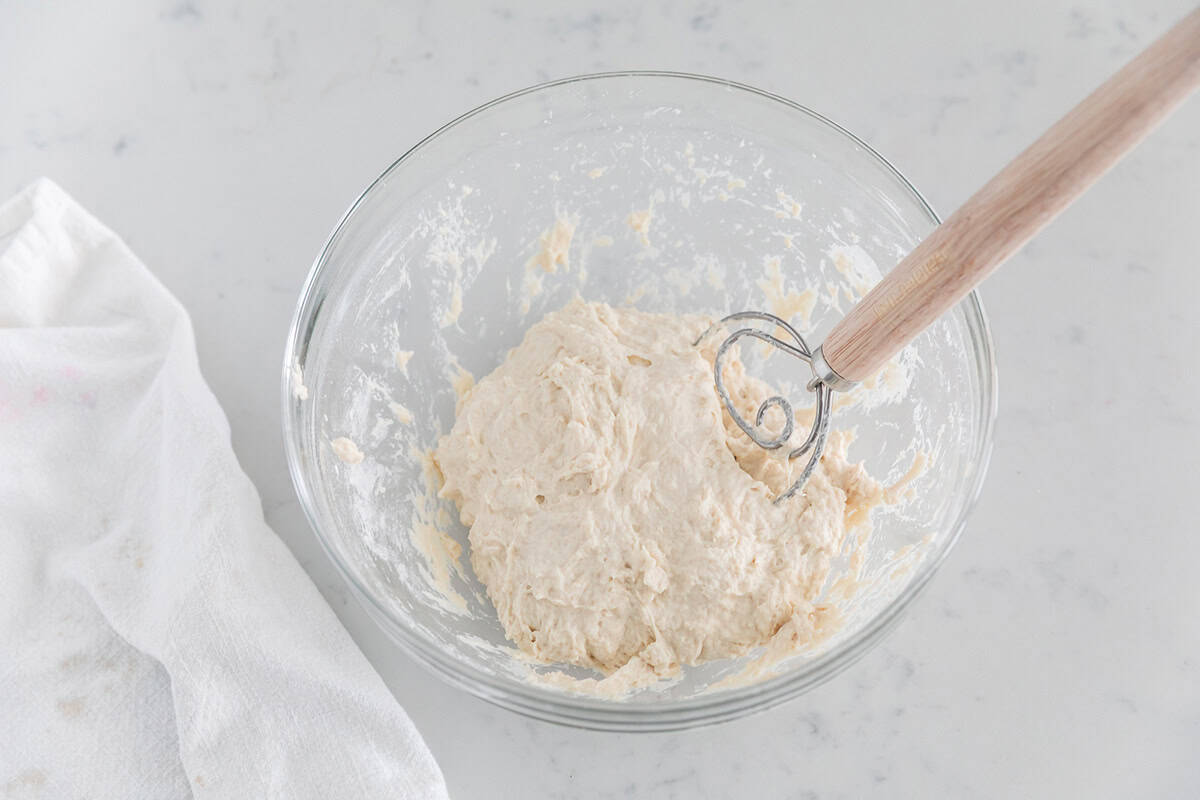
Mix together the dough until a shaggy dough forms. I like to use a dough whisk, but a spatula or wooden spoon also work great.
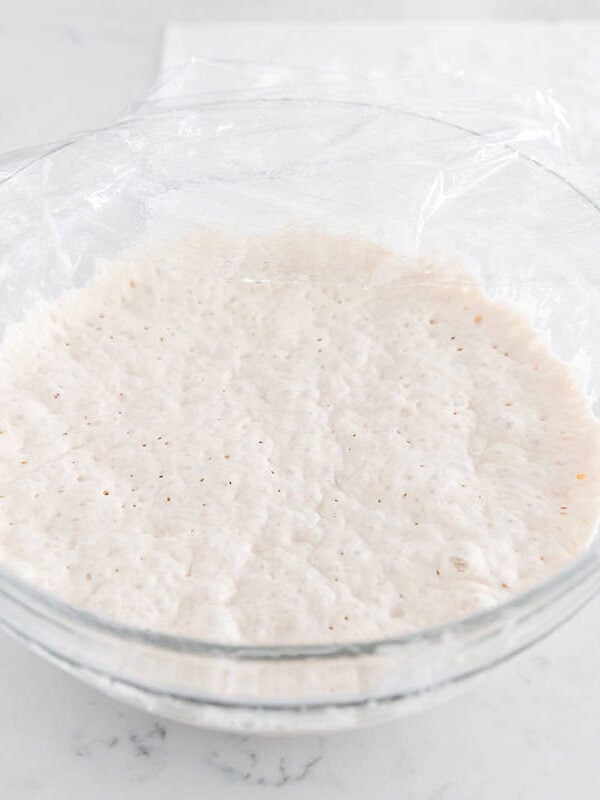
Cover the dough with plastic wrap and let rest on the counter for about 8 hours, although it can ready to bake in as little as 3 hours.
Turn the sticky dough onto well floured work surface and use your hands to quickly shape into a French boule (round ball). Cover with a kitchen towel and let rest for 30 minutes.
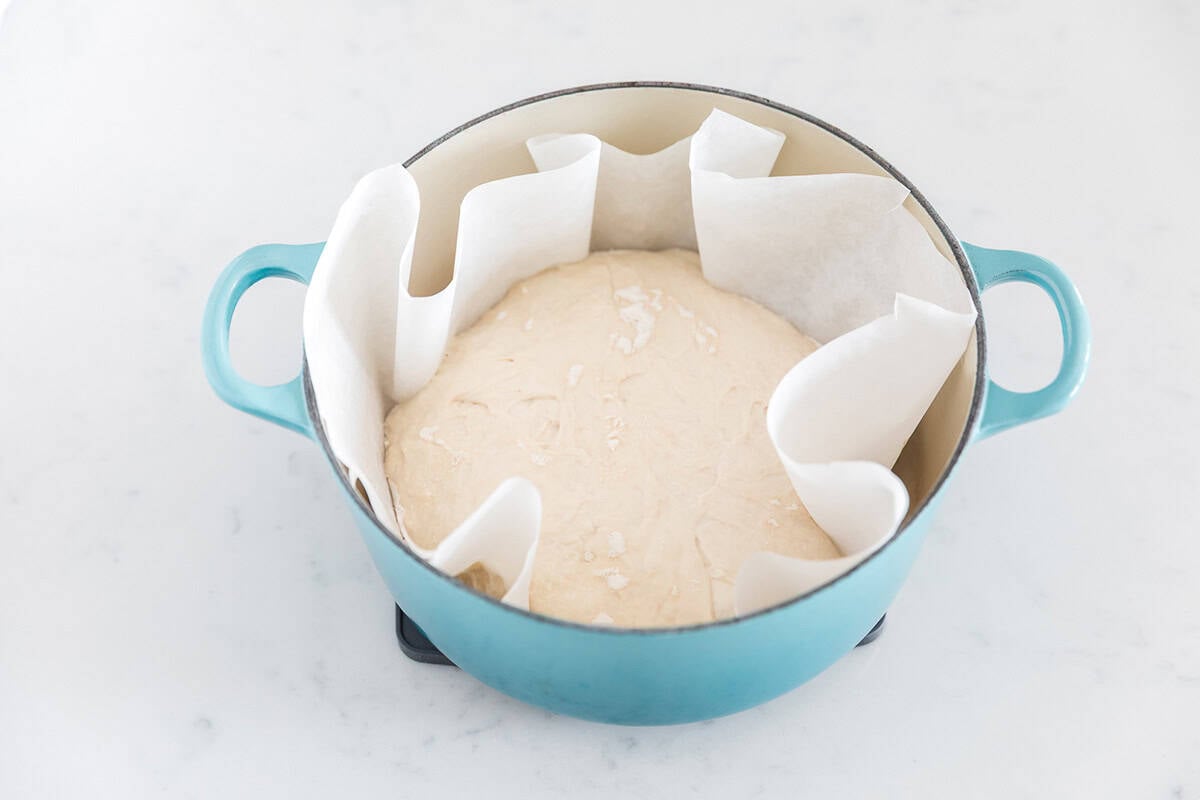
Carefully slide your dough into your hot Dutch oven. Close the lid and place pan in oven. Bake for 30 minutes, then remove lid and bake an additional 15-20 minutes. Let cool and then slice and serve.

Use a Dutch Oven with Lid
This easy no knead bread needs to be baked in a 4, 5 or 6 quart cast iron Dutch oven with a lid. A Dutch oven with a lid creates extra humidity and evenly distributes the heat creating a moist and tender bread. During the last few minutes, the bread is uncovered which creates a crispy golden crust.
It’s the easiest way to make an artisan bread that yields a loaf with a crackly crust and irresistible flavor.
Dutch Oven Bread Recipe Tips
- Dough texture. After mixing, the dough should look shaggy and slightly sticky/wet to touch. If it’s too sticky to work with, add 1-2 more Tablespoons of flour.
- Rise time. The longer it rises, the more chewy and flavorful it will be. It can rise on the counter for up to 24 hours or in the fridge for up to 1 week. If you’re short on time, you can bake after rising for 3 hours.
- Flour your hands. Because the bread dough has a sticky texture, make sure to generously flour your hands before shaping the no knead dough. No need to punch it down, knead or roll it out. Simply use your hands to gently shape it into a round ball. If you like a more rustic look, sprinkle Dutch oven with cornmeal.
- Preheating the Dutch oven. Up to an hour before you plan to bake the bread, place the Dutch oven in a hot oven to preheat. Heating the Dutch oven gives the bread the best chance for oven spring and creates a crisp crust on the exterior.
- Score the bread. Before baking use a sharp knife and make 1-3 lines across the top of the dough that are about 2-inches deep. The bread will rise better and obtain some crusty bits.
- Hollow inside. To test if it’s done, knock on the bread loaf. It should sound hollow inside when knocking.

Storing the Dough in the Fridge
If you had good intentions to bake your homemade Dutch bread in a Dutch oven at night but ran out of time, simply store the dough in the refrigerator up to 1 week to slow fermentation! I love to do this as cold dough is easier to work with to shape.
After it has been stored in the fridge just bring it to room temperature, let it rise again, then proceed with baking it in your preheated hot Dutch oven.

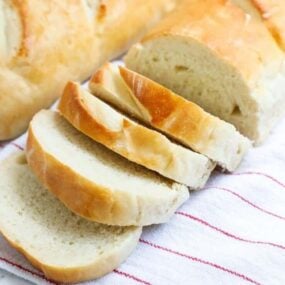
Ready to make more homemade bread recipes? Try this French bread, homemade white bread or bread bowl recipe.
More Bread Recipes


No Knead Dutch Oven Bread
Video
Equipment
Ingredients
- 4.5 cups (585 grams) all-purpose flour (more for dusting)
- 1 Tablespoon (15 grams) sugar
- 2 ½ teaspoons (14 grams) fine sea salt
- ¾ teaspoon (2 grams) active dry yeast (or 1 teaspoon instant yeast)
- 2 ¼ cups (17.8 ounces) warm water (105°F)
- cornmeal , optional
For serving: Butter and/or Jam
Instructions
Make dough:
- Place 4 1/2 cups flour, 1 Tablespoon sugar, 2 1/2 teaspoon salt and 3/4 teaspoon yeast in a large bowl. Then pour 2 1/4 cups warm water over top. Then you can use a dough whisk, spatula, wooden spoon or your hands to mix together. Stir until a shaggy dough forms and the dough is combined. The dough should be wet and STICKY, but add a Tablespoon or two more flour if it's too sticky to handle.
- Once the flour is all mixed in, cover with a towel or plastic wrap spayed with nonstick spray. Leave on the counter and let rise for 8-24 hours. If you're short on time, you can bake as soon as 3 hours (I prefer to make in the morning and bake in the evening). You can also refrigerate it for up to 7 days.
Shape:
- Generously flour the counter and your hands (use about 1/4 cup). Then turn the dough onto the counter. The dough will be sticky. Do not punch it down, knead it or roll it out. Gently and quickly work the dough into a French boule (round ball) by pulling the ends into the center. Then place into a glass bowl. Lightly dust the top with flour. Cover and let rest for 30 minutes while the oven preheats.
Preheat:
- Preheat the oven to 450°F about 1.5 hours before serving. Place a 4-6-qt dutch oven (with the lid on) into the oven for 30 minutes to get hot.
Bake:
- Remove the dutch oven from the oven and sprinkle some cornmeal into the bottom of the pot or a piece of parchment paper. Then carefully pour the dough into the pan. Use a bread knife to add 1-3 lines across the top if desired. Cover with the hot lid and bake for 30 minutes, or until it's starting to turn golden. Remove the lid and bake an additional 15-20 minutes or until golden brown. When you knock on the bread, it should sound hollow.
- Allow the bread to cool on a cooling rack atleast 30 minutes before slicing (the middle will finish cooking while it cools, so make sure to give it time to rest).
Last step: Please leave a comment and rating after you make the recipe.
Notes
Nutrition
Nutrition provided is an estimate. It will vary based on specific ingredients used.
FAQs
This can happen if the dough is overhandled, under- or over-proofed, or lacks enough gluten development. Shape the dough gently, allow it to rise properly, and consider using bread flour for better structure.
Yes. You can bake it in a heavy oven-safe pot with a lid, or use a baking stone or sheet pan with an oven-safe pan of hot water on the rack below to create steam. The crust may be slightly less crisp, but the bread will still turn out soft and flavorful.
Store baked Dutch oven bread in a paper bag at room temperature for up to 4 days so the crust stays crisp. Avoid plastic bags, which trap moisture and can soften the crust.
Yes. If you won’t eat the bread within 4 days, freeze it whole or sliced. Let it cool completely, then store in a freezer-safe airtight bag for up to 2–3 months.

Shawn Riordan
What did i do wrong? I dollowed the recipe then left it covered overnight btu when i got up this morning it looked like a bowl of oatmeal😳
Sarah @IHeartNaptime
Hi Shawn, sounds like you needed some more flour. Also if your home was warm, it can cause the flour to absorb the water more quickly.
Karen
Does it matter what type of yeast to use? Quick-rise or active dry yeast?
Sarah @IHeartNaptime
Hi Karen, since this bread has a longer rise time I would use active dry yeast.
Jerry
I love this recipe! I made it with a store brand flour and it was good but when I made it with King Arthur bread flour it was incredible! I just mixed up a batch and for some reason I though it had a tbs. of olive oil and added it in, do you think it will be ok???
Sarah @IHeartNaptime
So glad you love the Dutch oven bread! Oh on the olive oil, we have tested it with adding, but it may work, let us know how it goes.
Jill Sundell
Loved it!!! Super easy!!
Trudy
Absolutely loved this, great flavor and made home smell wonderful, making again already!! Wonderful with meal!
Sarah @IHeartNaptime
So glad you are enjoying the Dutch oven no knead bread!
Caroline Murphy
My first time and it was a success! I can’t believe how easy this was. Result : a perfect loaf of bread !