
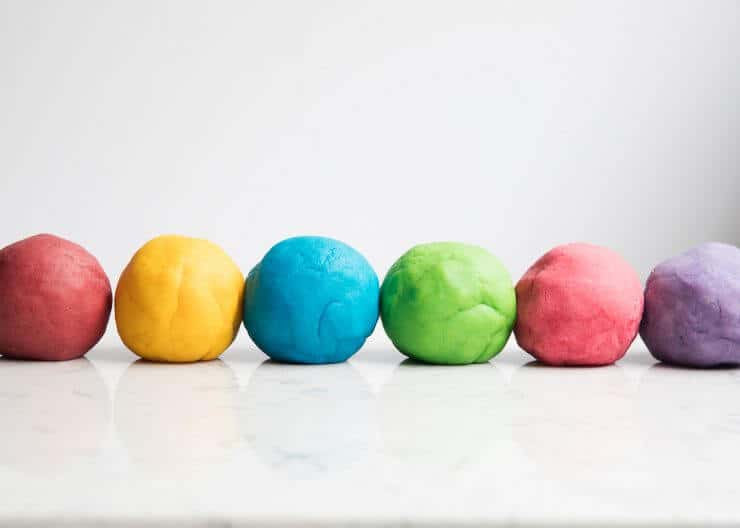
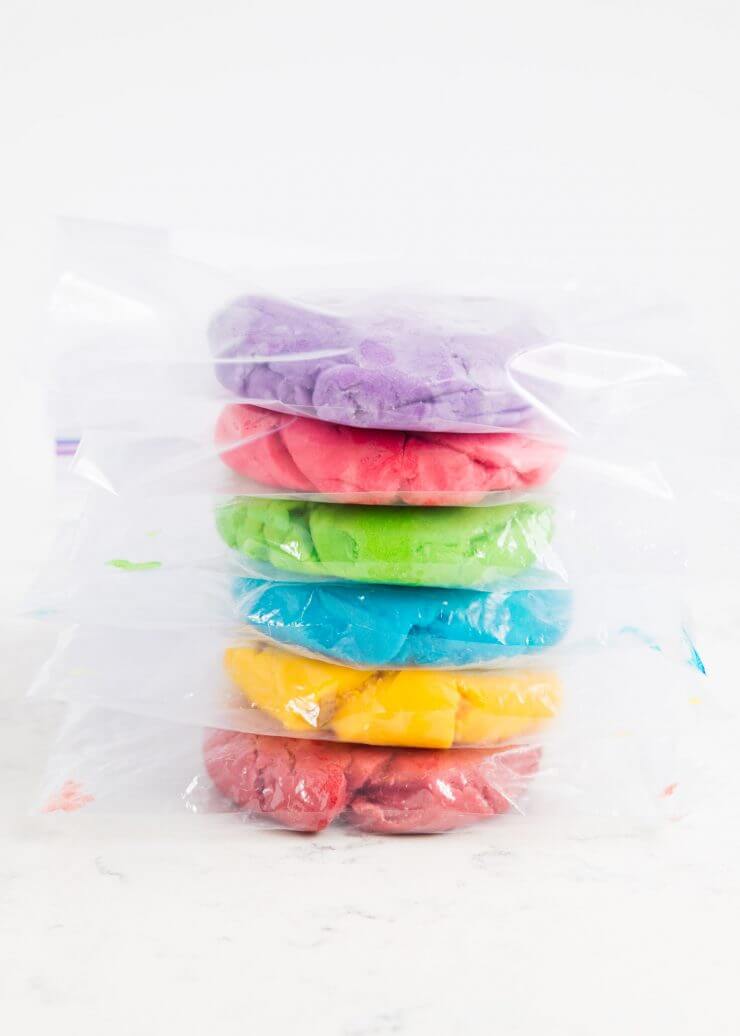
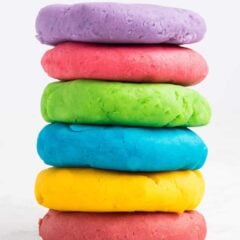
The BEST homemade playdough recipe – make in less than 5 minutes for under a $1 and have it last for months! It is so soft and squishy and cuts perfectly with cookie cutters.
This post may contain affiliate links. Read disclosure policy.
Favorite Kids Activity
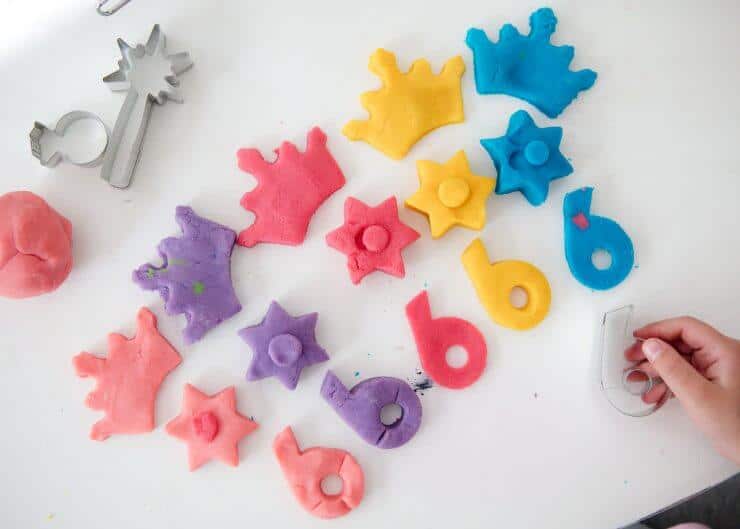
One of my kids favorite activities is playing with play dough. It is the perfect indoor activity for when it’s raining, too cold or too hot. When the weather’s nice we’ll even take it outside on the porch. My kids (age 8, 6 and 2) ALL love playing with play dough. My son pretends like he’s outgrowing it, but whenever my girls start playing with it, he always ends up joining in on the fun. I usually give them a few different colors, a mini rolling pin, some cookie cutters and let them go to town. I love seeing their imagination work.
Why is this the best homemade playdough recipe?
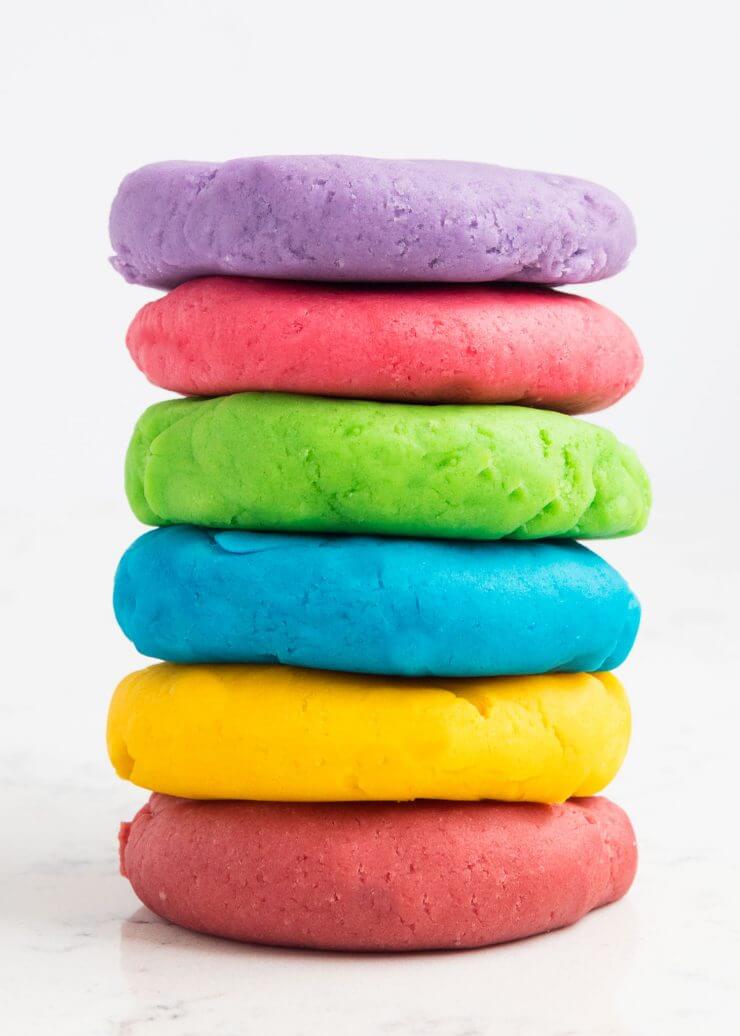
- It is SUPER soft and squishy, but doesn’t stick
- The play dough lasts for months in a zip top bag
- It is inexpensive to make
- It makes enough for 4-6 kids
- You can add different colors and even scents to customize your dough
We love making our own play dough, because it is so much softer (and cheaper) than the store bought stuff. I find it also lasts longer as well. Over the years I’ve tried dozens of recipes and this one here is the best playdough recipe out there! I got it several years ago from my son’s preschool teacher and figured I better post it to my blog so I don’t have to keep searching for it. At their preschool, the parents take turns making the play dough a different color each month and once I used this recipe, I haven’t looked back. I have slightly adapted the original recipe over the years. The main thing that I have done is cut down on the salt, as I found it keeps the dough extra soft for months!
How to make playdough
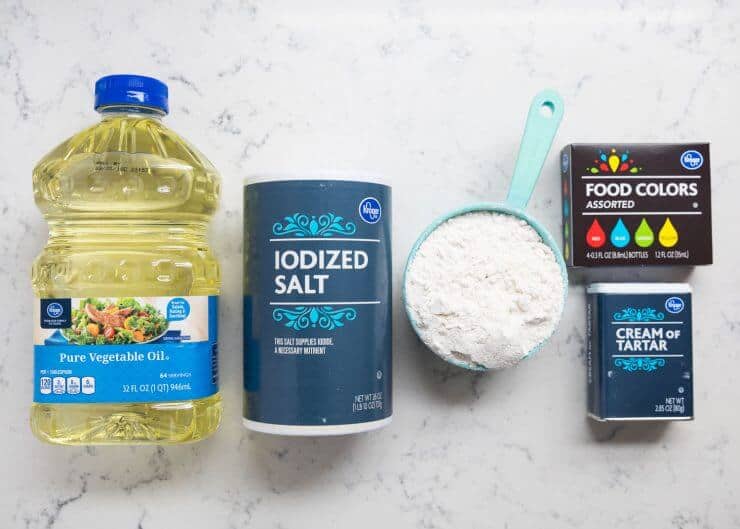
Playdough ingredients:
- 2 cups all-purpose flour
- 3/4 cup salt
- 4 teaspoons cream of tartar
- 2 cups lukewarm water
- 2 Tablespoons of vegetable oil (coconut oil works too)
- Food coloring, optional (I like Wilton gel food coloring or AmeriColor gel)
- Quart sized bags
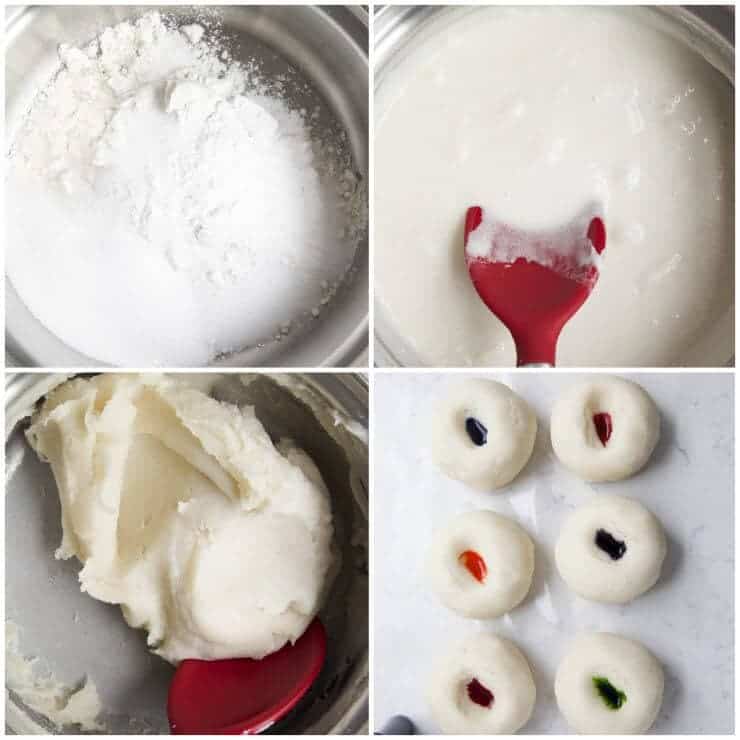
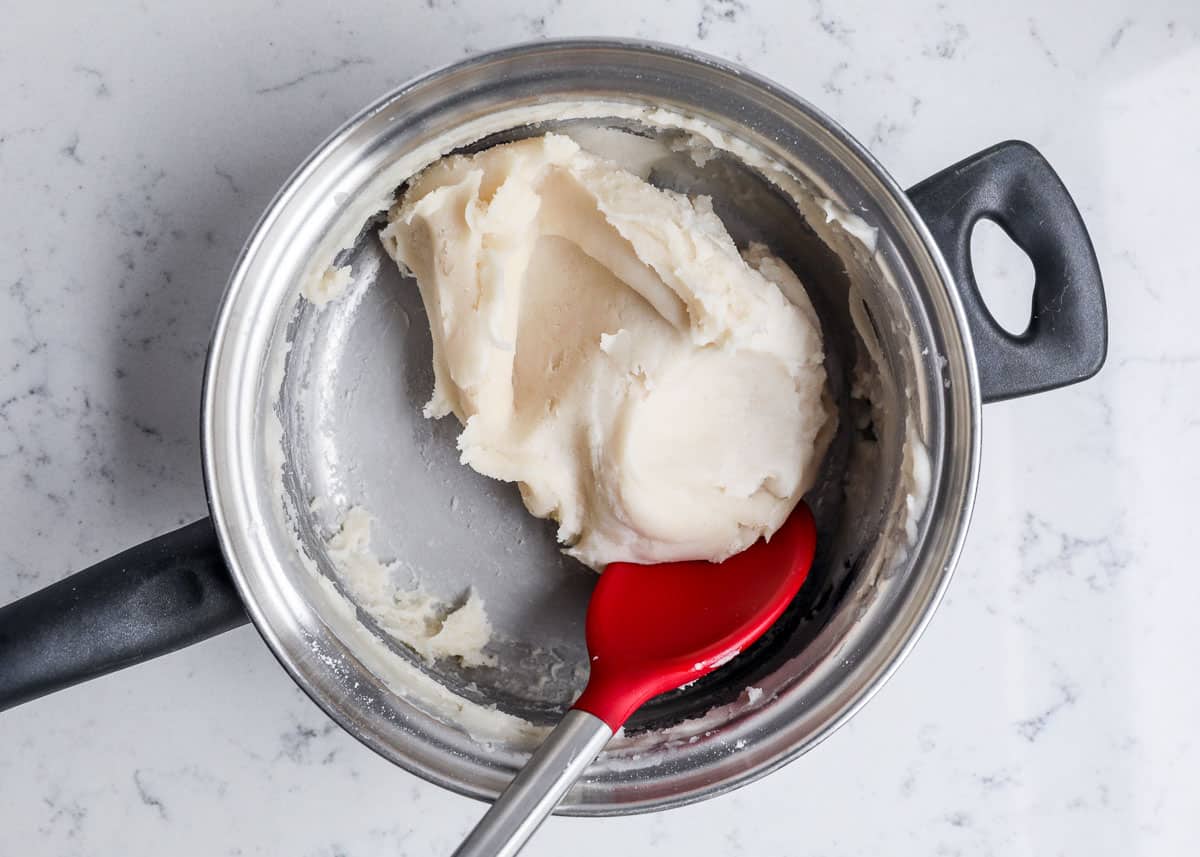
Stir together the flour, salt and cream of tartar in a large pot. Next add the water and oil. If you’re only making one color, add in the the color now as well. Cook over medium heat, stirring constantly. Continue stirring until the dough has thickened and begins to form into a ball. Remove from heat and then place inside a gallon sized bag or onto wax paper. Allow to cool slightly and then knead until smooth. If you’re adding colors after, divide the dough into balls (for how many colors you want) and then add the dough into the quart sized bags. Start with about 5 drops of color (my favorite brands are listed above) and add more to brighten it. Knead the dough, while inside the bag so it doesn’t stain your hands. Once it’s all mixed together you’re ready to PLAY.
Store the play dough inside the bags once done to keep soft. Keeps for up to 3 months.
Once the dough is finished, I like to put each dough ball into it’s own quart sized zip top bag. Then I let my kids squish the colors together. It gives the kids something to do, makes it so your hands aren’t stained and then gives the dough a home after. We use the same bag to store the dough when the kids are done playing with it. If you only plan on making ONE color, just add the food coloring into the pan when you add the water (makes it easier to mix it in). My kids can never decide on just one color, so we usually need to divide it out.
Need more kid friendly activities? Make homemade slime, fluffy slime or this recipe for butter slime, too!
How to Make Homemade Playdough
Video
Equipment
- Spoon for stirring
- Gallon size bag or wax paper for cooling
Ingredients
- 2 cups all-purpose flour
- ¾ cup salt
- 4 teaspoons cream of tartar
- 2 cups lukewarm water
- 2 Tablespoons vegetable oil (coconut oil works too)
Optional: food coloring (I use Wilton for brighter colors)
Instructions
- Stir together the flour, salt and cream of tartar in a large pot. Next add the water and oil. If you’re only making one color, stir in the the color now.
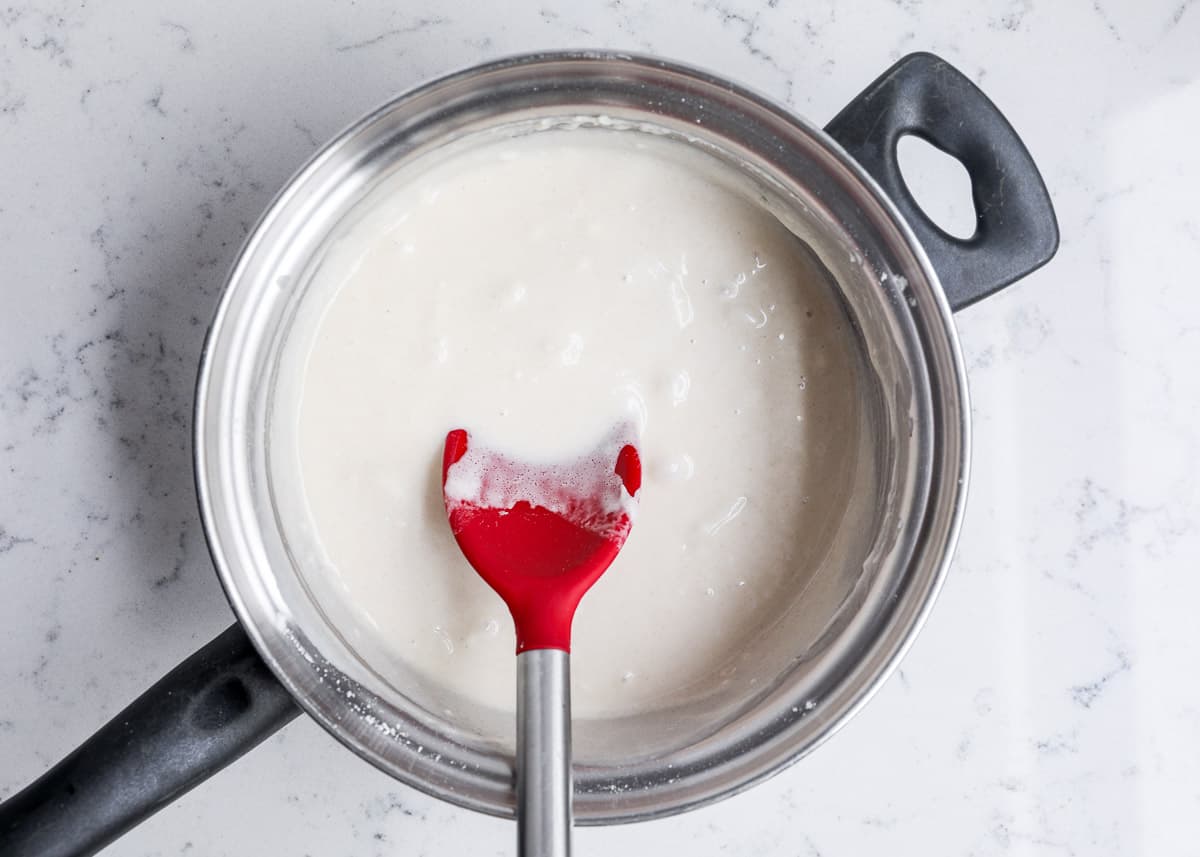
- Cook over medium-heat, stirring constantly. Continue stirring until the dough has thickened and begins to form into a ball. Remove from heat and then place inside a bowl. Allow to cool slightly and then knead until smooth.
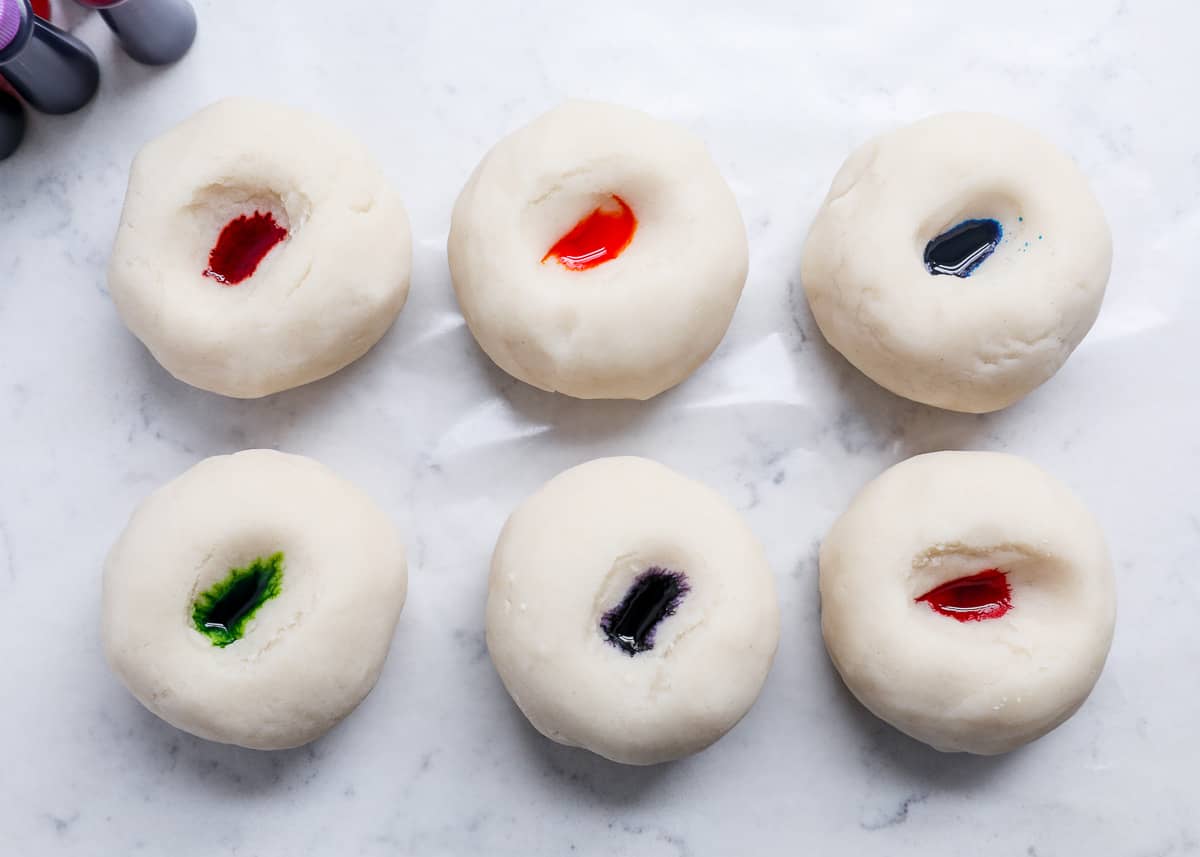
- If you’re adding multiple colors, divide the dough into balls (for how many colors you want) and then add the dough into seperate quart sized bags. Start with about 5 drops of color and add more to brighten it. Knead the dough, while inside the bag so it doesn’t stain your hands.
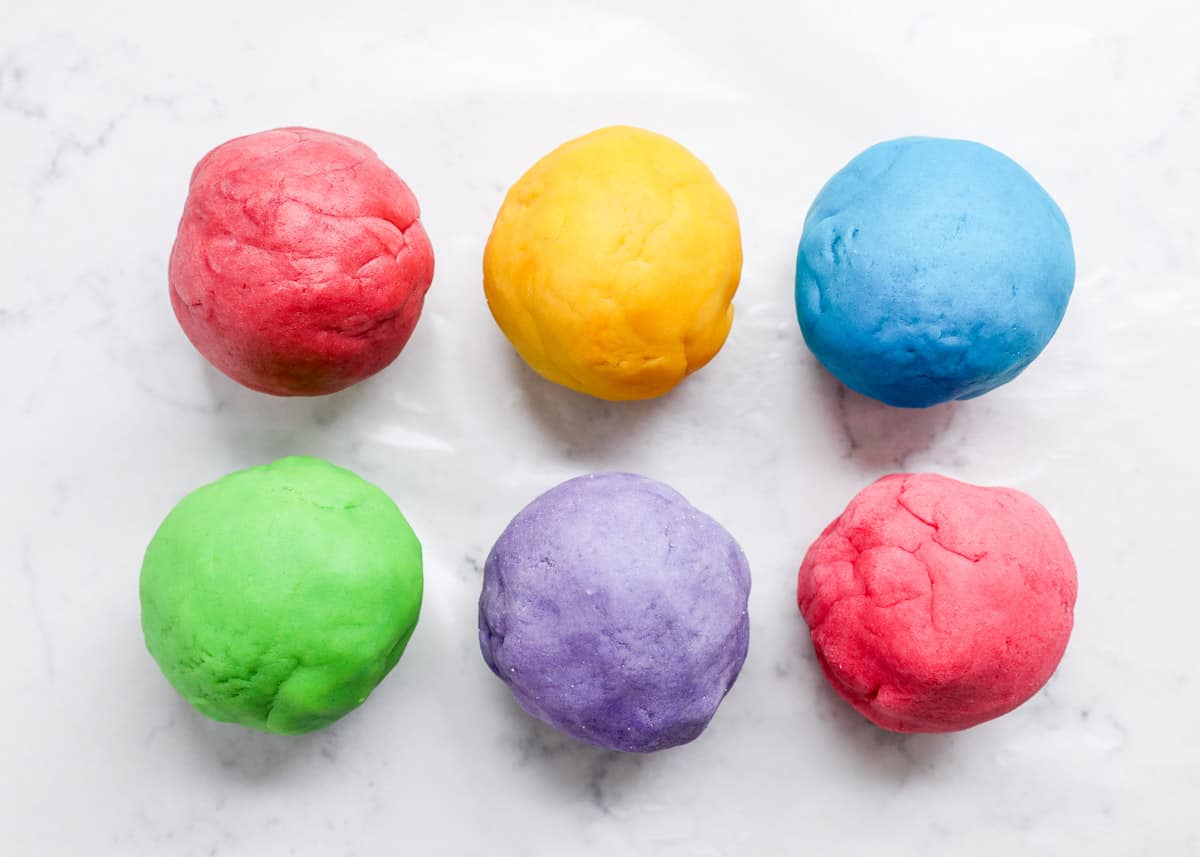
- Once it’s all mixed together, you’re ready to PLAY. Store the play dough inside the bags to keep soft. If stored properly it will keep soft for up to 3 months.
Last step: Please leave a comment and rating after you make the recipe.
Notes
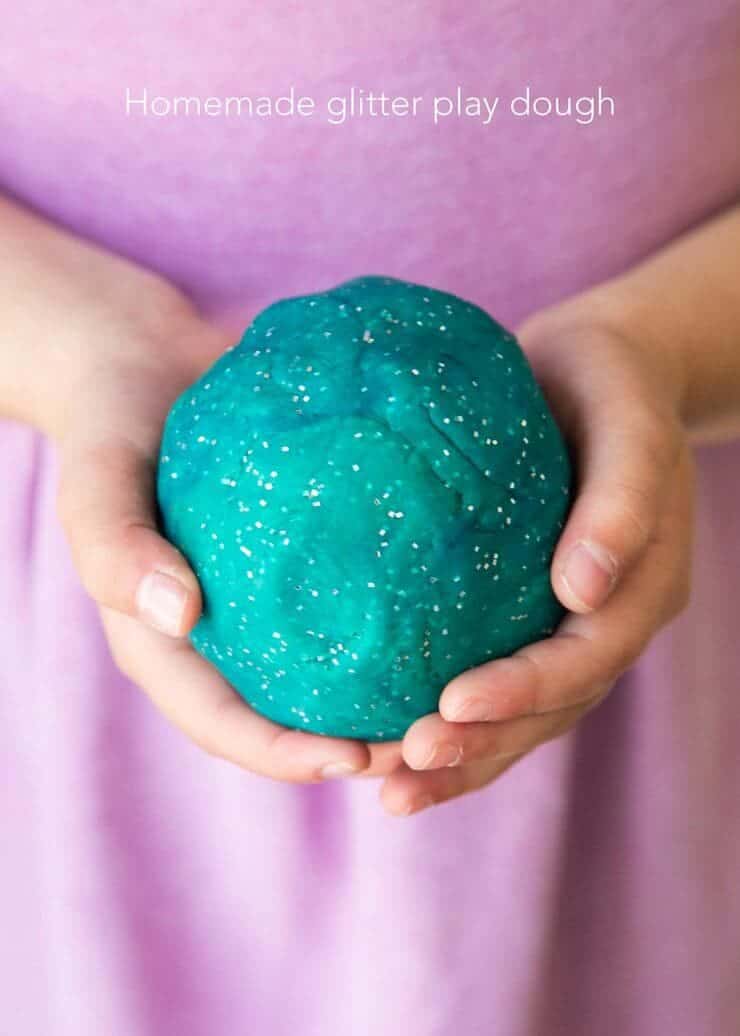
Another fun addition to the play dough is to add glitter. We added about 1/4 cup to the bag and kneaded it in with blue and yellow.
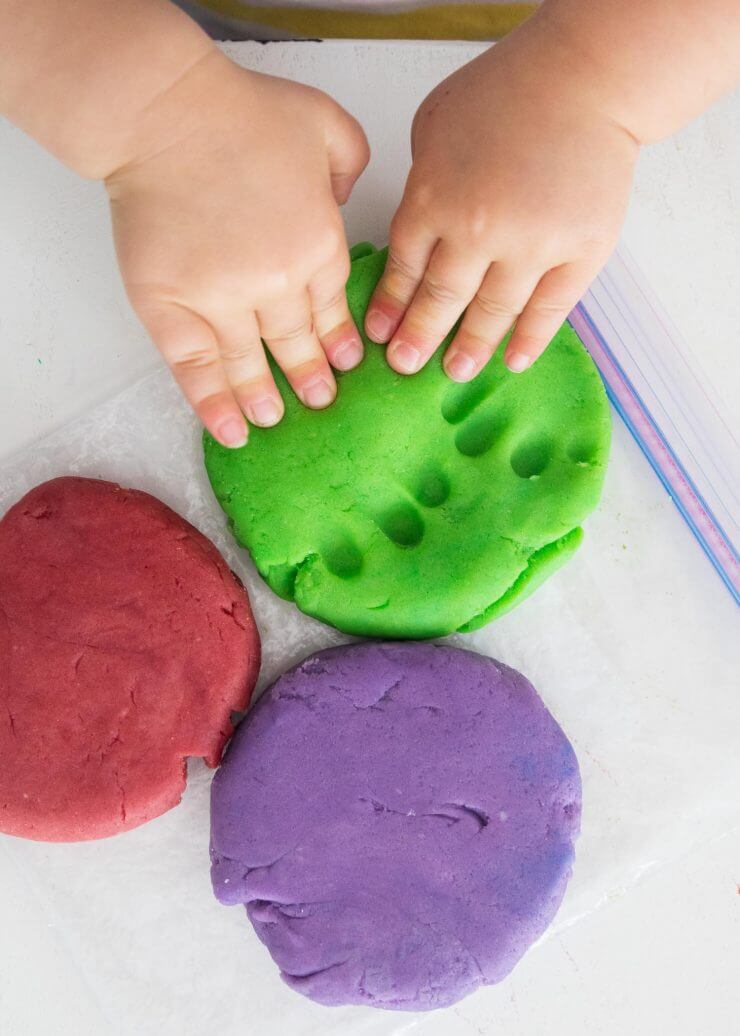
My almost 2 year old loves squishing the dough. I love watching those chubby little fingers go to work.
My 6 year old daughter loves pulling out the cookie cutters and making all kinds of designs! She is quite the girly girl. ;)
Make a batch for your kids once school is out for a summer to remember!

Emma
So super easy my little two year old helped me make it! Ours is very sticky though and I kneaded more flour in the next day, still very sticky. Do you have any tips or should I just keep adding flour? (I didn’t have measuring cups so this may be why 😂)
Carolyn Rodgers
I got a bunch of different sizes of plastic measuring cups held together on a plastic ring in the Dollar Tree.
Shaz
This is my fifth time coming back here for this recipe. It lasts over a year and I just replace it when it is left out and goes hard or the coloured doughs are mixed together so often they turn a funky colour. Dough is beautifully smooth and soft and not oily if you’re careful with your oil.
Julz
Smooth, lasts a long time, easy to make. Granddaughter loves it.
chicken
it is goooooooooooooooooooooooooooooooooooooooooooooooooooooooooooooooooooooooooooooooooooooooooood
Emi mgc
Mine isn’t white for some reason- more of an oatmeal color- has anyone else had this issue?
Jamielyn Nye
Hi Emi,
If you’re using unbleached flour it will be more of an oatmeal color. Even with bleached flour it won’t be a pure bright white, more of a natural white :)
Treasure
What could be used instead of cream of tatar please?
Jamielyn Nye
You can try using 2 Tablespoons of white vinegar or lemon juice if you’re out :)
Kathy P
My four year old helper put all the ingredients together and I cooked. Then came the fun part! After dividing the dough and adding color drops into plastic sandwich bags, time to squeeze and knead! Easy peasy! Love love love the texture! Thank you! Definitely a keeper!
I Heart Naptime Community
I love this! I’m so glad you and your kiddo enjoyed the play dough :)
Erika
Great recipe! Love bringing a batch of this to my preschool.
KC Cox
SO easy and quick. The kids and I love the texture and the amount is perfect for all 3 to play share!
Annette
Best playdough we have ever had!
Veronica
We made this recipe and it was super easy AND kept for over a year! It was still soft but we decided to throw it out and make a new batch! REALLY happy with this recipe! Thanks so much, Jamielyn! Hours of fun out of this one.
Jamielyn Nye
That makes me so happy! So glad you and your little ones have enjoyed the homemade playdough recipe.
Haley Haddad
So once it is cooled and out of the bag, the colors will not come off onto hands ?
I Heart Naptime Community
Hi Haley! There should not be any color transfer onto hands :)
Katie
Will the colors transfer to their hands?
I Heart Naptime Community
Hi Katie! No, the colors won’t transfer :)
Kim
The best play doh!! Our last batch was made during covid lockdown, a solid 3.5 years ago. We’ve used it often and stored in a ziplock when not in use and it’s still in great shape (pretty much just had to make a new batch because our toddler mixed up the colors too much). Excellent recipe! Thank you!
Elzette
Made it before, was perfect! A bit sticky this time, what can I do to fix it? More flour? Salt? Oil?
Jamielyn Nye
If it’s too sticky, you can try kneading in a little more flour.
Grant K. Smith
Will this dry and harden well? Can it be baked to harden?
Zz
My kids had so much fun with it
Ashley K
Highly recommend !!!
Amazing recipe thank you!! We made 3 batches and 6 colours and it filled 6 500gram old yogurt containers!! We love it. Soft and stretchy, just perfect. And I love that it doesn’t stink like playdough.
HOURS OF FUN!!
Anyone know how to maintain it? Or how long it lasts? Would kneeding with oil after use help maybe?
I Heart Naptime Community
I’m so glad you love the play dough recipe Ashley! As far as maintaining the dough, store the play dough inside the bags once done to keep soft. Keeps for up to 3 months :)
Veronica
Ours kept for over a year and it was still fine but we decided to throw it out and make a new batch! This stuff is amazing!! 😍😍
K
Wonderful recipe! Quick and easy and my daughter is in play-doh heaven!