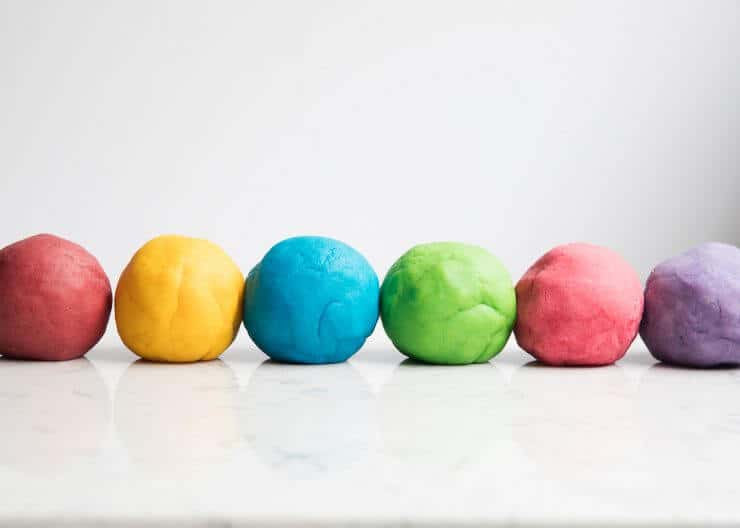
The BEST homemade playdough recipe – make in less than 5 minutes for under a $1 and have it last for months! It is so soft and squishy and cuts perfectly with cookie cutters.
This post may contain affiliate links. Read disclosure policy.
Favorite Kids Activity
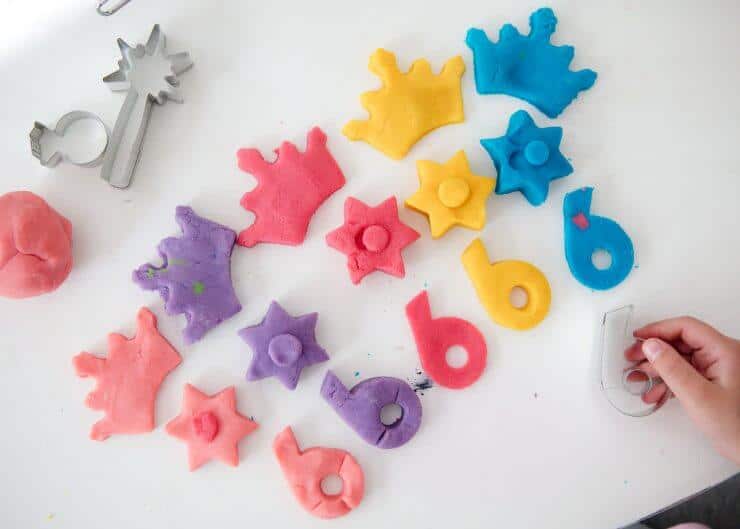
One of my kids favorite activities is playing with play dough. It is the perfect indoor activity for when it’s raining, too cold or too hot. When the weather’s nice we’ll even take it outside on the porch. My kids (age 8, 6 and 2) ALL love playing with play dough. My son pretends like he’s outgrowing it, but whenever my girls start playing with it, he always ends up joining in on the fun. I usually give them a few different colors, a mini rolling pin, some cookie cutters and let them go to town. I love seeing their imagination work.
Why is this the best homemade playdough recipe?
- It is SUPER soft and squishy, but doesn’t stick
- The play dough lasts for months in a zip top bag
- It is inexpensive to make
- It makes enough for 4-6 kids
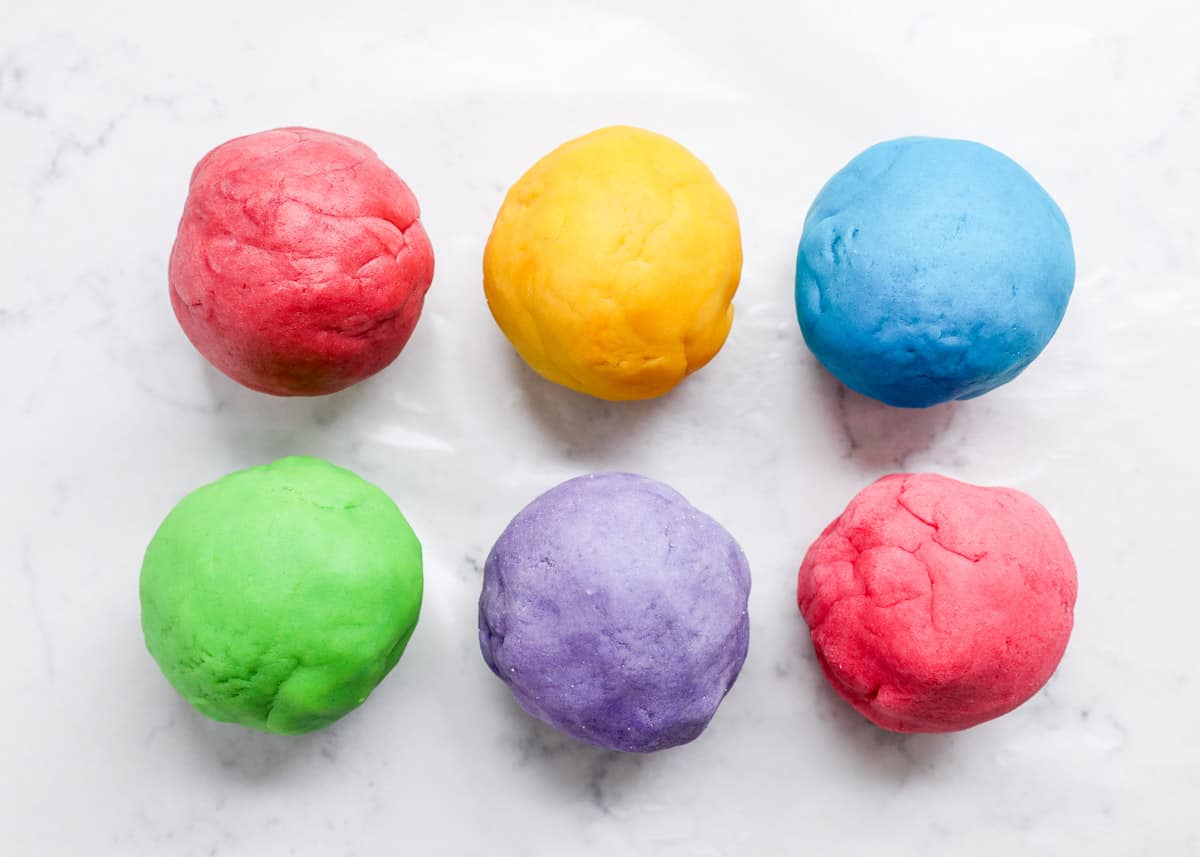
- You can add different colors and even scents to customize your dough
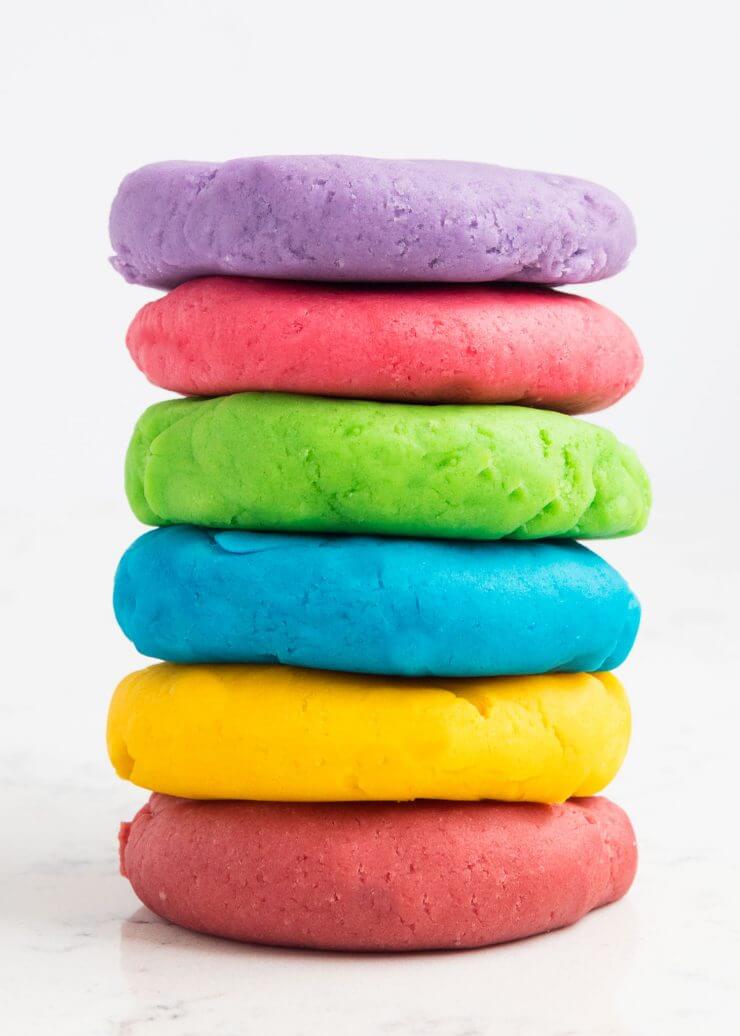
We love making our own play dough, because it is so much softer (and cheaper) than the store bought stuff. I find it also lasts longer as well. Over the years I’ve tried dozens of recipes and this one here is the best playdough recipe out there! I got it several years ago from my son’s preschool teacher and figured I better post it to my blog so I don’t have to keep searching for it. At their preschool, the parents take turns making the play dough a different color each month and once I used this recipe, I haven’t looked back. I have slightly adapted the original recipe over the years. The main thing that I have done is cut down on the salt, as I found it keeps the dough extra soft for months!
How to make playdough
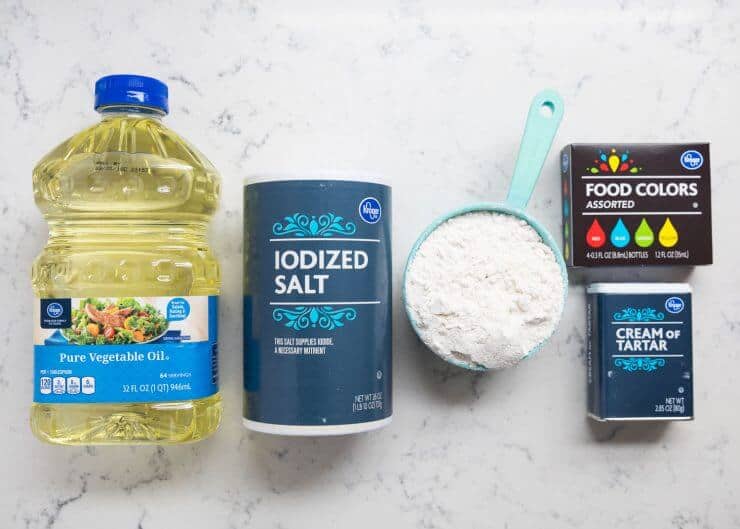
Playdough ingredients:
- 2 cups all-purpose flour
- 3/4 cup salt
- 4 teaspoons cream of tartar
- 2 cups lukewarm water
- 2 Tablespoons of vegetable oil (coconut oil works too)
- Food coloring, optional (I like Wilton gel food coloring or AmeriColor gel)
- Quart sized bags
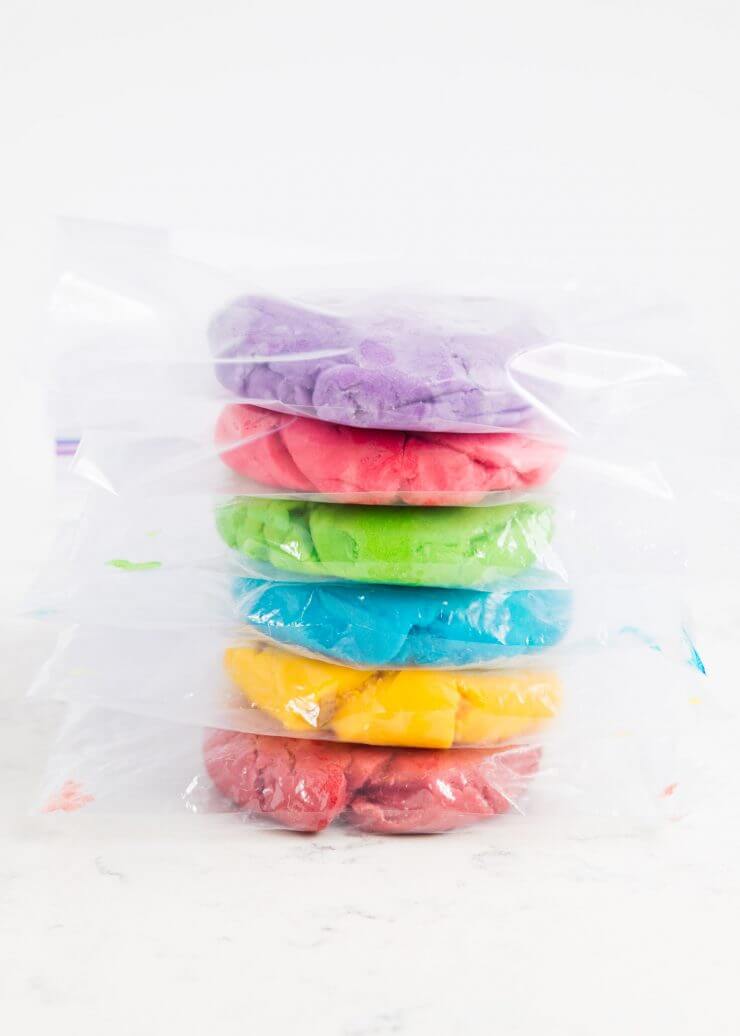
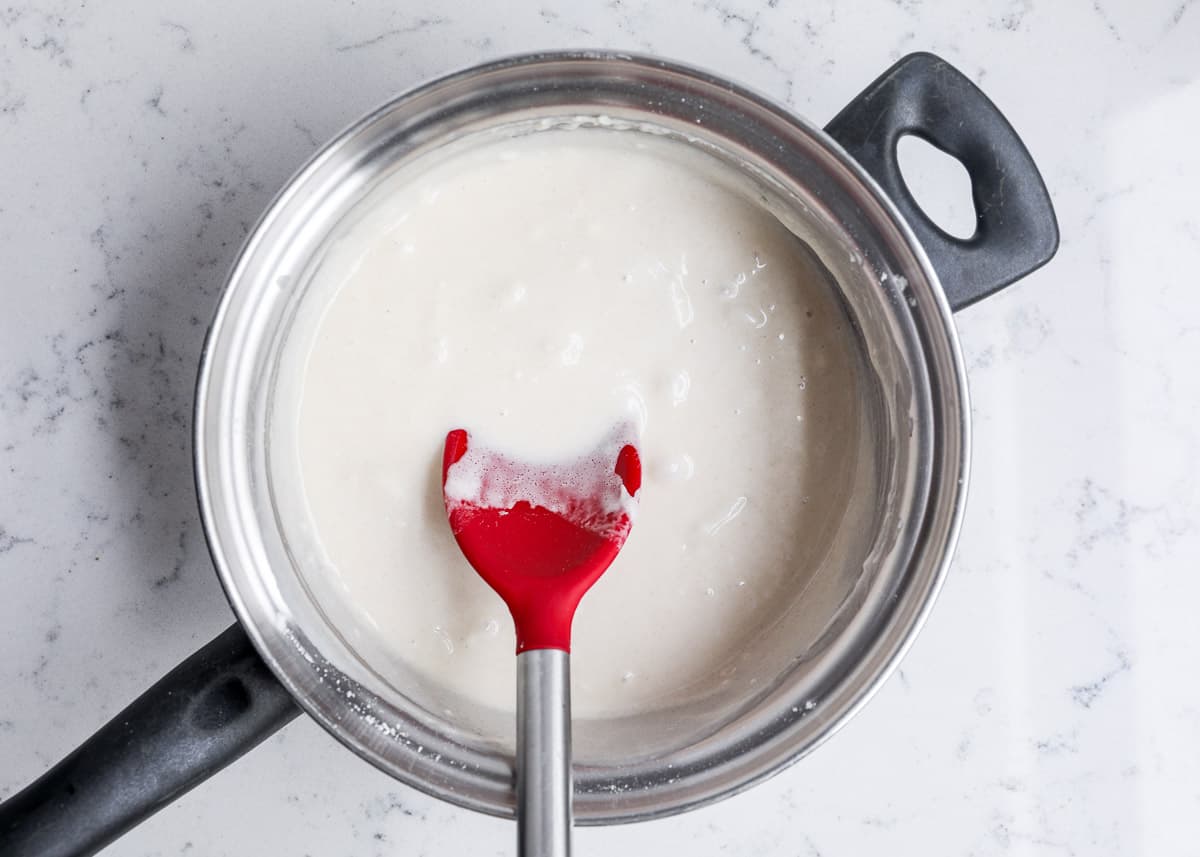
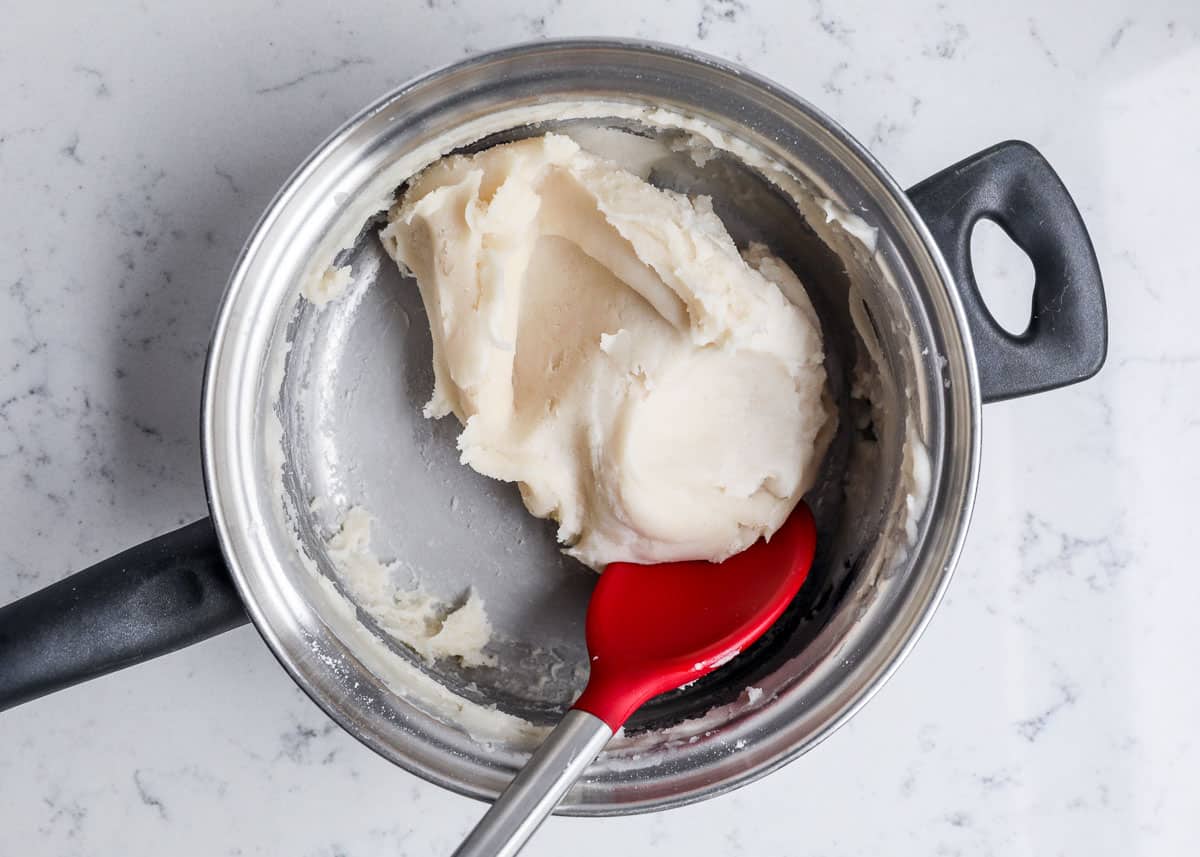
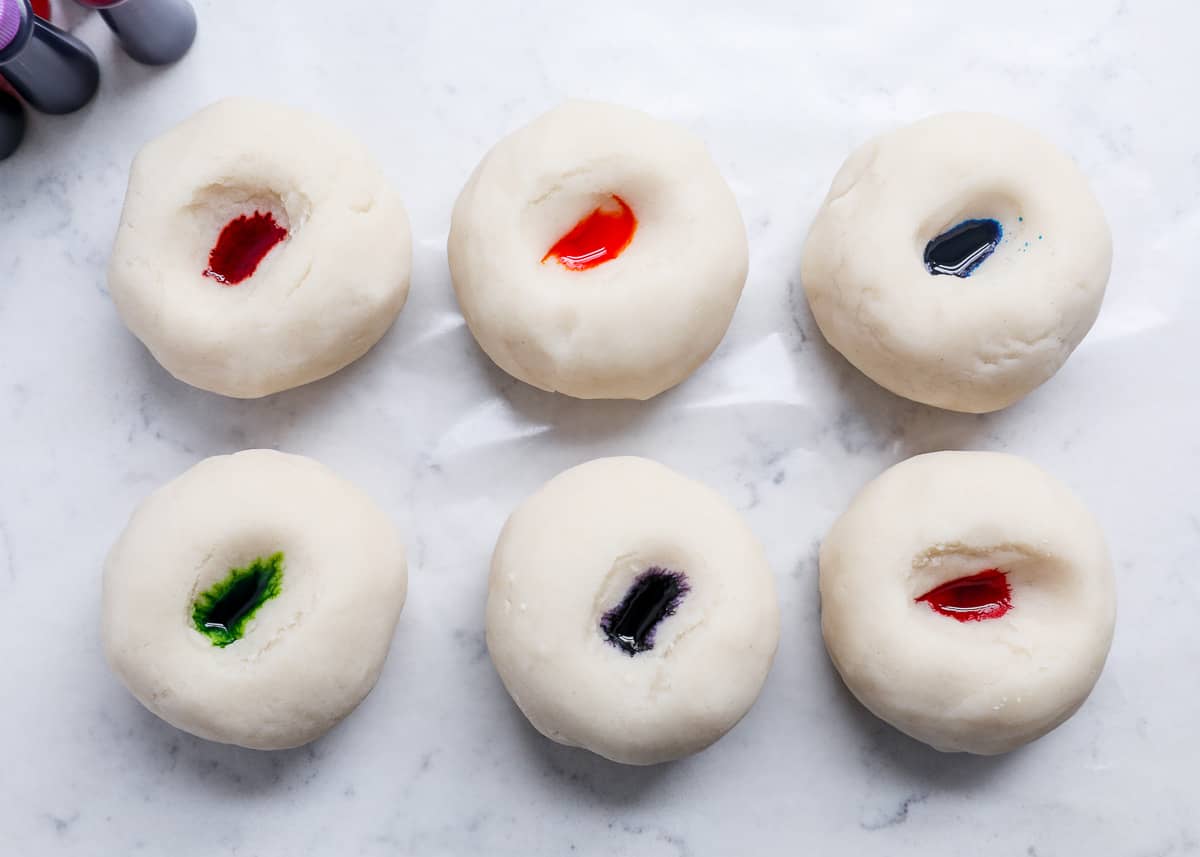
Stir together the flour, salt and cream of tartar in a large pot. Next add the water and oil. If you’re only making one color, add in the the color now as well. Cook over medium heat, stirring constantly. Continue stirring until the dough has thickened and begins to form into a ball. Remove from heat and then place inside a gallon sized bag or onto wax paper. Allow to cool slightly and then knead until smooth. If you’re adding colors after, divide the dough into balls (for how many colors you want) and then add the dough into the quart sized bags. Start with about 5 drops of color (my favorite brands are listed above) and add more to brighten it. Knead the dough, while inside the bag so it doesn’t stain your hands. Once it’s all mixed together you’re ready to PLAY.
Store the play dough inside the bags once done to keep soft. Keeps for up to 3 months.
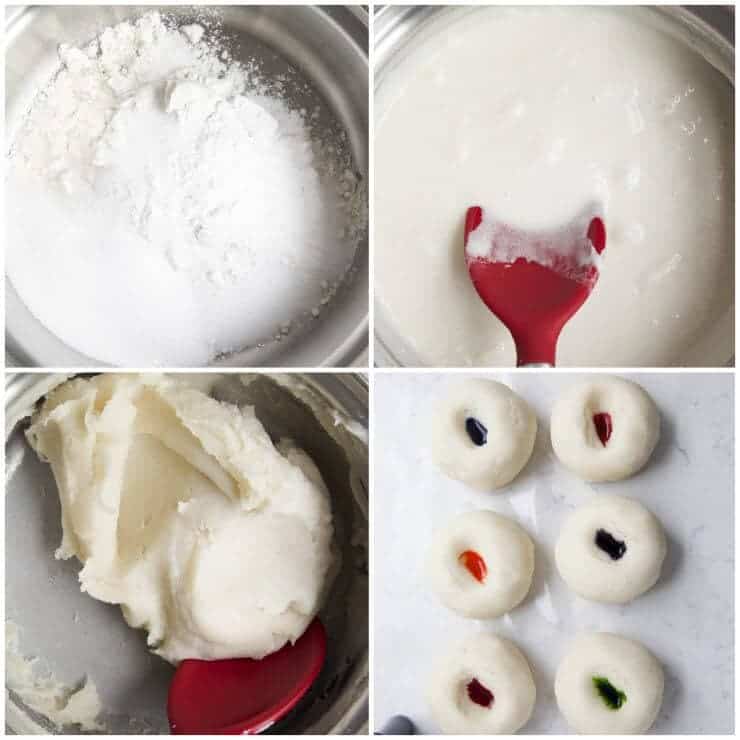
Once the dough is finished, I like to put each dough ball into it’s own quart sized zip top bag. Then I let my kids squish the colors together. It gives the kids something to do, makes it so your hands aren’t stained and then gives the dough a home after. We use the same bag to store the dough when the kids are done playing with it. If you only plan on making ONE color, just add the food coloring into the pan when you add the water (makes it easier to mix it in). My kids can never decide on just one color, so we usually need to divide it out.
Need more kid friendly activities? Make homemade slime, fluffy slime or this recipe for butter slime, too!
How to Make Homemade Playdough
Video
Equipment
- Spoon for stirring
- Gallon size bag or wax paper for cooling
Ingredients
- 2 cups all-purpose flour
- ¾ cup salt
- 4 teaspoons cream of tartar
- 2 cups lukewarm water
- 2 Tablespoons vegetable oil (coconut oil works too)
Optional: food coloring (I use Wilton for brighter colors)
Instructions
- Stir together the flour, salt and cream of tartar in a large pot. Next add the water and oil. If you’re only making one color, stir in the the color now.
- Cook over medium-heat, stirring constantly. Continue stirring until the dough has thickened and begins to form into a ball. Remove from heat and then place inside a bowl. Allow to cool slightly and then knead until smooth.
- If you’re adding multiple colors, divide the dough into balls (for how many colors you want) and then add the dough into seperate quart sized bags. Start with about 5 drops of color and add more to brighten it. Knead the dough, while inside the bag so it doesn’t stain your hands.
- Once it’s all mixed together, you’re ready to PLAY. Store the play dough inside the bags to keep soft. If stored properly it will keep soft for up to 3 months.
Last step: Please leave a comment and rating after you make the recipe.
Notes
Another fun addition to the play dough is to add glitter. We added about 1/4 cup to the bag and kneaded it in with blue and yellow.
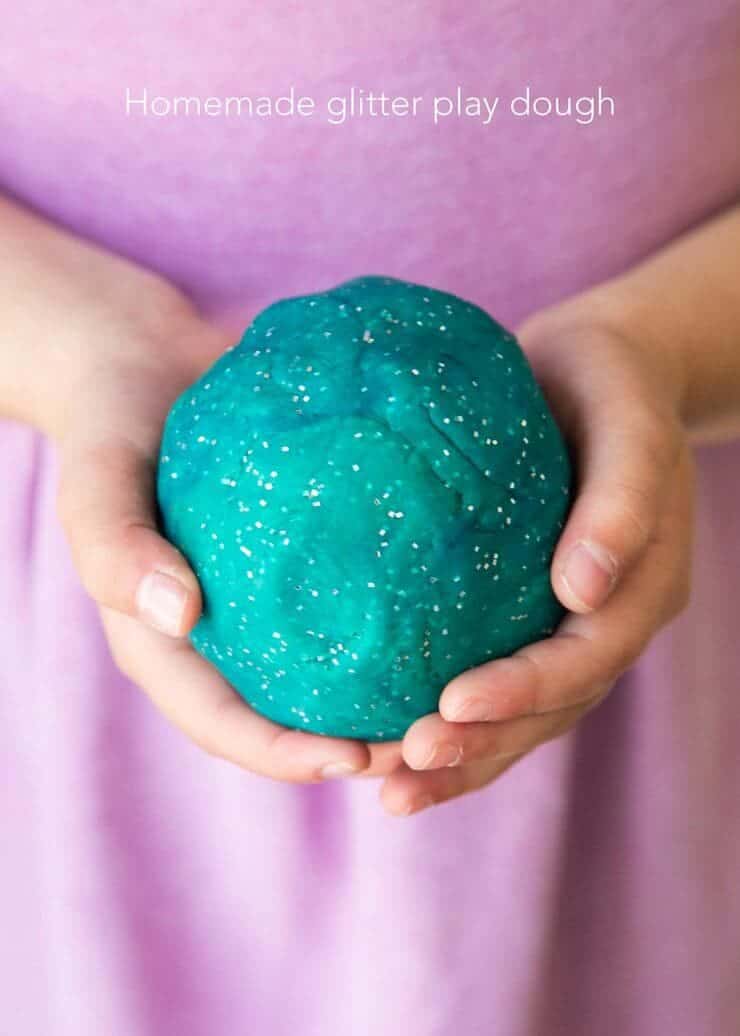
My almost 2 year old loves squishing the dough. I love watching those chubby little fingers go to work.
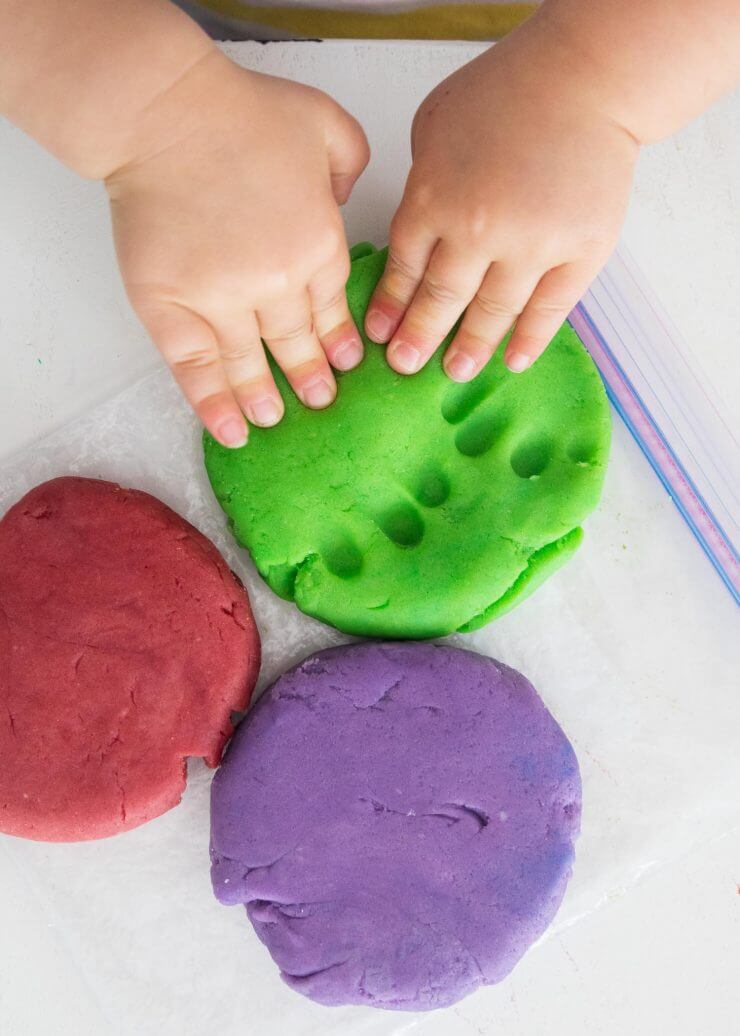
My 6 year old daughter loves pulling out the cookie cutters and making all kinds of designs! She is quite the girly girl. ;)
Make a batch for your kids once school is out for a summer to remember!



Emily
Hi! I made this and it’s great. But any suggestions onhow to prevent salt crystallising on top of the dough? Would reducing the salt to 1/2cup help?
Jamielyn Nye
I’m sorry I haven’t had that happen. I wouldn’t recommend reducing the salt too much but you could try. Is it humid where you live?
Deb
I made this recipe 3 times now with my 2 children it’s super fun . Way better than store bought . My initial point was to cut back on the trash we make buying all these plastic tubs of play dough this recipe is amazing thank you for sharing it! The past 2 times we used a crock pot out on kitchen table with extension cord so kids can really reach the pot to pour , measure and stir the recipe. The last batch we added vanilla extract for a scented play dough.
I Heart Naptime
Love the idea of the crockpot version! Great way to get the kids involved :)
Sarah
It lasted me a year! A must-have!!
I Heart Naptime
So happy to hear it! Thanks for your comment and review, Sarah :)
Holly
Have you used olive or coconut oil? I don’t have vegetable oil and rather not run to the store for it.
Jamielyn Nye
I haven’t tried, but let me know if you do :D
Jessy
Love it soooo much
Rachelle
Awesome! Love this recipe. We enjoyed it so much. The texture is great and my daughter loves it! Thanks for such a great play dough recipe.
I Heart Naptime
Yay, so happy to hear she loved it! Thanks for your comment and review, Rachelle!
Sue
This is the best playdough I have ever made with my grandson! Perfect texture. Thank you for sharing this recipe.
I Heart Naptime
You are so welcome! So glad he enjoyed playing with it :)
Rachel
This is the best play dough! Made it with my 2.5 year old. It has a great texture, and the smell reminds me of childhood : )
I Heart Naptime
I’m so glad your little one enjoyed it! Thanks for your comment and review, Rachel :)
Linda Kruger
Avery, at 6 years, rates this playdough a 5 and says it is good. He has had good fun playing with it.
I Heart Naptime
I’m so happy to hear that! Thanks for the 5 star rating, Avery :)
Sam
Texture IS great. I’ve made some recipes that were gritty and crumbly. I think cooking it is the trick! Thank you.
I Heart Naptime
You’re welcome! So glad you enjoyed it, Sam :)
Kelly
I’ve made this recipe multiple times and each time it’s the best play dough I’ve ever made! I always get anxiety at first when it’s all watery while heating up, sticking on the sides and bottom of the pan, but I keep stirring and scraping and it always ends up balling up perfectly. My preschoolers love it and, when stored in a freezer bag, it maintains great consistency for months. Thanks for the recipe!
I Heart Naptime
I’m so happy to hear you love it so much! Thank you for your comment and review, Kelly :)
Jill Burgoyne
This was perfect. It was a great activity to do with my 4yo and 6yo. We LOVE the texture. Thank you for posting!
Avis Wolfer
It was fun and easy to make and my hands didn’t get colored, because the playdough was totally contained within the baggies. I can’t wait until the grandkids “dig in”!
I Heart Naptime
I hope they love it! Thanks for your comment and review, Avis :)
queticogirl
Although I haven’t made this yet I am very impressed with the ‘print recipe’ function. The ability to include the recipe image or the instruction images are nice, but the ‘batch quantity’ is awesome! I have never seen an online recipe that let’s you double or triple the recipe and the ingredient amounts adjust automatically without reloading the page. This should be the print software that all online recipes use. Kudos to the technologist that wrote the software!
I Heart Naptime
Thank you so much for your nice comment! We’re so happy to hear you enjoyed those features on our site! :)
Jenna
Recipe worked well, my toddler’s ideas of what to do with it still needs work though! I went subtle on the color which I wouldn’t recommend. Go bold!
Helen Coish
This recipe is excellent and lasts a very long time in a plastic bag.
I Heart Naptime
So glad you enjoyed it, Helen! :)
MARIA DAVES
I just did this playdough with my son and it turned out to be great! Thank you for sharing this recipe.
I Heart Naptime
Yay, so happy you both enjoyed it! :) Thanks for your comment and review, Maria
Beth Browne
Please consider removing the glitter suggestion. Glitter is a nasty microplastic and is terrible for the environment. If you want to include a variation, consider adding non-toxic scent, like peppermint extract or cloves.
Niamh
I agree re the glitter, you could add food sprinkles for some interest. I recently found some galaxy ones which were awesome. You can also search and find non plastic glitter… more expensive but worth the enviro consideration. If I can find the link again I’ll share! Love the recipe and the quantity adjustment ability.