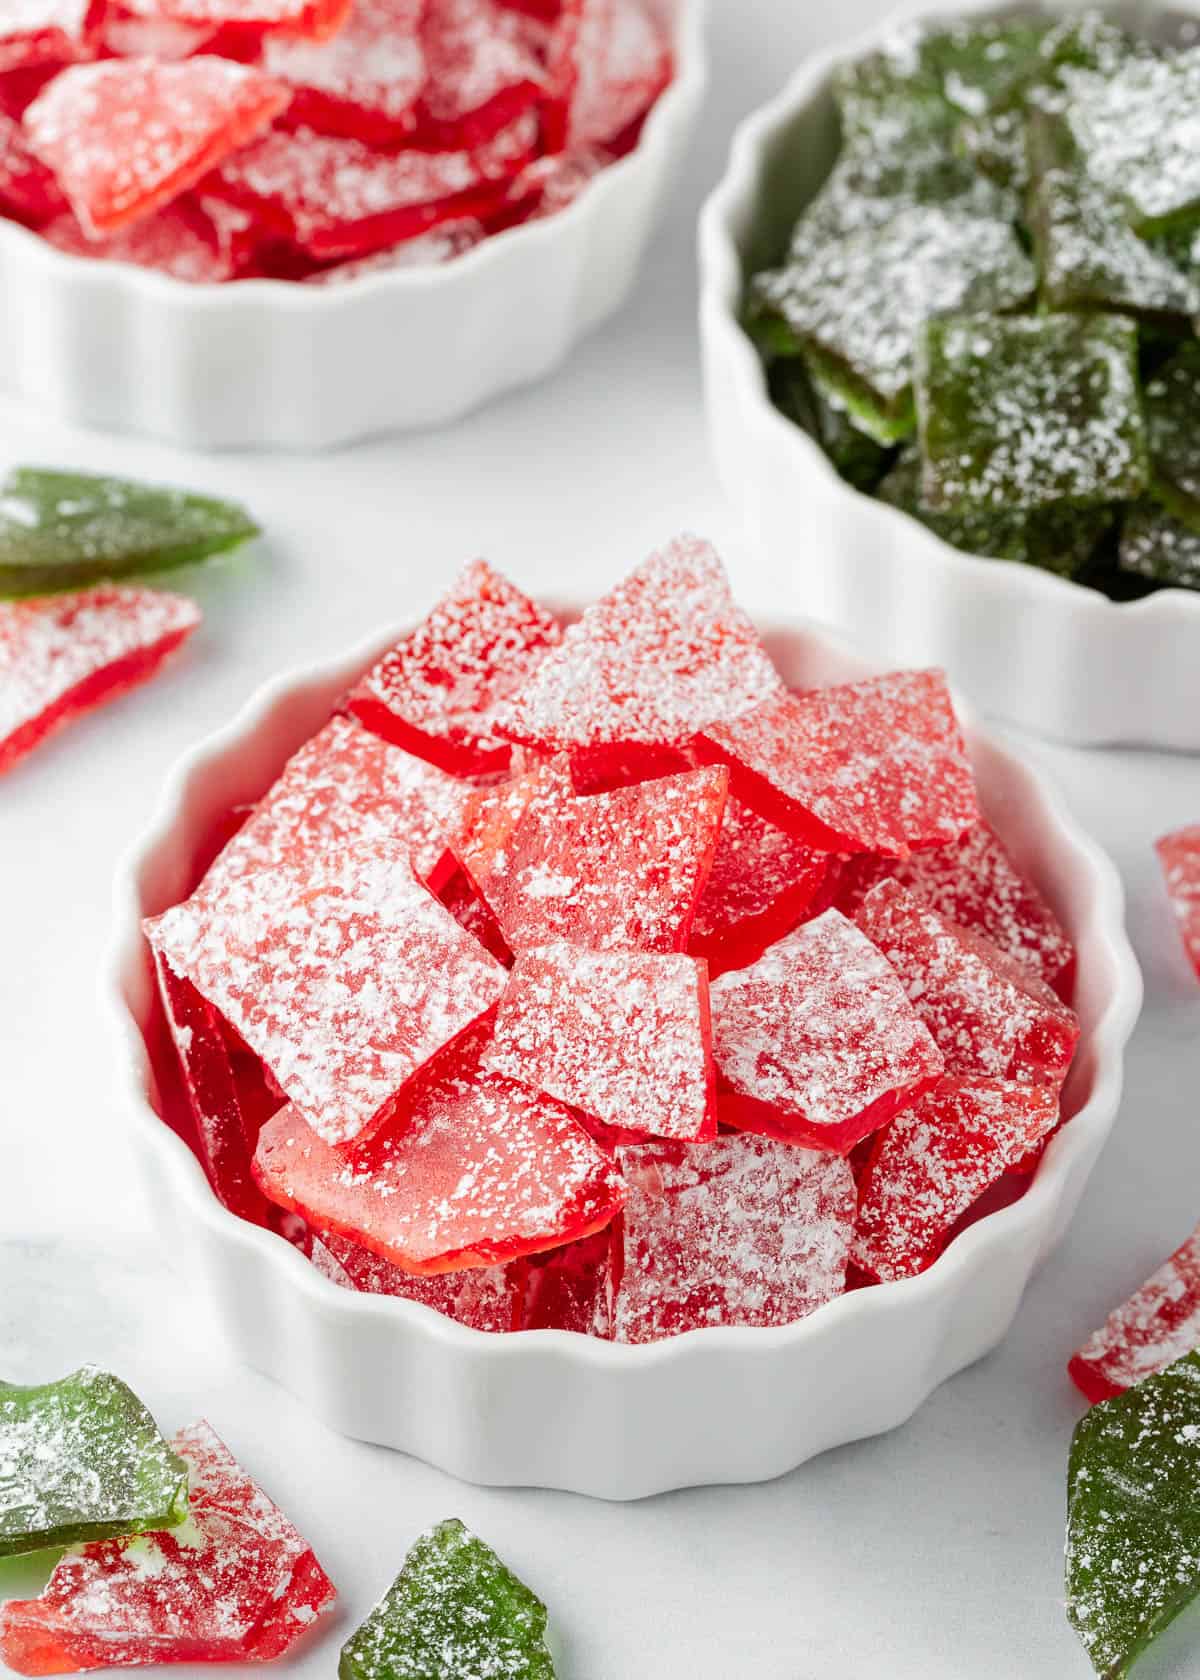
Homemade hard candy is surprisingly simple to make with this easy, step-by-step recipe. Customize the flavor and color for any occasion and create a glossy, old-fashioned treat everyone loves at the holidays!
This post may contain affiliate links. Read disclosure policy.
Easy Homemade Hard Candy
Homemade hard candy is surprisingly simple to make, and it’s so much fun to customize the flavor and color. With just a few basic ingredients and a quick stovetop boil, you’ll have sweet, old-fashioned candies that are perfect for cookie trays, gifting, and holiday celebrations.
For more candy making fun, try this divinity candy recipe or my cool whip candy! I have been making both for years and they make great Christmas gifts.
Why You’ll Love this Recipe
- Simple and fun: This sweet treat uses just a handful of pantry staples and can be tinted any color for the holidays or year-round celebrations. Once cooled, it breaks into shiny little shards that look like colorful glass candy.
- Easier than you think: Homemade candy sounds intimidating, but this batch comes together on the stovetop in about 20 minutes. Kids can help choose flavors and colors and it’s a fun way to learn a little candy-making science along the way.
Ingredient Notes
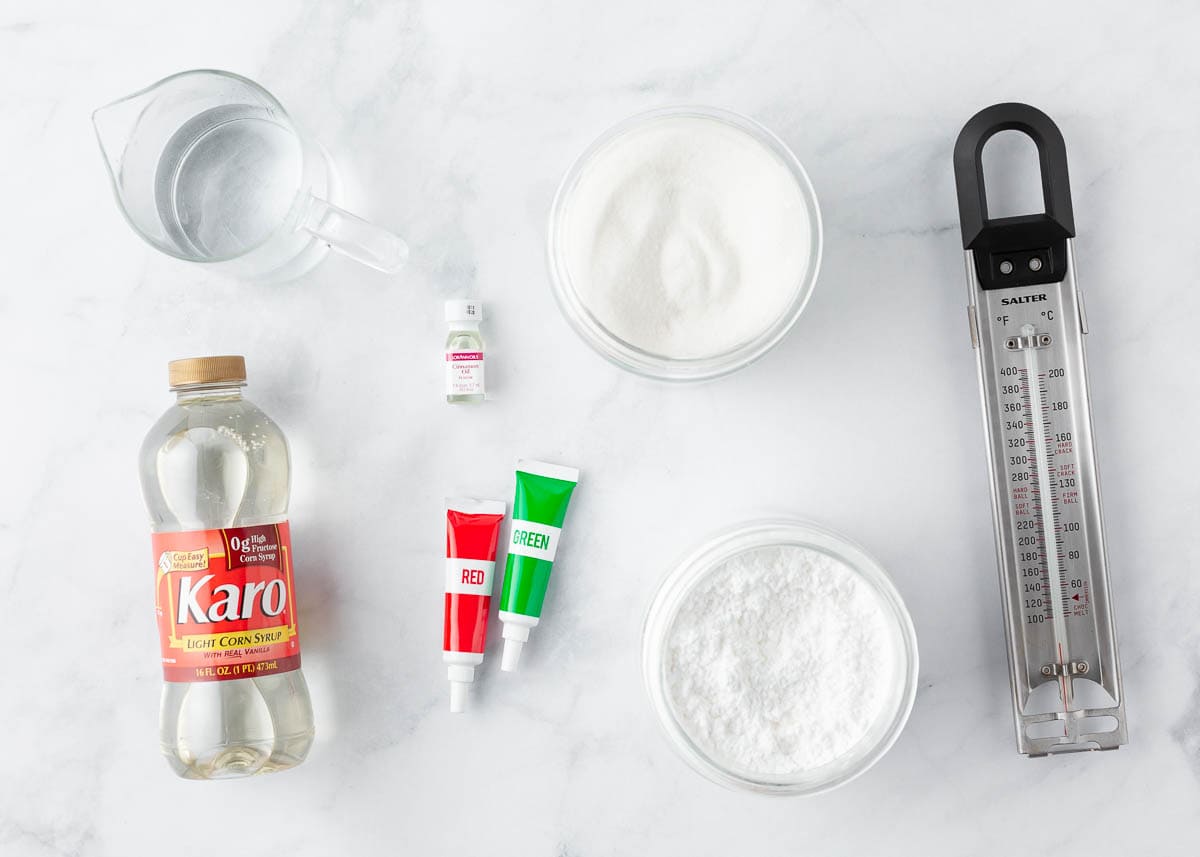
Find the full printable recipe with specific measurements below.
- Sugar and corn syrup: Two essential ingredients for adding sweet taste to the candy.
- Flavoring oil: LorAnn flavoring oils are great as the intensity is perfect for homemade candy. You can use extracts but they won’t have the same intense flavor.
- Food coloring or gels: Liquid food coloring or gel food coloring, although gels will have a more vibrant color. Skip coloring for a pure white old fashioned candy.
- Powdered sugar: While optional, I love dusing the top of the candy with icing sugar to prevent sticking.
How to Make Hard Candy
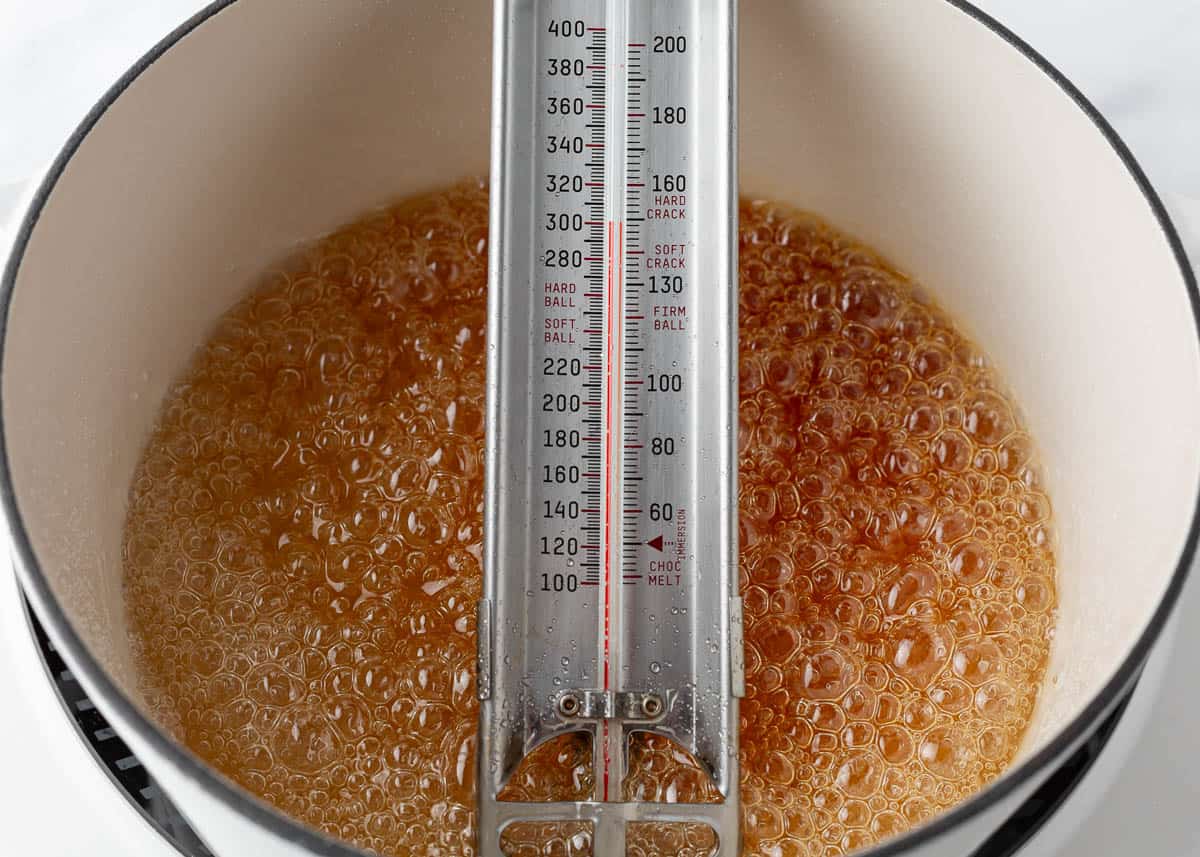
In a heavy-bottomed saucepan, stir sugar, corn syrup, and water over medium heat until sugar dissolves. Insert a candy thermometer into the saucepan and without stirring let it continue to simmer at a light boil for 15 minutes, or until it reaches 300°F or the hard crack stage.
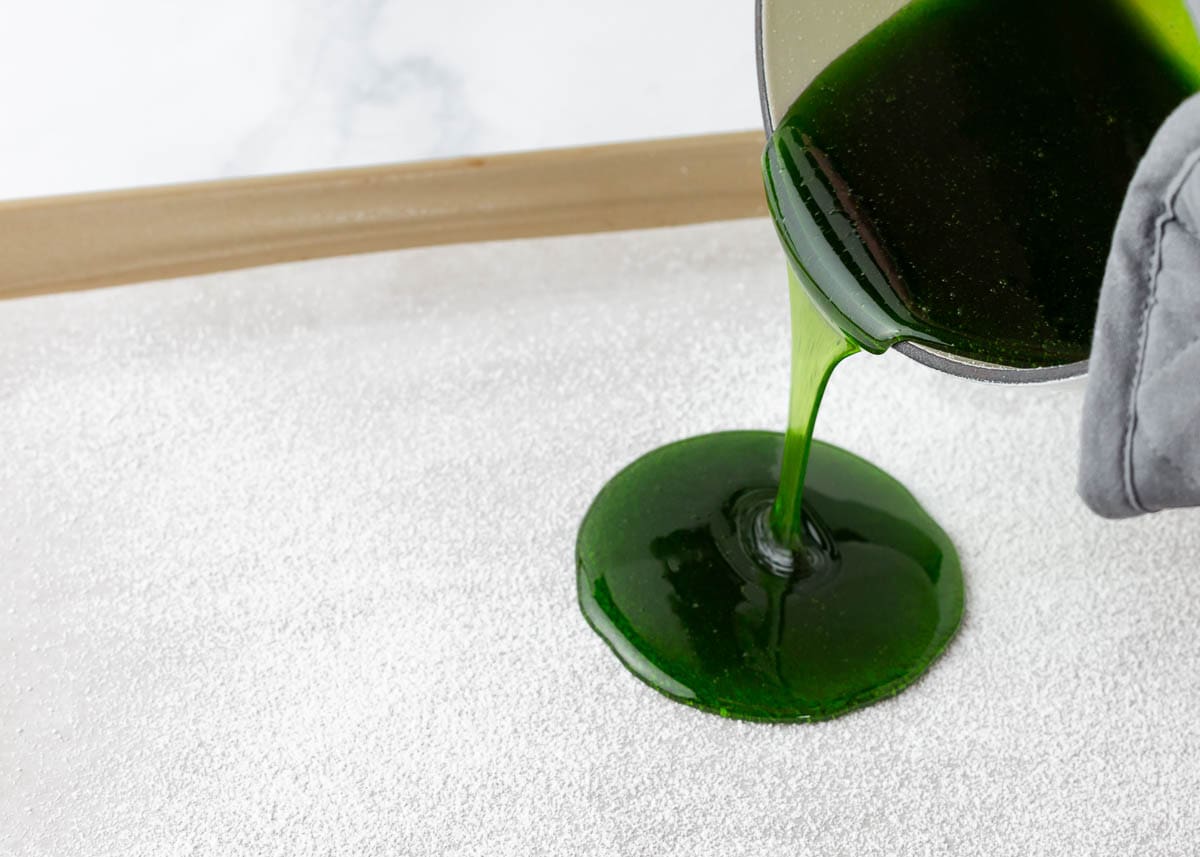
Remove saucepan from heat and cool 1 minute. Stir in the desired amount of flavor and food coloring then pour hot candy onto parchment paper lined baking sheet. Use a rubber spatula to spread it out evenly. After it cools slightly, sift powdered sugar over the top.
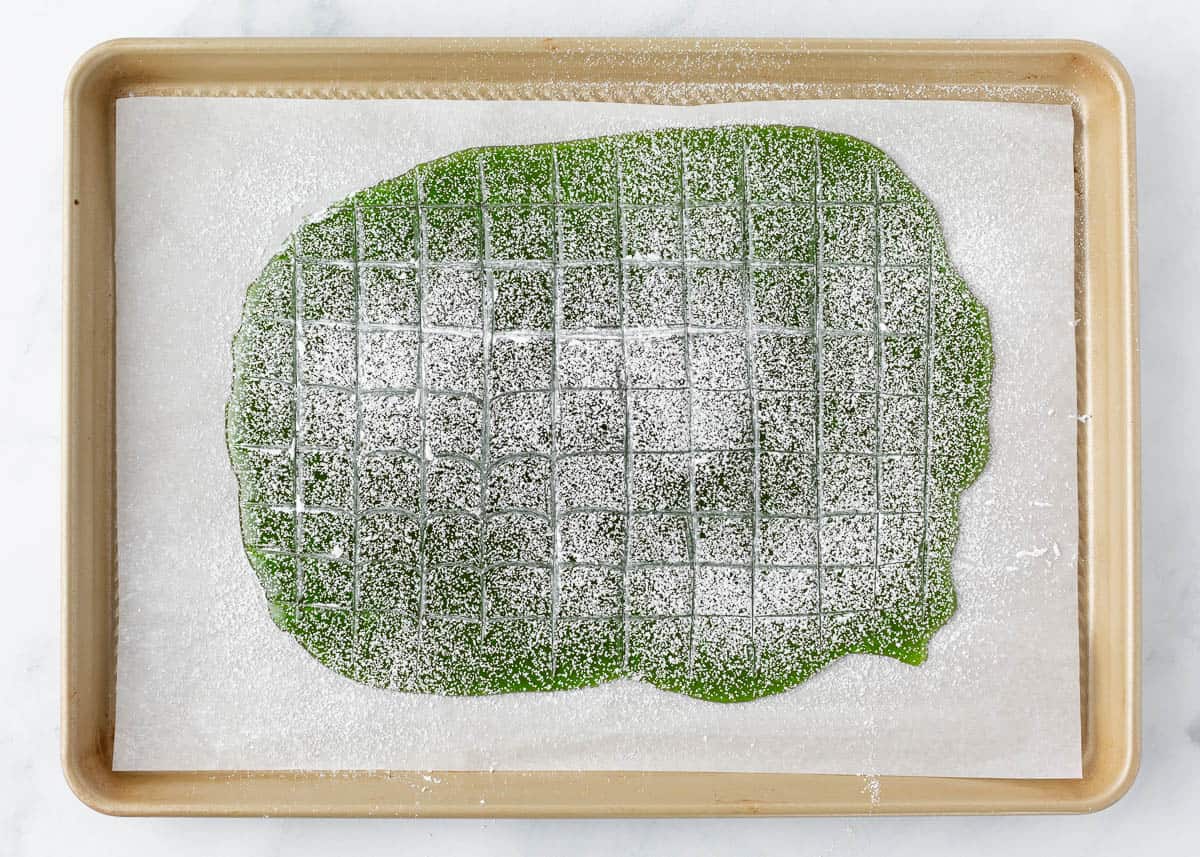
While candy is still soft, use a large knife to score 1-inch squares across the candy. Let the candy cool and harden until it’s completely set and at room temperature. Break into pieces or use a hammer or mallet for smaller shards.
Candy Tips
- The right temperature. To avoid chewy candy ensure it reaches hard-ball stage before pouring into the pan or molds. Also, store candy away from humid, warm environments.
- Don’t stand directly over the pot. The steam is very hot and could burn you. Be careful!
- Candy molds or free form: Use either. Pouring your candy unto a baking sheet allows you to break it into glass, but candy molds or lollipops work, too, just spray well.
- Flavor and color combinations: Strawberry oil or cinnamon oil with red food coloring, lemon oil with yellow food coloring, orange oil with orange food coloring or spearmint/peppermint with green food coloring.
Want more candy recipes? Try homemade toffee, cream cheese mints and chocolate coconut balls, too.
More Homemade Candy Recipes
Homemade Hard Candy
Video
Equipment
Ingredients
- Powdered sugar , for dusting
- 2 cups granulated sugar
- ¾ cup light corn syrup
- 1 cup water
- 10 drops flavored oil , such as cinnamon, cherry or butterscotch
- Food coloring , liquid or gel
Instructions
- Line a baking sheet with parchment paper or foil. Sift powdered sugar generously over the sheet.
- In a heavy-bottomed saucepan, stir 2 cups sugar, 3/4 cups corn syrup, and 1 cup water over medium heat until the sugar dissolves.
- Insert a candy thermometer into the saucepan and stop stirring. Bring to a light boil, without stirring, 15 minutes, or until it reaches 300°F or the hard crack stage. To check if it's done, drop a spoonful into ice cold water and it should harden.
- Remove the saucepan from the heat and let cool 1 minute. Stir in the desired amount of flavor and food coloring 1 minute, or until combined.
- Carefully pour the hot candy onto the lined baking sheet. Use a rubber spatula to spread it out evenly. Cool slightly, then sift powdered sugar over the top.
- While still soft, use a large knife to score 1-inch squares across the candy (this will help it break easier). Let the candy cool and harden for at least 1 hour, or until it's completely set and at room temperature.
- Once completely cooled and hardened, break into pieces. You can also use a hammer or mallet to break it into smaller shards, if desired.
Last step: Please leave a comment and rating after you make the recipe.
Notes
Nutrition
Nutrition provided is an estimate. It will vary based on specific ingredients used.
FAQs
If the candy didn’t reach the proper temperature, it may stay soft or chewy. Hard candy needs to be heated to the hard-crack stage (about 300°F). If it’s undercooked, it won’t fully harden.
You can still make it! Drop a tiny spoonful of the hot syrup into a cup of ice water. If it forms brittle threads that break easily, it’s ready. If it bends or stays soft, keep cooking a little longer.
No, rapid cooling can cause moisture to form on the candy, making it sticky. Let it cool at room temperature for the best texture and shine.
Store homemade hard candy in an airtight container with parchment or wax paper between the layers. Keep at room temperature and away from humidity. It will stay fresh for up to 1 month.





Jessica
This turned out awesome! We needed something for a homeschool activity and this was perfect. My boys loved making it and they plan to make it again for the parties this year.
I Heart Naptime Community
I love this! I’m so glad you like the recipe!
Abby
This was so fun to make not to mention so yummy! My kids loved making it fun colors.
I Heart Naptime Community
Such a fun activity! I’m glad you enjoyed it!
Wanda T
I was a little nervous having never made candy before and it was so easy! I am making these for teachers gifts next week too!