
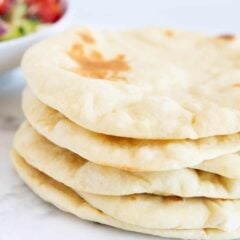
Golden and puffy with the perfect chew, this easy pita bread recipe comes together with just a few ingredients plus you can bake it in the oven or cook it on the stovetop.

This post may contain affiliate links. Read disclosure policy.
Homemade Pita Bread Recipe
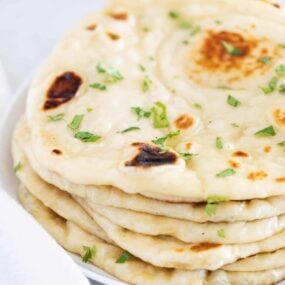
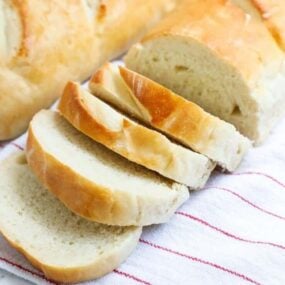
There’s something about homemade bread recipes that just can’t be beat, whether it’s naan, breadsticks or French bread, it’s always fresher and more flavorful. Pita bread is one of my favorites, especially paired with homemade hummus!
After testing this pita bread recipe from scratch dozens of times, I’ve found that it works beautifully both in the oven and on the stovetop. The stovetop method is simpler and gives a chewier texture, while baking in the oven, especially with a light mist of water before it goes in, helps the dough puff up with a crisp, airy finish for a more authentic result.
Either way, once you taste warm, puffy pita bread freshly made, you’ll never want to go back to the store-bought kind!
I was shocked how easy and delicious it is to make homemade pita bread! Recipe was
very straightforward and my husband asked if I could make this bread every night :) it was a big hit!
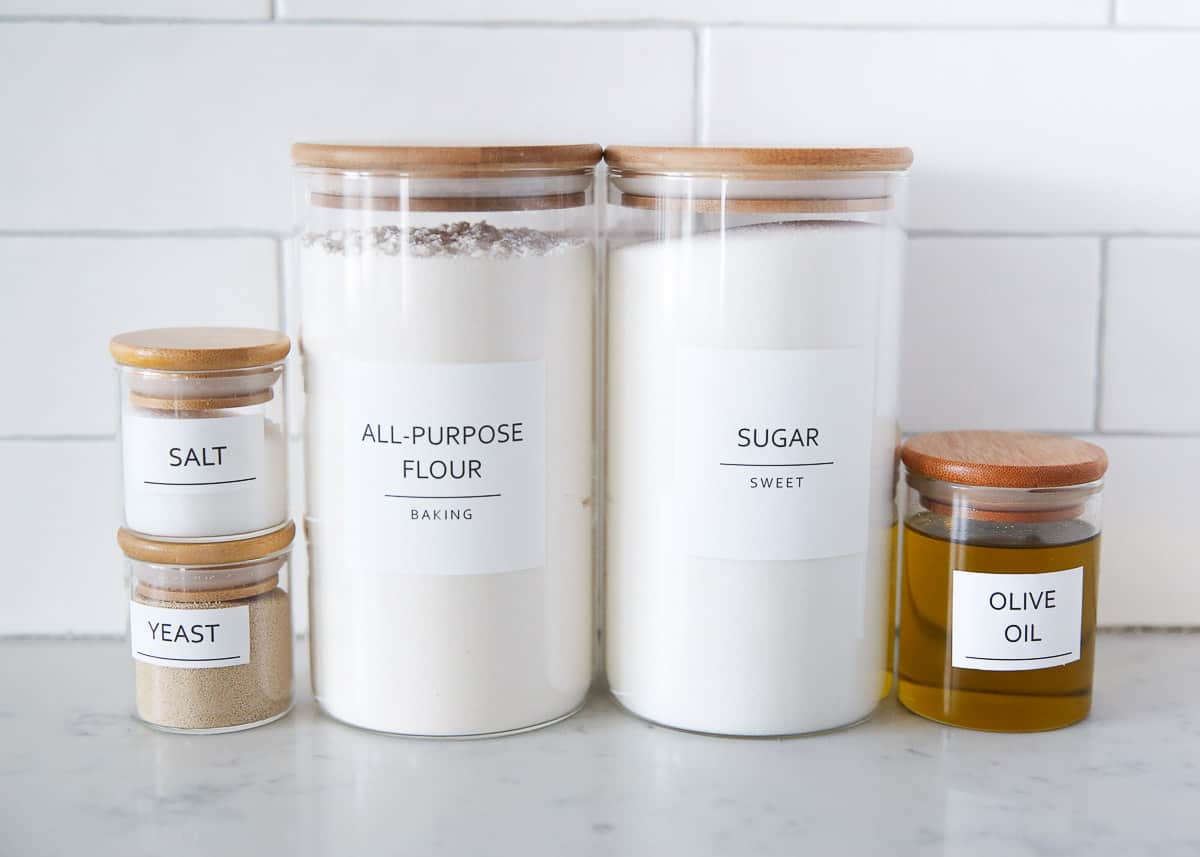
Ingredient Notes
You only need 5 ingredients to make pita bread at home!
Find the full printable recipe with full instructions below.
- Active dry yeast: I prefer active dry yeast, but instant yeast can be used.
- Granulated sugar: Sugar is needed not only for flavor, but to feed the yeast so it rises and gives the pita bread it’s classic pockets.
- All-purpose flour: Classic pita bread uses white all-purpose flour, if you want to it more wholesome, replace one cup of all-purpose flour with whole wheat flour.
- Kosher or sea salt: Enhances the flavor in the pita.
- Olive oil: I used extra virgin olive oil, which is popular in Mediterranean cooking, but any neutral flavored oil can be used.
How to Make Pita Bread

- Make yeast mixture and let sit. Combine warm water, active dry yeast and sugar in a large bowl. Mix in 1/2 cup flour and let sit for 10 minutes, or until it has puffed up.
- Knead the dough, then let rise. Mix in olive oil and salt, then stir in remaining flour. Once it’s hard to stir, begin to knead with your hands (can also use electric mixer with dough hook). Continue kneading for 3-5 minutes, then form dough into ball and lightly cover with oil. Place in a bowl and cover with clean kitchen towel or plastic wrap. Let rise in a warm place for 1 hour, or until doubled in size.
- Divide into 8 pieces and let rise again. Punch down the dough and divide into eight pieces. Shape each piece into a ball and cover with a damp paper towel for 10-15 minutes.
- Roll into circles. On a lightly floured surface, use a rolling pin to roll out one piece of dough at a time into a circle about 1/8″ thick.
- Bake in the oven or on the stovetop.
- To bake in oven, place a pizza stone or cast iron skillet on the 2nd to bottom rack. Preheat oven to 475°F. When oven is hot, add 1-2 rolled out circles onto the pan. Close and cook for 2-3 minutes, or until the bread has puffed up with large bubbles. Flip and cook 1 more minute.
- For stovetop pita, brush 1/2 teaspoon oil onto a large cast iron skillet and heat over medium-heat. Once the pan is hot, place rolled out dough on top and let cook for 2-3 minutes. Once it has puffed up with large bubbles, flip and cook for 1 more minute. Remove to a plate and cover with a towel.
- Serve. Enjoy warm pita with your favorite meal!

Expert Tips
- Preheat baking stone or cast-iron: The dough coming into contact with the hot surface traps steam inside the pita and causes it to puff up.
- Fresh ingredients: Always ensure your flour and yeast are not expired.
- Dense pita bread: You might not have rolled out the dough thin enough. Aim for your dough to be rolled out to only 1/8 inch thick. You may also be pressing too hard on the rolling pin and causing the air bubbles to deflate. Try using just your fingers to shape.
- Flour your counter: If your dough sticks to the counter and tears while rolling, it may cause steam to escape while baking and puff properly.
- Pita size: Aim for 4-6 inches in width as larger pita sizes are harder to get perfectly flat.

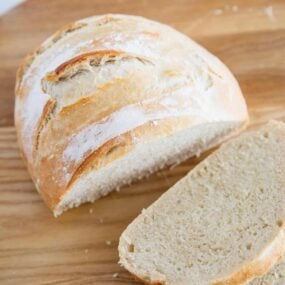
Try these other delicious homemade bread recipes from easy garlic knots to French baguette and Irish soda bread!
More Homemade Bread Recipes

Pita Bread Recipe
Video
Ingredients
- 1 cup warm water , 110°F
- 2 teaspoons active dry yeast , 1 packet
- 2 teaspoons granulated sugar
- 2 ½ cups all-purpose flour , more as needed
- 1 ½ teaspoons kosher salt , or 1 teaspoon salt
- 1 ½ Tablespoons olive oil
Instructions
- Activate yeast. Combine 1 cup warm water, 2 teaspoons active dry yeast and 2 teaspoons sugar in a large bowl. Mix in 1/2 cup flour and let sit for 10 minutes, or until it has puffed up.
- Rise. Mix in 1 1/2 Tablespoons olive oil and 1 1/2 teaspoons salt. Then stir in the remaining 2 cups flour. Once it becomes hard to stir, start to knead with your hands. You may also use an electric mixer with a dough hook. Knead for 3-5 minutes. Form the dough into a ball and lightly cover with oil. Place in a bowl and cover with a clean kitchen towel or plastic wrap. Allow to rise for 1 hour in a warm place, or until doubled in size.
- Divide dough. Punch down the dough and divide the dough into eight pieces. Shape each piece into a ball and then cover with a damp paper towel for 10 minutes.
- Roll out one piece of dough at a time on a lightly floured surface. Roll or press into an circle about 1/8" thick.
Cooking in oven:
- Place a pizza stone or cast iron skillet on the 2nd to bottom rack. Preheat oven to 475°F. Once the oven is hot, add 1-2 rolled out circles onto the pan. Close the oven and cook for 2-3 minutes, or until it has puffed up with large bubbles. Flip and cook an additional minute.
Cooking on stove:
- Brush about 1/2 teaspoon oil onto a large cast iron skillet. Heat over medium heat. Place rolled out dough onto the pan once it's hot and allow to cook for 2-3 minutes. Once it has puffed up with large bubbles, flip to the other side and cook an additional minute. Remove to a plate and cover with a towel.
Last step: Please leave a comment and rating after you make the recipe.
Notes
Nutrition
Nutrition provided is an estimate. It will vary based on specific ingredients used.
FAQs
Yes! After mixing the dough, let it rise at room temperature for about 15 minutes, then cover the bowl tightly with plastic wrap and refrigerate. It will continue rising slowly in the fridge and can be stored for up to 3 days. When ready to use, bring the dough back to room temperature, then continue with the recipe.
Pita is best enjoyed warm and fresh, but any extras can be stored in an airtight container or zip-top bag at room temperature for 1–2 days.
Yes! Stack pieces with parchment paper in between and store in a freezer-safe bag for up to 3 months. Reheat by wrapping in a damp towel and warming in the microwave or oven until soft.

Stacey
We initially needed a good pita recipe for homemade gyros a couple of years ago. It was easy and came out just as I hoped. I still make this recipe occasionally throught the year for my family without fail. Everyone is always happy with the texture, which I feel is a big deal. Tonight I made a regular batch and a separate batch with Bob’s Red Mill 1-1 gluten-free baking flour. I kept all other ingredients the same with no change to measurements. The dough was definitely different, but I followed the recipe otherwise and it was by far better than any other gluten free pita recipe I’ve tried!
Sarah @IHeartNaptime
So happy to hear that it has been a staple recipe for you for years!
Favour
This is very helpful 🙂
Ali
Ive made this about 30 times now. It’s perfect.
Sarah @IHeartNaptime
So glad you love the pita bread recipe!
Ashley
I was shocked how easy and delicious it is
to make homemade pita bread! Recipe was
very straightforward and my husband asked if I could make this bread every night :) it was a big hit!
Andie
I made this to serve with some fresh hummus, and it was sooooo good, the perfect appetizer!
Jamielyn Nye
So glad you enjoyed the pita bread!
Julia
I have found my new obsession!! So so so delicious!!! This was so easy and quick to make. I will be making these constantly from now on!
April
Yessss……so good and fluffy! Perfect with some homemade hummus. Going to make some more to stuff with falafel, noms.
Kelly
so flippin good! will
make over and over again
I Heart Naptime
Glad to hear the recipe was a hit, Kelly! :)