

These cream cheese mints melt-in-your-mouth and are easy to make with 4 ingredients and no cooking! Change the color to match the holiday or occasion!

This post may contain affiliate links. Read disclosure policy.
Cream Cheese Mints Recipe
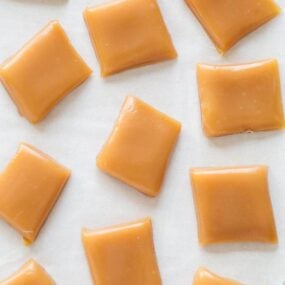
These cream cheese mints are often in pastel colors and called wedding mints or buttermints. They are the kind of nostalgic treat you’d expect to find in grandma’s candy dish along with divinity candy, hard candy or homemade caramels.
These mint candies are easy to make, require no cooking on the stove or baking and can be prepped in only 10 minutes! When wrapped up in a little decorative packaging, they make the perfect neighbor Christmas gift or party favor!
Ingredient Notes

Find the full printable recipe with specific measurements below.
- Cream cheese: Use full-fat, brick-style cream cheese not the spreadable kind from a tub. Make sure it’s softened to room temperature for easy mixing.
- Butter: Use softened butter so it creams smoothly with the cream cheese.
- Powdered sugar: Also called confectioners’ sugar. This sweetens the mints and helps them hold their shape.
- Peppermint extract: Use peppermint extract not essential oil. I prefer peppermint over generic “mint” for its classic flavor. Adjust the amount to taste.
- Food Coloring (optional): You can use one or several colors. Gel food coloring is more concentrated than liquid, so a little goes a long way for bold, vibrant mints.
How to Make Cream Cheese Mints
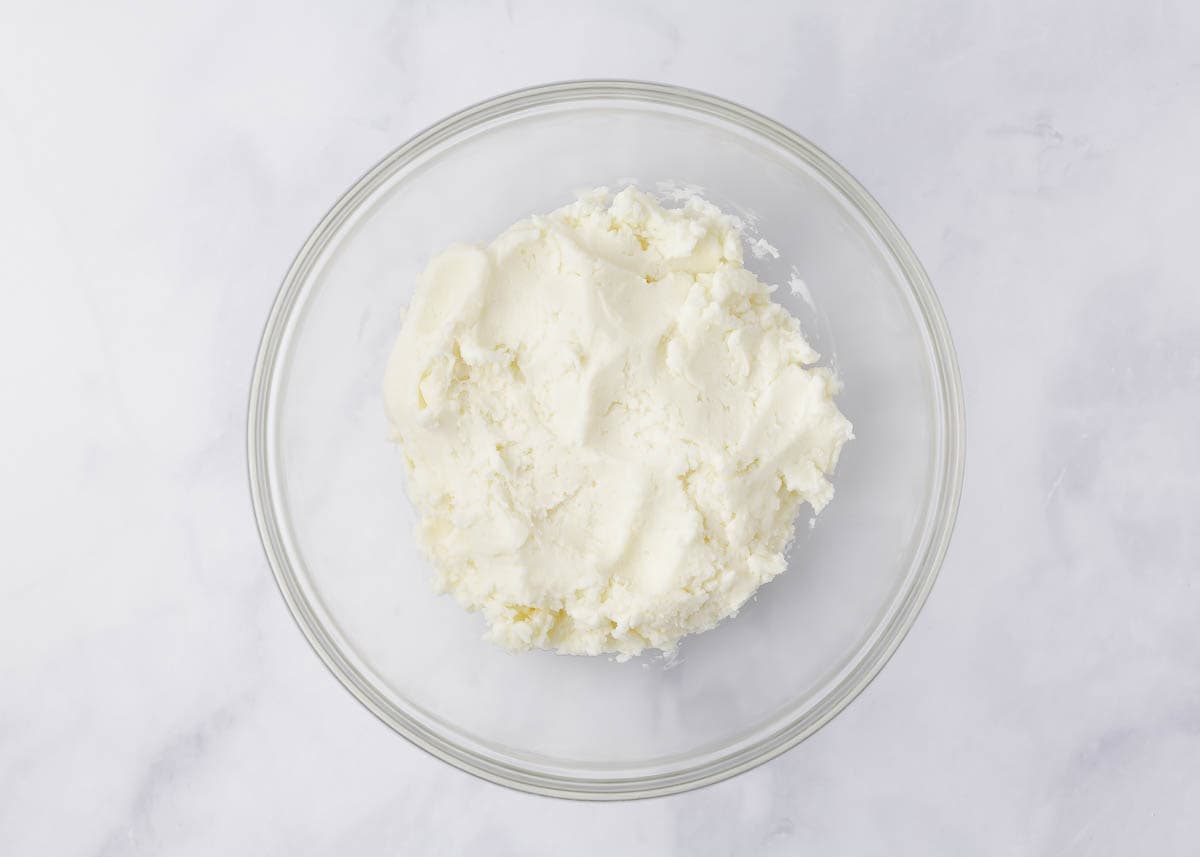
In a large bowl, beat softened cream cheese and butter with an electric mixer until smooth. With the mixer on low, gradually add 1 cup powdered sugar then mix in the rest along with the peppermint extract.
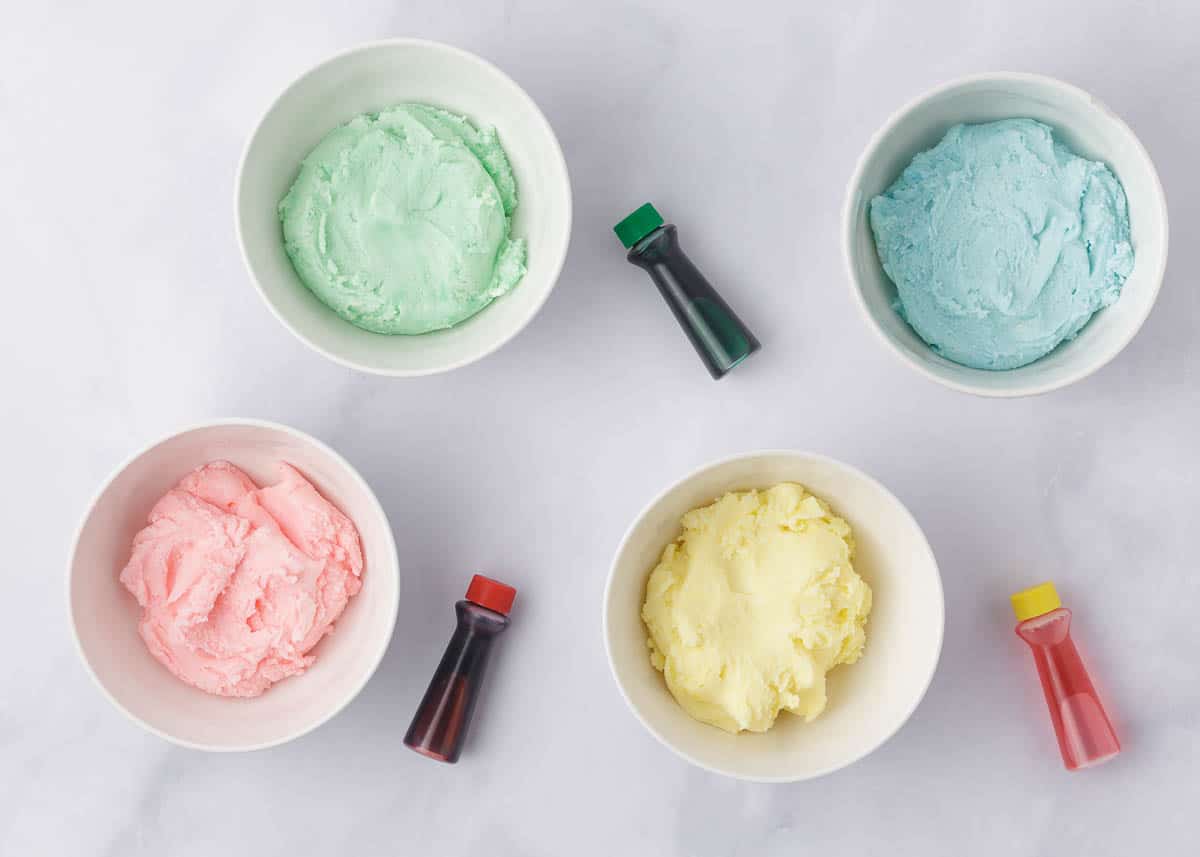
If you want colorful mints, divide the dough into however many colors you’d like. Add a drop or two of food coloring to each portion and mix until evenly colored. Cover and chill the dough in the fridge for about 30 minutes.
Scoop out about 1 teaspoon of dough and roll it into a ball. Place it on a parchment lined baking sheet. Dip a fork in powdered sugar and gently press down on each ball to flatten.

Leave the mints out at room temperature for about 2 hours to dry and firm up. Once set, they’re ready to enjoy or package up as gifts!

Recipe Tips
- Sticky dough: If the dough feels too sticky, gradually add more powdered sugar until it reaches a play-dough-like consistency.
- Shaping tips: To avoid ridges from a fork, press the mints flat using the bottom of a glass. For a different look, roll the dough into a log and slice it into buttermints.
- Set fully: These mints are meant to be firm. Give them time to dry and set properly—otherwise, they’ll stick together and won’t hold up well as gifts.
- Peppermint vs. mint: Be sure to use peppermint extract, not mint extract. Mint is typically more herbal and suited for savory dishes, while peppermint has the sweet, classic candy flavor.
- Fun shapes: Use small cookie cutters or candy molds to shape the mints into flowers, hearts, or other fun designs.
- Flavor and color variations: Add a dash of vanilla, almond, lemon, or orange extract for a twist on flavor. Use gel food coloring for vibrant colors or keep them white!
Storage
- Store: When stored properly in an airtight container in the fridge, they will stay fresh for up to 1 month. I like to separate the layers with wax paper so they do not stick together when stored.
- Freeze: Store cream cheese mints in the freezer for up to 3 months.

Looking for more peppermint candy recipes? Try peppermint bark or peppermint Oreo balls!
More Homemade Candy Recipes


Cream Cheese Mints
Video
Ingredients
- 4 ounces cream cheese , softened
- 1 Tablespoon salted butter
- 4 cups powdered sugar , divided, plus more for pressing
- ½ teaspoon peppermint extract , plus an additional 1/2 teaspoon if desired
- Food coloring , optional
Instructions
- Cream butter and cream cheese. In a large bowl, beat 4 ounces cream cheese and 1 Tablespoon butter until smooth with an electric mixer.
- Add powdered sugar. Keep the mixer on low and gradually add in 1 cup powdered sugar. Continuing to mix, add the extract and the remaining 3 cups powdered sugar. If the mixture is still sticky add a little more powdered sugar. It should be the consistency of playdough.
- Divide into bowls and add colors Divide into separate bowls (depending on how many colors you'd like). Mix in desired food coloring until well combined. For darker colors that use more food coloring, you may have to add a bit more powdered sugar to keep the mixture from becoming gummy. Cover and refrigerate 30 minutes.
- Roll into balls. Roll 1 teaspoon dough into small balls and place on parchment paper. Dip a fork into powdered sugar and gently press on top to flatten each ball. Let dry 2 to 3 hours at room temperature.
Last step: Please leave a comment and rating after you make the recipe.
Notes
Nutrition
Nutrition provided is an estimate. It will vary based on specific ingredients used.

Jana
Made these mints exactly as instructed and they turned out great!
Sarah @IHeartNaptime
Thanks for making the cream cheese mints!
LOIS A GRAHAM
These mints look absolutely wonderful
Sarah @IHeartNaptime
Can’t wait for you to make them!
Kristyn
These are always so fun to make & a must on your holiday table! They are soft & taste so good!!
Jessica
Love these SO much! We made a big batch of them and gave them out as gifts!
I Heart Naptime Community
What a fun gift idea! I’m so happy you enjoy the recipe :)
Toni
I love that melt in your mouth goodness! Perfect addition to our holiday list!
I Heart Naptime Community
They’re so yummy! I’m glad you love them :)
Janie Stape
Awesome
Judy
A little banana flavoring instead of mint gives them a flavor similar to orange circus peanut candies. So good! Almond flavoring is also good. My family loves these mints.
Tracey
Delicious! My first time making these. They’re coated in powdered sugar since my fork would not unstick from them like I asked it to lol. ❤️❤️Thank you for the recipe, I’ve always wanted to know how to make these 😊
Jamielyn Nye
So glad to hear Tracey! Thanks for your review :)
Megan
I made these today and they are absolutely delicious! My BF prefers extra minty-ness, so I put an extra teaspoon of peppermint in, and they are perfect for us. I even “dimpled” a few and added melted, dark chocolate and those are definitely our fave :) My one issue/question is how hard they should actually be??? It’s been 5 hours and the mints are still semi soft. Should I add more powdered sugar to firm them up? I only completed a small batch to start so that I didn’t waste the rest if my 1st attempt didn’t turn out…thankfully! ;) Thanks for the great recipe!
Jamielyn Nye
I’m so glad you enjoyed them! They shouldn’t get too hard (they are a softer mint). Love the idea of dark chocolate :)
jess
these are amazing and all my friends had no clue that I made them! thank you so much for sharing!
Sunnie @ I Heart Naptime
Thanks for sharing, Jess. Yes, these are even better than store bought.
Jen R
Just like my grandma made- but even better! Thank you so much!
Sunnie @ I Heart Naptime
That is a wonderful compliment. Thanks, Jen!
Sharina
We enjoyed these cute cream cheese mints last weekend! They’re so good and sweet. Surely, I’ll have this treat added to our Christmas celebration. Highly recommended!
Sunnie @ I Heart Naptime
Glad you liked them, Sharina. These are also great to add to a charcuterie board!
vanessa
if i make these a day or two in advance should they be refrigerated because of the cream cheese? if so would the moisture in the fridge ruin them?
Jamielyn Nye
Typically I like to leave them out 24 hours to harden and then I move to the refrigerator. Then refrigerate or freeze well :)
Carrie
Could you please add this instruction to the main recipe? Then others will see it in case they are planning to store the mints in fridge or freezer. Thanks!
Sandra
Peppermint bothers my stomach, so I substituted orange extract and they turned out “melt in your mouth” good. I may try some other flavoring next time. Thanks for the recipe.
Jamielyn Nye
Sounds delicious! So glad to hear! :)