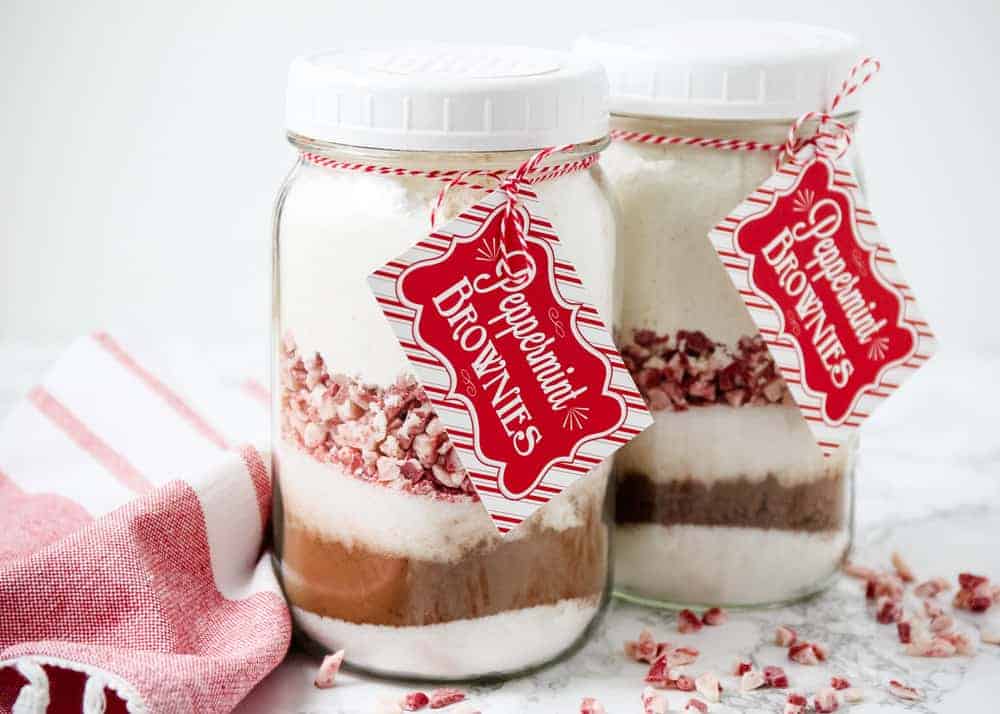
This peppermint brownie mix in a jar is the perfect holiday gift! Just a few simple ingredients are needed for this easy, festive and delicious homemade brownie mix.
Download the free printable tags for an extra special touch!
This post may contain affiliate links. Read disclosure policy.
Table of Contents
Homemade Brownie Mix in Jar
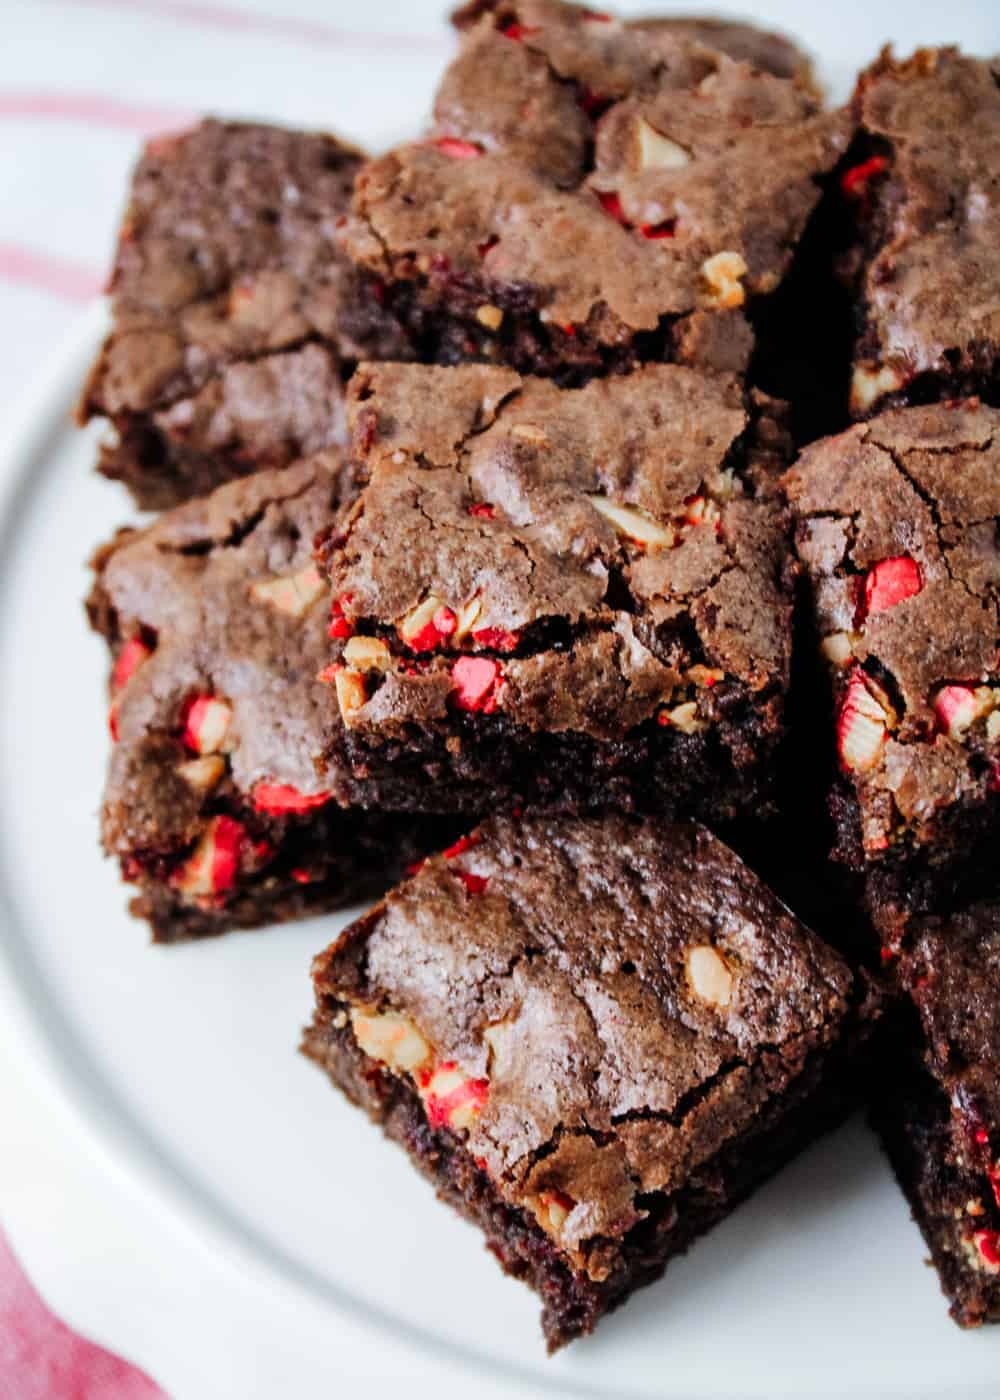
This peppermint brownie mix in a jar is one of my favorite treats to gift. The jars look so pretty and festive! Plus the brownies taste amazing, too. They’re cakey and soft, with the perfect chocolate and peppermint flavor.
In my opinion, there’s nothing better than a holiday gift from the kitchen. It’s personal, thoughtful and a great way to celebrate the season. Favorites to gift include cookie mix in a jar, Christmas crack toffee and peppermint bark.
Why I Love This Recipe
- The perfect gift: I love making easy Christmas food gifts during the holidays. This homemade brownie mix is the perfect neighbor gift for teachers and friends.
- Easy to make: This quick and easy brownie mix whips up in just minutes using ingredients you might already have on hand.
- Make ahead: I love that that his DIY homemade brownie mix in a mason jar can be made ahead of time. Decorate with festive bakers twine and free printable tags and it takes a pressure off the busy season.
Ingredients Needed
For the brownie mix:
- Granulated sugar
- Cocoa powder
- Andes Peppermint crunch baking chips , or chopped Andes mints or chopped candy canes
- All-purpose flour
- Salt
- Baking powder
To make the homemade brownie mix:
- Butter
- Eggs
- Vanilla
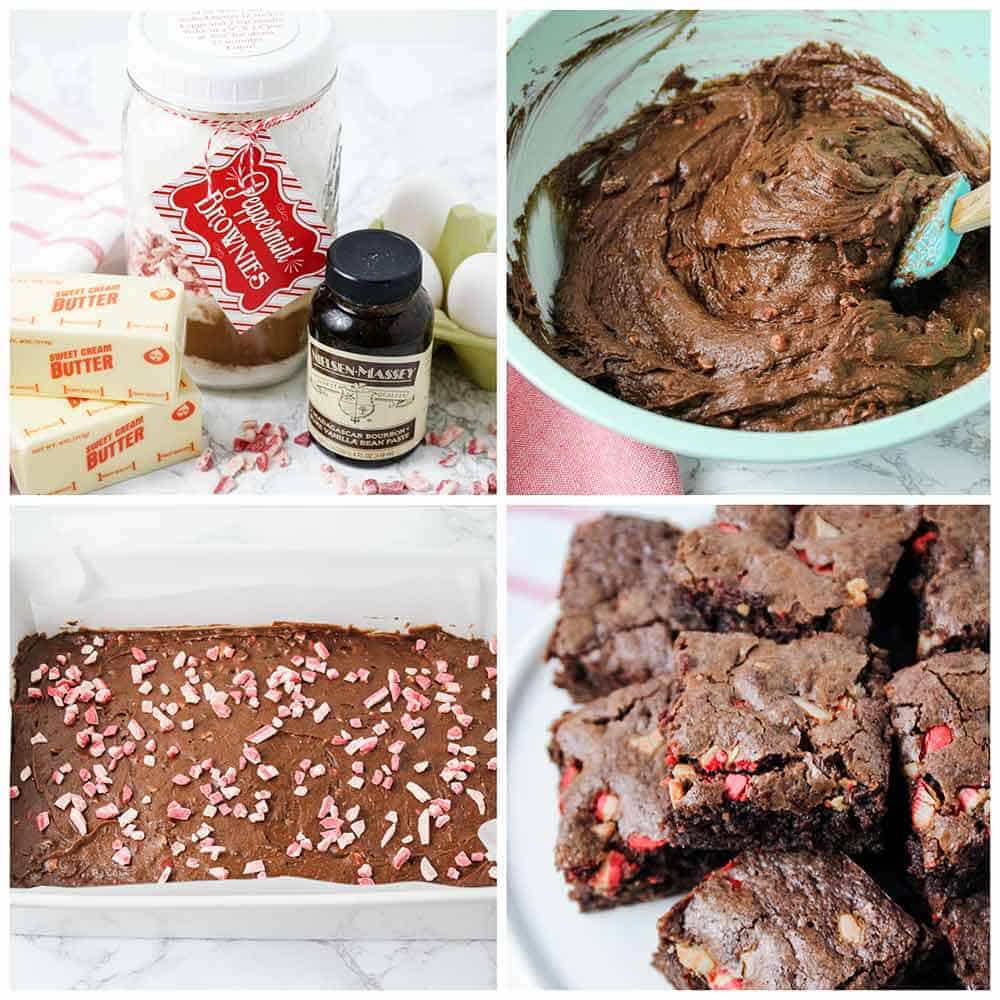
How to Layer Brownie Mix in a Jar
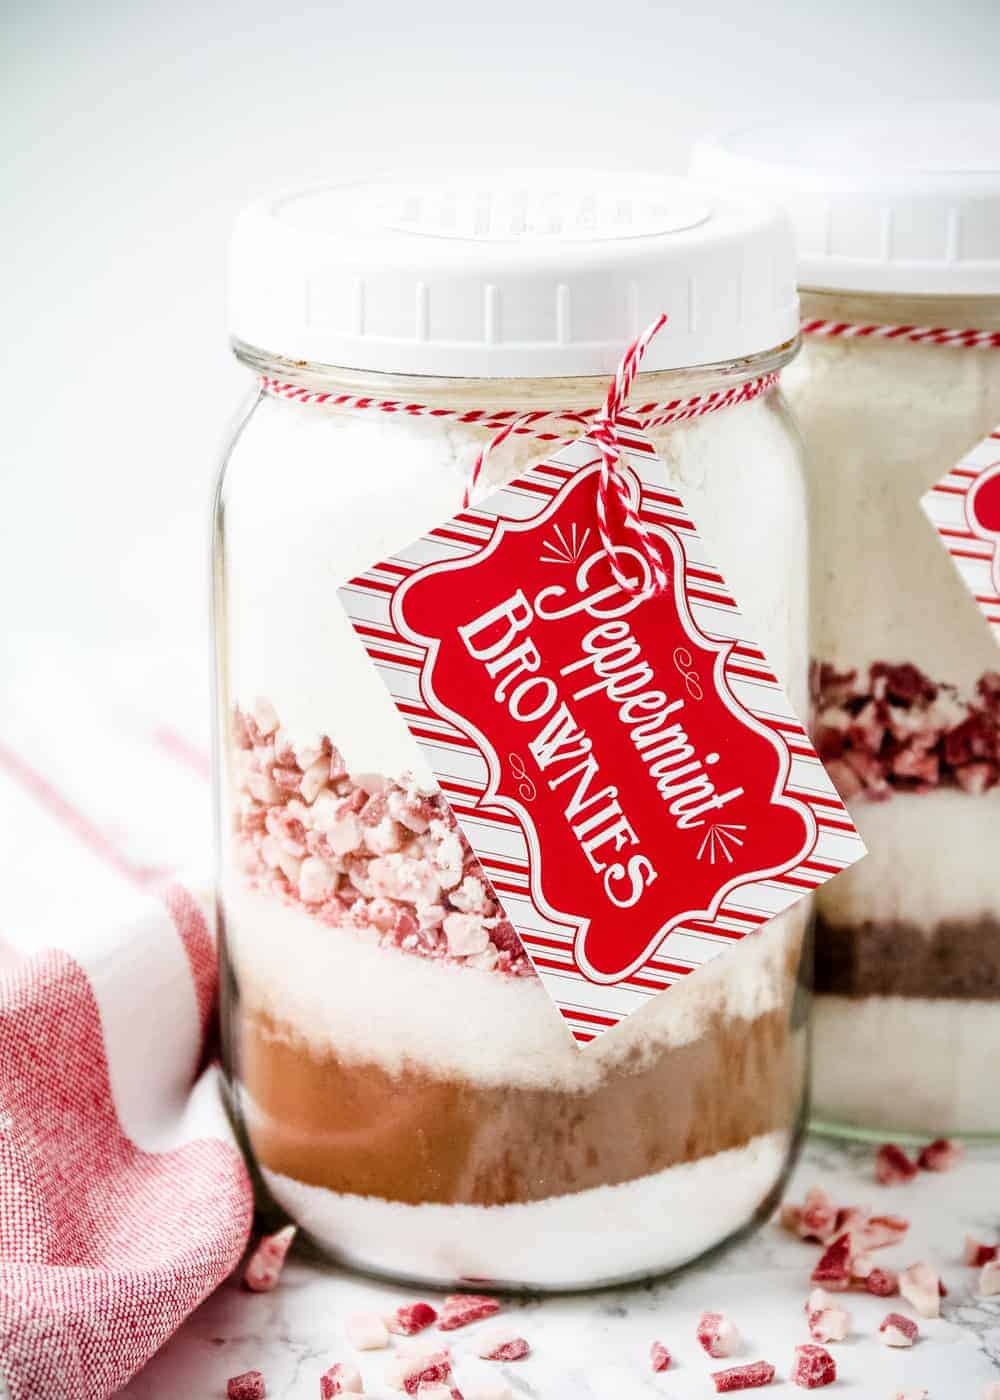
To make these brownies, start by layering the ingredients in the order below in a one quart wide mouth jar.
I’d recommend using a funnel when adding the ingredients for easier assembly. Also, make sure to press each layer down firmly with a spoon for easy packing.
Layer in this Order:
- 1 cup sugar
- 2/3 cup cocoa powder
- 1 cup sugar
- 1 cup Andes Peppermint crunch baking chips , or chopped Andes mints or chopped candy canes
- 1 1/4 cups flour
- 1/2 teaspoon salt
- 1 teaspoon baking powder
Once you’re done layering, close the lid and add some festive baker’s twine and the printable tags (download below).
Printable Tags for Mason Jar
I absolutely love to add these free printable labels on my mason jar brownies! Not only is there a cute “Peppermint Brownies” label tag to wrap around the top with twine, there’s also a circular label with instructions that you can add on top of the lid.
Simply download and print the labels on a sheet of label/sticker paper. At my local Office Max or Kinko’s, they call this 1-up sticker/label paper. It is one solid sheet.
More Christmas Treats

Peppermint Brownie Mix in a Jar Recipe
Equipment
- Quart-Sized Wide mouth jar
- Funnel
- Spoon
Ingredients
Dry mix for jar:
- 1 cup granulated sugar
- ⅔ cup cocoa powder
- 1 cup granulated sugar
- 1 cup Andes Peppermint crunch baking chips , or chopped Andes mints or chopped candy canes
- 1 ¼ cups all-purpose flour
- ½ teaspoon salt
- 1 teaspoon baking powder
Ingredients to add later:
- 1 cup butter , melted
- 4 large eggs
- 2 teaspoons vanilla extract
Instructions
To assemble the mason jar brownies:
- In a quart-sized wide mouth jar, layer the following: 1 cup sugar, 2/3 cup cocoa powder, 1 cup sugar, 1 cup Andes Peppermint Crunch baking chips (or chopped Andes mints or chopped candy canes), 1 1/4 cups flour, 1/2 teaspoon salt and 1 teaspoon baking powder. I'd recommend using a funnel to add the ingredients and then push each layer down with a spoon for easy packing. Make sure to really pack in each layer.
- Close the lid and tie the jar with ribbon and free printable tags.
To bake the brownies:
- When ready to bake, dump the contents into a bowl and then add 1 cup butter, 4 eggs and 2 teaspoons vanilla. Mix just until combined. Pour into a 9×13" pan and bake at 350°F for 25-40 minutes, or until a toothpick comes clean.
Last step: Please leave a comment and rating after you make the recipe.
Nutrition
Nutrition provided is an estimate. It will vary based on specific ingredients used.



Melanie
Perfect brownies!! I used about 1/2 cup of peppermint candies crushed up. Next time going to try Andes mints
Sarah @IHeartNaptime
So glad you enjoyed the peppermint brownie mix in a jar!
Jules
Hi. So I bought what I needed to make multiple jars but I made a test batch before I bottled everything up. I actually made a mistake on my test batch and used one cup of sugar instead of two. I thought it was an error written twice and then after reading the comments of others I realized it was for layering. I make brownies all the time from scratch and I have never seen a recipe use 2 cups of sugar. Regardless my one cup was perfect so for those who can’t get two cups to fit in a jar unless you like things incredibly sweet 1 cup or even a cup and a half would probably do. I can’t imagine doing a full two after doing it with 1. The candy in it also adds more than enough sugar. Just my 2 cents but I appreciate the recipe.
Sarah @IHeartNaptime
So glad it worked out for you with only the 1 cup!
Karen Tirbit
I gifted a jar of Mint Brownies that were made by our church’s women’s ministry to my daughter. She just went to make them and the candy cane pieces were a solid rock. The actually broken trying to get the ingredients out of the jar. I know many jars were made and will probably be given as Christmas presents. Do you have any suggestions how to get the ingredients out of the jar? My daughter even tried adding the butter to the jar but it that did not work.
Jamielyn Nye
Hi Karen, Were regular candy canes used (not the soft ones)? I think it will still be OK. If it were me, I would just use a spoon to tap gently against the candy canes and they hopefully will become loose.
Cali
I had the same thing happen with mine. I ended up having to use an ice pick to chip away at the peppermints until enough was loosened to get it all out.
Sarah @IHeartNaptime
Sorry to hear about the trouble with the peppermints sticking. Next time you could try tossing them in some cornstarch or powdered sugar (just a tiny amount) before putting them in the jar.
Pamela Pewtress
This won’t fit in the jar.
Phyllis
I have my jars all made up and can’t find the printout for instructions.
Jamielyn Nye
Here is the printable link: https://www.skiptomylou.org/wp-content/uploads/2012/11/peppermint-brownies-jar-mix-labels.pdf
Cjbrossi
Ranks! Great gifts
Kaycee
Wow! This recipe turned out great- better than expected. I wanted to make a batch before I made up the jars for gifts in case the recipe was a dud. It’s definitely a keeper. The brownies are moist and minty. I didn’t have enough Andes baking chips for a whole cup so I did about 1/2 cup of Andes chips and 1/2 cup of crushed candy canes. Came out tastey so we will definitely be making these jars for Christmas gifts. Thanks!
Jamielyn Nye
I’m so glad you enjoyed them! Thank you for leaving a comment and review Kaycee. :)
Emily Epstein
Help! I started doing this with my son for his teachers and there is just too much stuff. We have added to the peppermints and it already is to the top of the jar. Do you really mean 2 cups of sugar for whole recipe? Your sugar layers do not look as thick as mine.
Jamielyn Nye
Hi Emily! Yes it is 2 cups of sugar. Make sure you are using a wide mouth 1 quart mason jar and really pack down each layer as this recipe fills your one quart mason jar right up to the top.
Sara
These make the best gifts! Everyone (especially teachers) love the pop of color in the mason jars!
Jamielyn Nye
Thank you for leaving a comment and review Sara! :)