
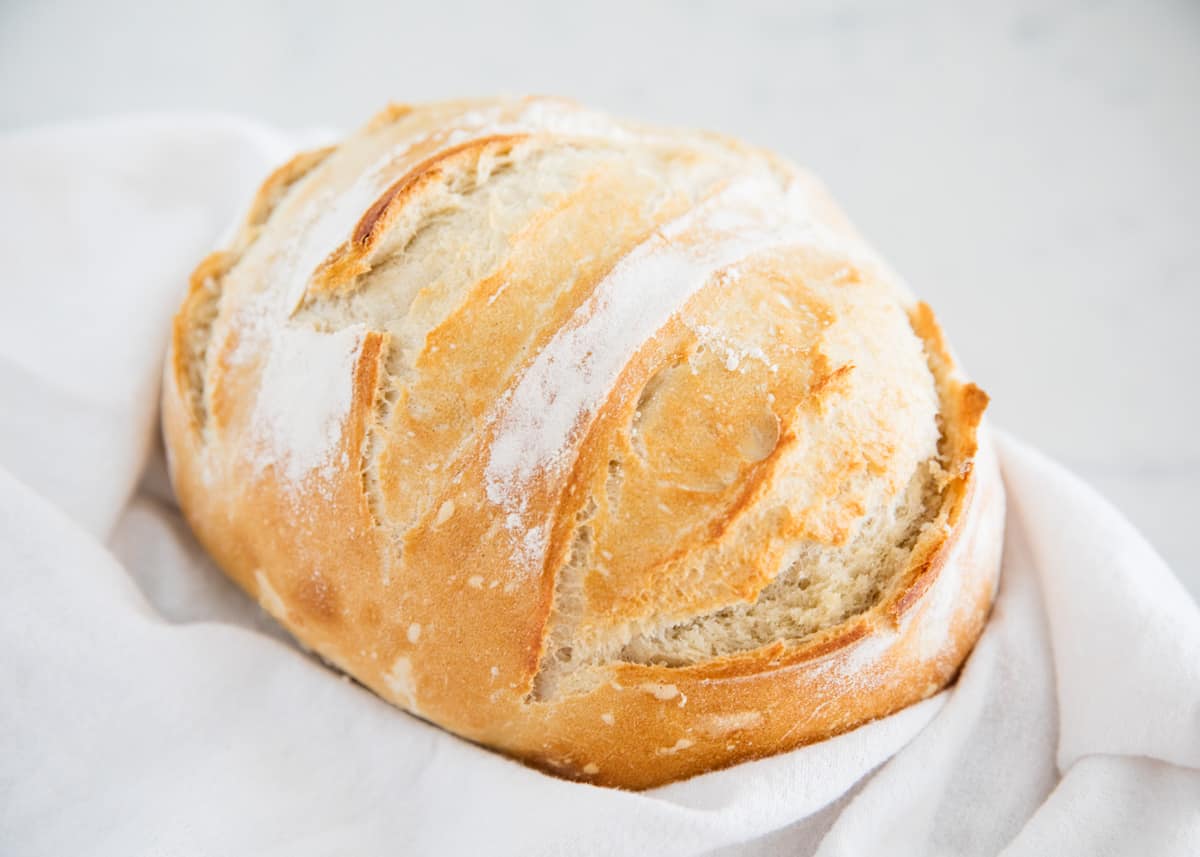
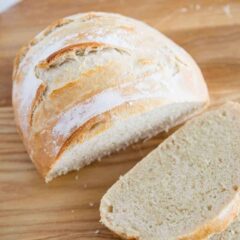
This easy 3 ingredient artisan bread has a crisp golden crust and soft, chewy center. The simple no-knead dough comes together in one bowl, making it a great homemade bread recipe for beginners.
Other bread favorites around here include my homemade French bread, Dutch oven bread and my sourdough bread recipe.
This post may contain affiliate links. Read disclosure policy.
Key Takeaways: Easy 3 Ingredient Artisan Bread Recipe
- Only 3 ingredients: Flour, yeast and salt are all you need, plus water, for a simple artisan-style loaf.
- Easy bread recipe for beginners: The dough comes together in one bowl with no complicated shaping or bread-making techniques.
- No Dutch oven needed: Shape the dough into a rustic round loaf and bake it right on a baking sheet.
- Crisp and chewy: It bakes up with a golden crust and soft, chewy center that feels bakery-worthy.

Why I Love This Recipe
Homemade bread is pure comfort and a staple in my home. The first recipe I ever made from scratch was my homemade white bread, and over the years I’ve added favorites like homemade bagels and this whole wheat bread recipe.
This artisan bread is one of the easiest bread recipes to make with just 3 ingredients and no kneading required. The dough comes together in one bowl and only takes minutes to prep, making it great for beginners like my best dinner rolls or quick Irish soda bread.
I usually shape it into a rustic French boule, but the dough can also be shaped into a baguette or ciabatta rolls. I have even used it as pizza dough!

“It’s my first time to bake bread and I am so proud of myself. I chose your recipe because of the mini ingredients 😁. It’s so yummy, thanks for sharing easy recipe. I would be baking Artisan Bread again and again. Me and my husband loved it so much. More power.”
Easy Artisan Bread Ingredients
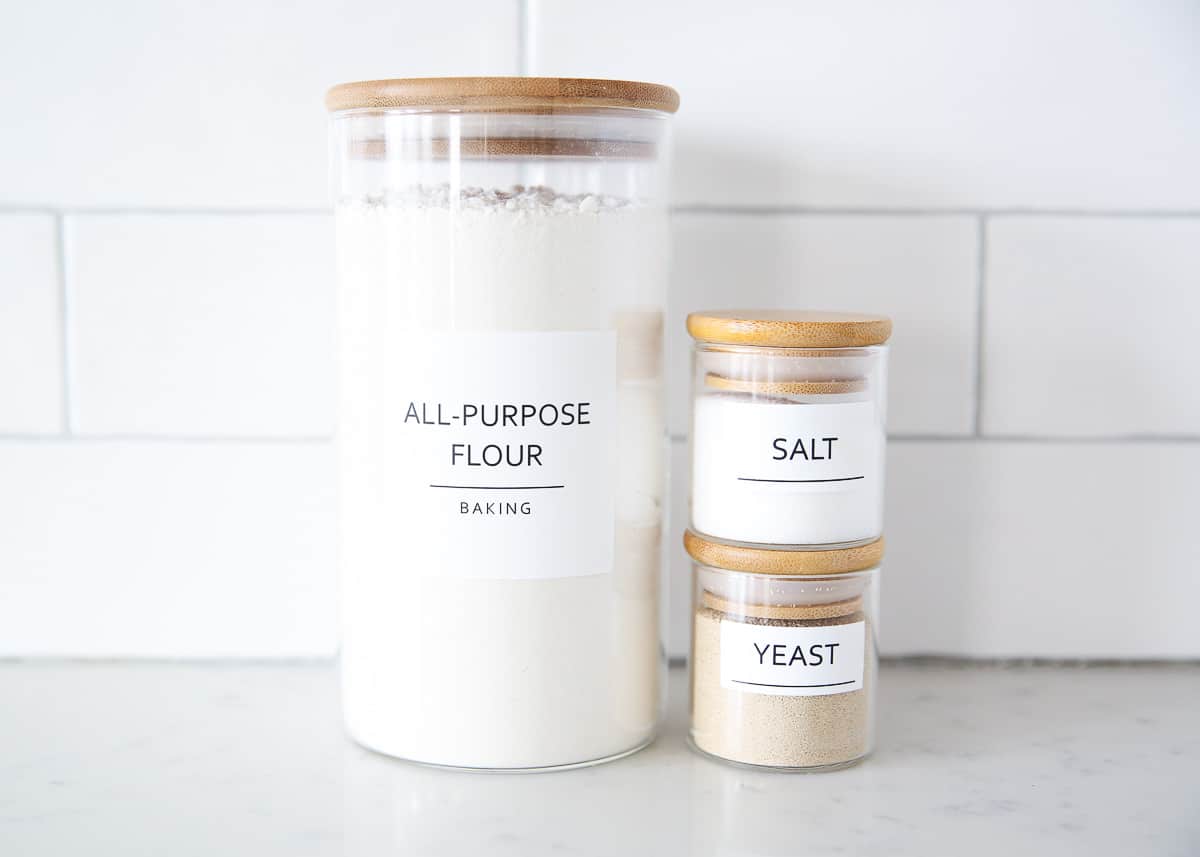
Find the full printable recipe with specific measurements below.
- All-purpose flour: Make sure to sift or use a spoon to add the flour to the measuring cups. This will help the homemade artisan bread raise properly and makes chewier bread. You make need a little more when you knead bread too.
- Kosher salt: This helps slow down the growth of the yeast as well as adds flavor. You will need to let the dough rise longer because there is no sugar in the ingredients to help build the yeast.
- Dry yeast packet: Instant yeast or active dry yeast works great to help the dough rise when mixed with water. Commercial yeast is best, no need for a sourdough starter from scratch.
- Warm water: Get your water up to 105°F. This will activate yeast to raise the dough.
How to Make 3 Ingredient Artisan Bread
If you’re learning how to make bread from scratch, this easy artisan bread is a great place to start.
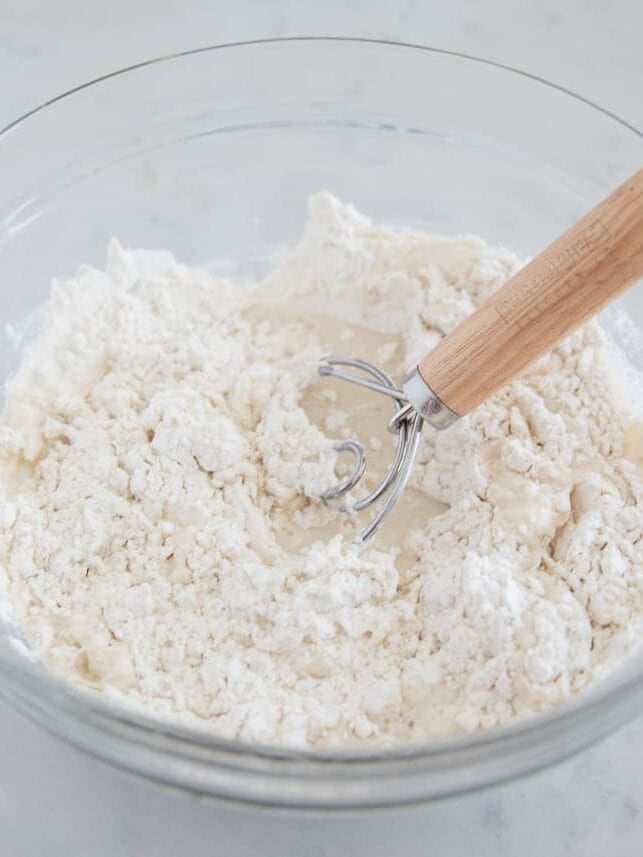
Step 1: Add salt and yeast to a large bowl, then pour the warm water on top. Add the flour in all at once, then mix together. I used a dough whisk, but feel free to use a spatula, wooden spoon, or even your hands. The dough will still be sticky once it’s mixed together, but this is what you want.
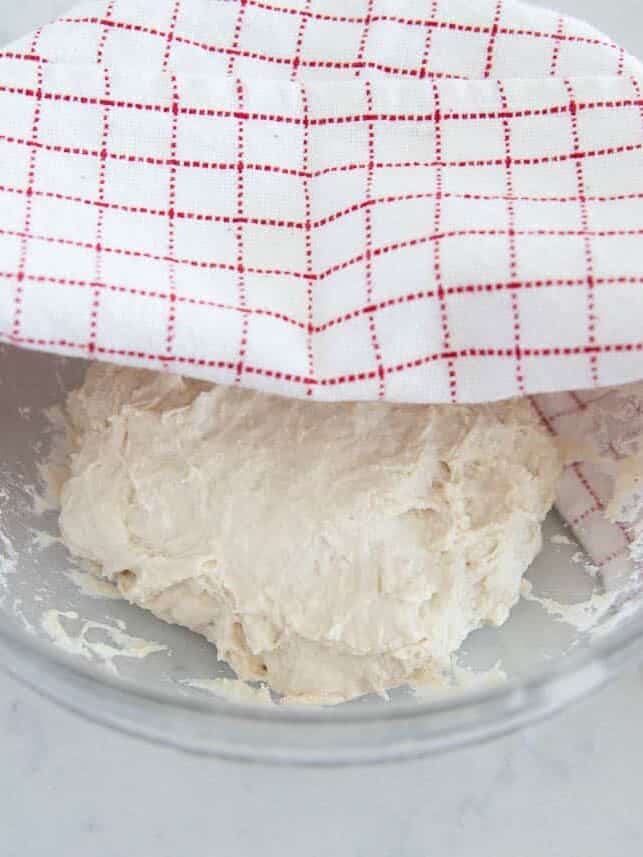
Step 2: Cover the bowl with a towel until the dough doubles in size. This will take about 2 to 3 hours, however the longer you allow it to rise the better. You can leave it on the counter to rise for up to 12 hours.
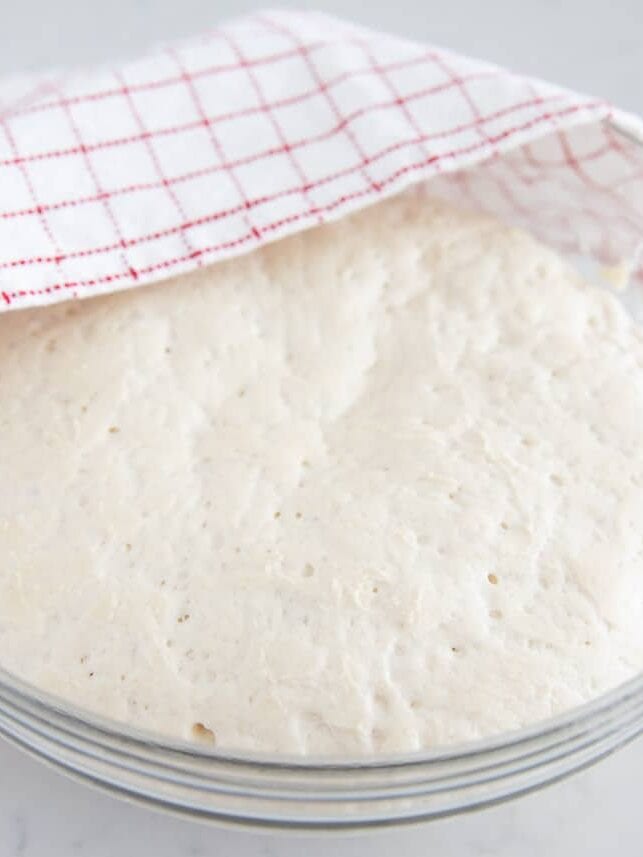
Step 3: Once it rises, you can prepare to bake or cover the bowl with saran wrap and stick it in the refrigerator to bake later. It will keep in the fridge for up to 1 week.
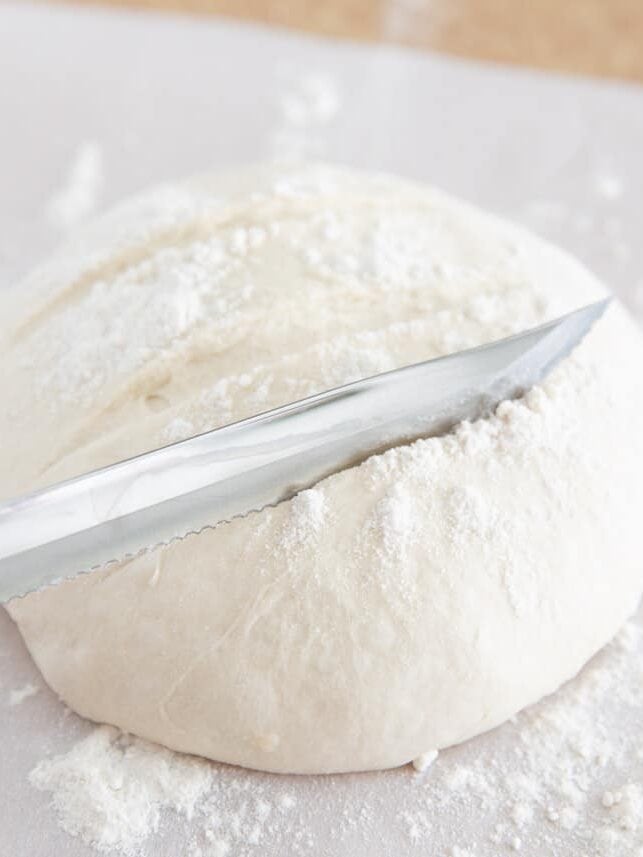
Step 4: Dust your hands with flour, then lightly turn the dough onto a lightly floured surface. Shape the dough into your preferred shape, ensuring not to punch it down or knead it. I like to shape mine into a French boule (round circle). Or shape it into 2 loaves and tuck the ends under. Add a light dust of flour on top, then use a bread knife to make about 1 to 4 lines across the top.
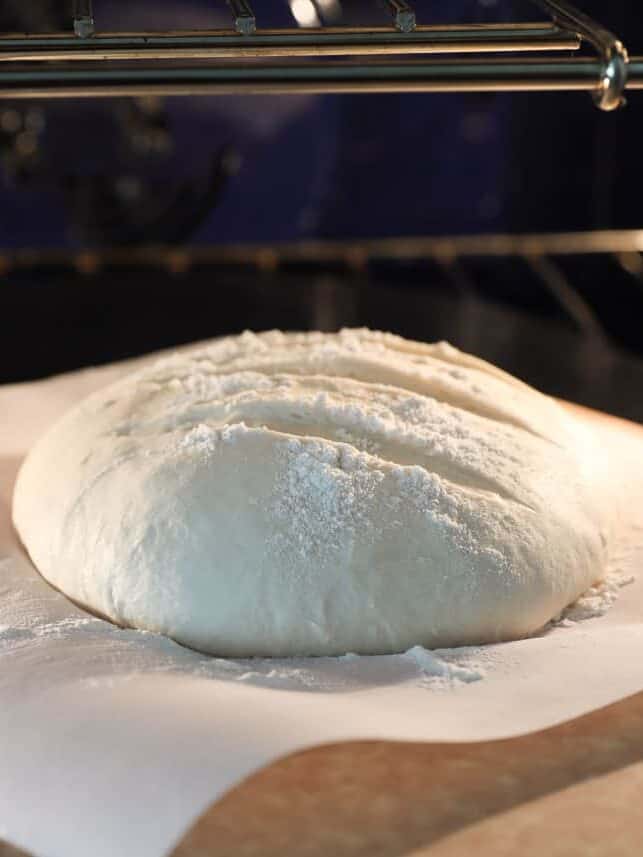
Step 5: Line a pizza peel, skillet, or pan with parchment, then lightly sprinkle flour on top. Add the dough and let rest for 20 to 30 minutes.
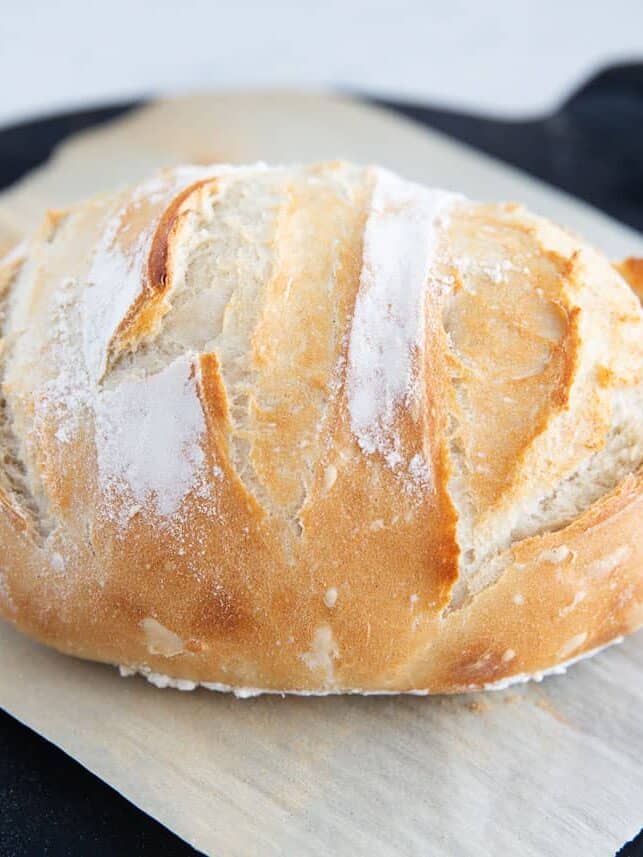
Step 6: Preheat the oven to 450°F. You want the bread to cook on a hot surface, so place a baking stone, pizza stone, or flipped-over iron skillet into the oven. Let it warm in the oven for about 20 minutes while the oven preheats.
Recipe Tips
- Measure the flour correctly. Too much flour can make the dough dense, so use a kitchen scale when possible or follow my guide for how to measure flour.
- Give it time to rise. A longer rise helps develop flavor and texture. I like to make the dough the night before, but you can also refrigerate it for a slower rise.
- Preheat the baking surface. A baking stone works well, but you can also preheat an upside-down baking sheet or cast iron skillet before adding the dough.
- Use parchment for easy transfer. Shape the dough on parchment paper, then use it to carefully move the loaf onto the hot baking surface.
- Create steam. Add water to a small oven-safe pan or a few ice cubes to the lower part of the oven to help create a crisp, crusty exterior.
- Make smaller loaves. Divide the dough in half to make two smaller loaves instead of one 9-inch round loaf.
- Double the recipe. Make an extra loaf and freeze it for another day.

What to Serve with Artisan Bread
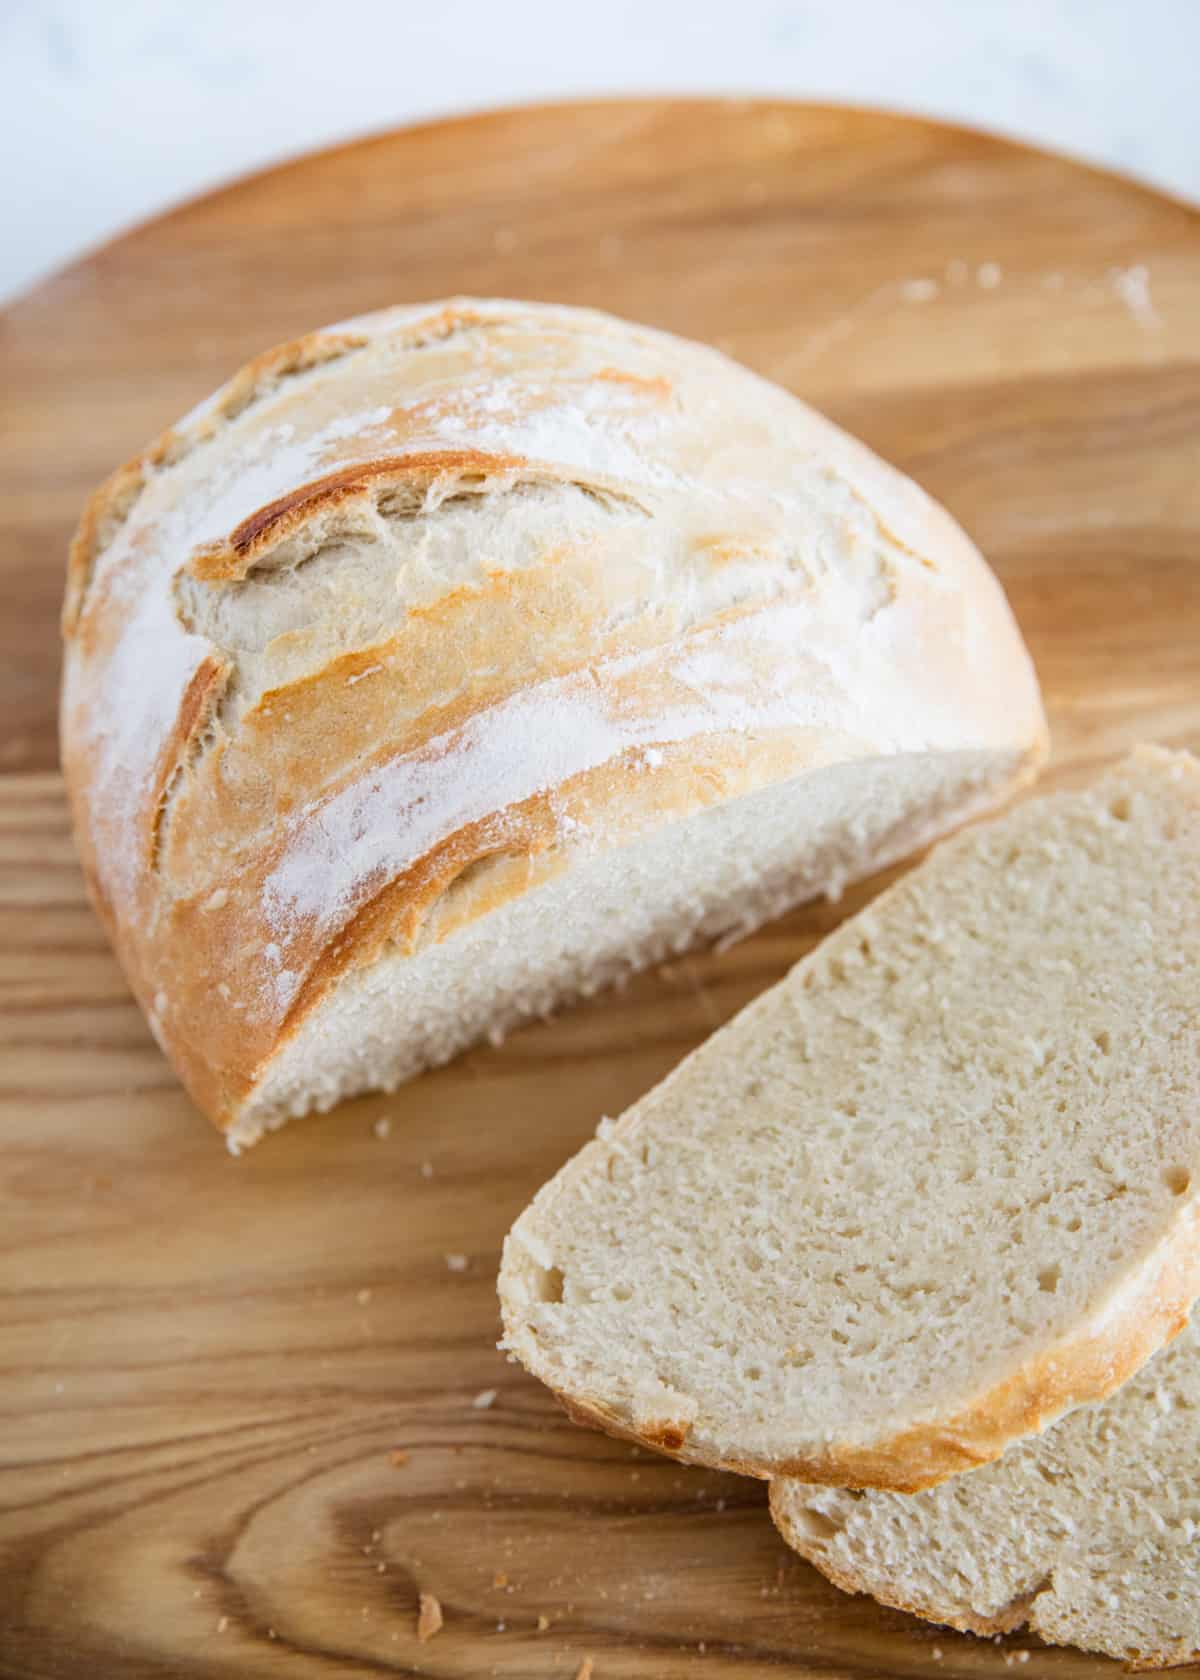
This easy artisan bread works with everything from soups and salads to dips, spreads and sandwiches.
- Serve it alongside chicken noodle soup or tomato soup.
- Spread with butter, garlic herb butter or strawberry jam.
- Tear off pieces for dipping into cheese dip or this bread dipping oil recipe.
- Slice it for a grilled caprese sandwich or your favorite sandwich.
Easy 3 Ingredient Artisan Bread FAQs
Why is my artisan bread dough so sticky?
The dough is supposed to be wet and sticky, so avoid adding too much extra flour. Lightly flour your hands and work surface when shaping. If it is too sticky to handle, add a little flour at a time or refrigerate the dough for about 30 minutes to make it easier to shape.
Why did my artisan bread flatten after shaping?
If the dough rises well but spreads or deflates after shaping, it may have overproofed. Let the dough rise until doubled, then handle it gently so you don’t knock out the air that gives the bread its structure.
How do I know when artisan bread is done?
The crust should be deeply golden and crisp. For the most accurate test, insert an instant-read thermometer into the center of the loaf. It should be around 200°F. Let the bread cool for at least 30 minutes before slicing so the center doesn’t become gummy.
Do I need to bring refrigerated bread dough to room temperature before baking?
Let refrigerated dough sit at room temperature for about 15 minutes before shaping. It doesn’t need to warm completely before you continue with the recipe.
Why doesn’t this 3 ingredient bread have sugar?
Added sugar isn’t necessary for this bread. The yeast can ferment the natural sugars available from the flour, so flour, yeast and salt are all you need, plus water.
Summarize and Save This Recipe Content On:
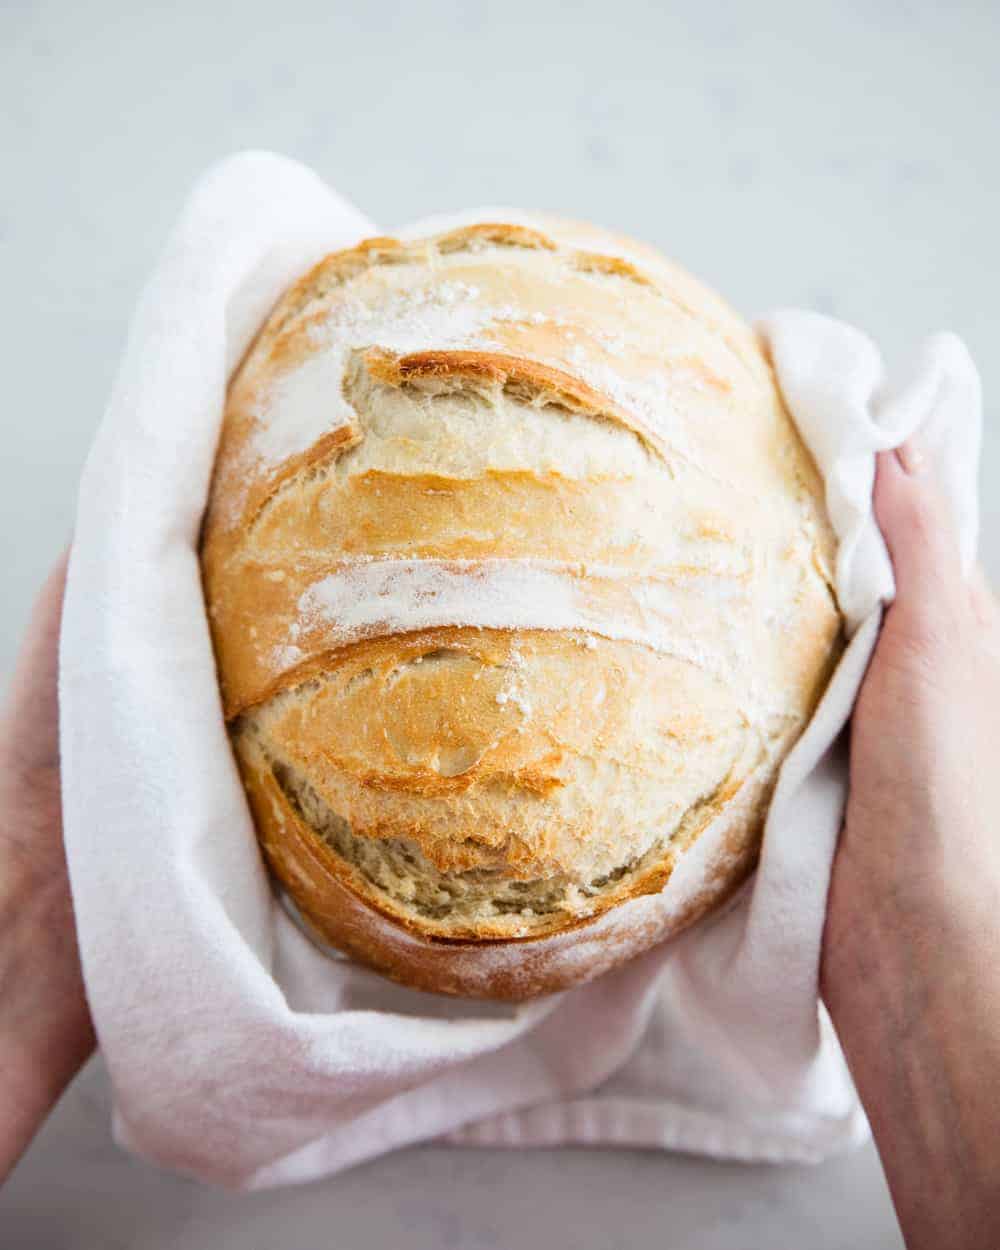
Ready to make more bread recipes? Try making your own Italian bread, pita bread, fry bread or no knead bread!
More Homemade Bread Recipes

Artisan Bread Recipe
Video
Ingredients
- 3 cups (395 grams) all-purpose flour , or bread flour
- ½ Tablespoon Kosher salt
- ¼ ounce instant or active dry yeast packet , or 2 1/4 teaspoons
- 1 ½ cups warm water , 105°F
Instructions
Make dough:
- Place the flour, salt and yeast in a large bowl. Then pour the warm water (about 105°F) over top, making sure it's not too hot. Then you can use a dough whisk, spatula, wooden spoon or your hands to mix together. The dough should still be somewhat wet and sticky, but add more flour if it's too sticky to handle.
- Once the flour is all mixed in, cover with a towel or plastic wrap spayed with nonstick spray for 2-10 hours, or you can leave on the counter overnight. The longer you let it rise, the more it will ferment.
Shape:
- Wet your hands and turn the dough onto a lightly floured surface. The dough will be sticky. Do not punch it down, knead it or roll it out. Gently pull the sides up and fold into the middle to make your preferred shape. I typically work it into a French boule (round circle) or 2 loaves and tuck the ends under.
- Place dough on a piece of parchment paper. Lightly dust the top with flour and then use a bread knife to add 1-4 lines across the top. Let it rest about 20-30 minutes.
Bake:
- Preheat the oven to 450°F. Place a baking stone, a pizza stone, dutch oven or a iron skillet into the oven.
- Slide the dough with the parchment paper onto the hot stone. To make crustier, place either 1 cup of hot water in a small broiler pan or 5 ice cubes into the bottom of the oven and shut the door to trap the steam. Then bake for 25-30 minutes or until browned.
- Allow to cool on a cooling rack for at least 30 minutes. Slice the bread and serve. Store in a paper bag so it doesn't soften.
Last step: Please leave a comment and rating after you make the recipe.
Notes
Nutrition
Nutrition provided is an estimate. It will vary based on specific ingredients used.

Donna
This bread is so good. Have the butter ready when it comes out of the oven. I will be making this again soon. Maybe with seasonings. It is wonderful
I Heart Naptime
Yay, I’m so happy to hear you enjoyed the bread, Donna! Thanks for your comment :)
Julia McGregor
So easy and delicious!
Michelle Reynolds
This was my 11 year old daughter and my first attempt at making bread. It turned out delicious. Thank you for the recipe.
I Heart Naptime
Yay – great job! I’m so glad that you were able to make memories in the kitchen with your daughter :)
Bea
Can I substitute the APF to whole wheat flour?
Jamielyn Nye
I haven’t tried, but I would start with half and half.
Eloise Homan
It was so easy to make and was soooo delicious.. especially when still warm!!! I also added chopped rosemary and thyme and added that to the dough as I was mixing it up and then sprinkled a little bit more on top when I baked it!!!! So yummy… recipe is a definite keeper!!!!
Jamielyn Nye
Sounds delicious! I’m so glad you enjoyed it!
Dj
First bread I have ever made and turned out delicious! Thank you!
Jamielyn Nye
I’m so happy you enjoyed it! :)
Kim
So yummy and such an easy recipe to follow! It was my first time ever making bread. I didn’t realize how easy it could be!
I Heart Naptime
I’m so glad you loved the recipe, Kim! It’s the perfect bread recipe for beginners :)
Nicole
Can I utilize this recipe and add in herbs to make it a Rosemary and Garlic loaf? If I was to do this, do you have any recommendations?!
Jamielyn Nye
Hi Nicole! I haven’t tried that before but I think it would turn out great. Let us know how it goes if you decide to give it a try!
ANNA STANI
This was my first attempt at making bread and it turned out amazing. Better than LaBrea, better than Panera, it was the perfect loaf- chewy inside and perfect crisp crunch outside. I made mine on parchment paper and a cookie sheet.
Jamielyn Nye
Yay! I’m so happy to hear!!
Carole
I NEVER comment or leave reviews on pinterest recipes I make but this bread deserves it. I had always sucked at making bread. The yeast just doesn’t like me or something. But this one. This time. The bread came together so easy, cooked so well and tastes like the Greeks themselves pulled it out of the stone oven they baked it in. This would make the Greeks proud.
Jamielyn Nye
Your comment made my day! I’m so happy to hear you enjoyed it and that it turned out so well for you. Thank you for your comment Carole!
Sonia Perez
Hello! My name is Sonia. I am currently honing my cooking skills and I am aiming to make food that is natural, healthy, wholesome, and from scratch. I just finished making this recipe! This was a perfect recipe for me to learn how to make bread for the first time. I will definitely continue to use this recipe. I wish I can share a picture of how it came out. Thank you so much for sharing your recipe!
Jamielyn Nye
I’m so glad it turned out well for you!! Thanks for your comment Sonia. Best of luck in your cooking adventures! :)
Alicia Stewart
This was easy and oh so good! Have you ever frozen the bread?
Jamielyn Nye
You can definitely freeze the bread, but the crusty outside might change to a soft outside. You could try and crisp it up in the oven to get that nice texture again!
Solveig Drekaskot
Hi, I just made this recipe to the letter and for some reason my ‘dough’ turned out to be more of a batter, almost like pancake batter. It wasn’t sticky at all. Should I add more flour, and if so, how much?
Jamielyn Nye
Everyone measures flour differently so it’s hard to know how much more flour you need. But I definitely think you need more. I would add until you get a consistency that is somewhat wet and sticky but still able to handle.
Lakota Jones
This took me two tries— the first time, I didn’t read carefully enough and I punched the dough after I let it rise, so it was too dense. Then I tried it again right after, and it’s perfect! It’s great with honey. ❤❤❤❤
Jamielyn Nye
I’m so glad it worked for you the 2nd time! Thanks for your comment and review Lakota! :)
Sandie Reed
The recipe says to refrigerate the dough for 30 minutes, or up to one week. Do you need to refrigerate if you are making this right away? Thanks
Jamielyn Nye
Hi Sandie! You don’t need to if you are making right away, however I find the dough is easier to handle if it has been refrigerated.
Margaret Ann Murphy S F O
can you add rasins?
Jamielyn Nye
I haven’t tried it, but I think that should be fine!
Angie
Can you use active dry yeast ?
Jamielyn Nye
Yes, definitely!
Celine Tan
Hi I’m using dry yeast, do I need to proof it first?
Jamielyn Nye
Hi Celine! No proofing is needed! :)
LeeAnne
This was super easy to make. Even on my first try it turned out so yummy! Even my kids liked it! Thanks for a super fun easy recipe!
Jamielyn Nye
I’m so glad you enjoyed making this artisan bread! Thanks for coming back to leave a comment and review LeeAnne. :)