
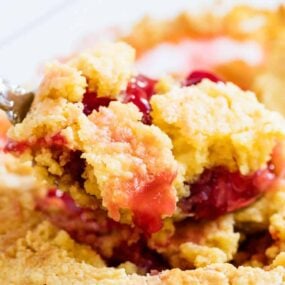
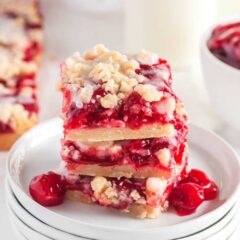
These cherry pie bars are an easy twist on classic cherry pie. Made with a buttery shortbread crust, sweet cherry pie filling, and a crumbly topping, they’re bursting with flavor in every bite!

This post may contain affiliate links. Read disclosure policy.
Classic Cherry Pie Bars Recipe
These cherry pie bars give you everything you love about an old-fashioned cherry pie without rolling out dough or weaving a lattice top. The same buttery shortbread dough works as both the crust and the crumble topping, so you just press, layer with cherry pie filling, and bake.
They’re a go-to fourth of July dessert at our house, easy to slice, easy to share, and even better with a scoop of homemade vanilla ice cream on top.
To quote my son “it’s everything a cherry pie should be”. Needless to say, we will be making it often.
Ingredient Notes

Find the full printable recipe with specific measurements below.
- Butter: The softened butter should give slightly when pressed but not feel greasy or shiny. This keeps the crust crisp instead of cakey.
- Sugar: Granulated sugar balances the tartness of the cherry filling.
- Extracts: Vanilla and almond. The almond is what makes these taste like classic cherry pie, so don’t skip it if you can help it.
- All-purpose flour: The base for both the shortbread crust and the crumble topping.
- Baking powder: Gives the topping a little lift so it bakes up tender instead of dense.
- Cherry pie filling: Canned keeps it simple and gives you plump cherries in every bite. You can also use homemade cherry pie filling.
- Powdered sugar glaze: Powdered sugar, almond extract, and milk whisked together for a smooth drizzle.
How to Make Cherry Pie Bars
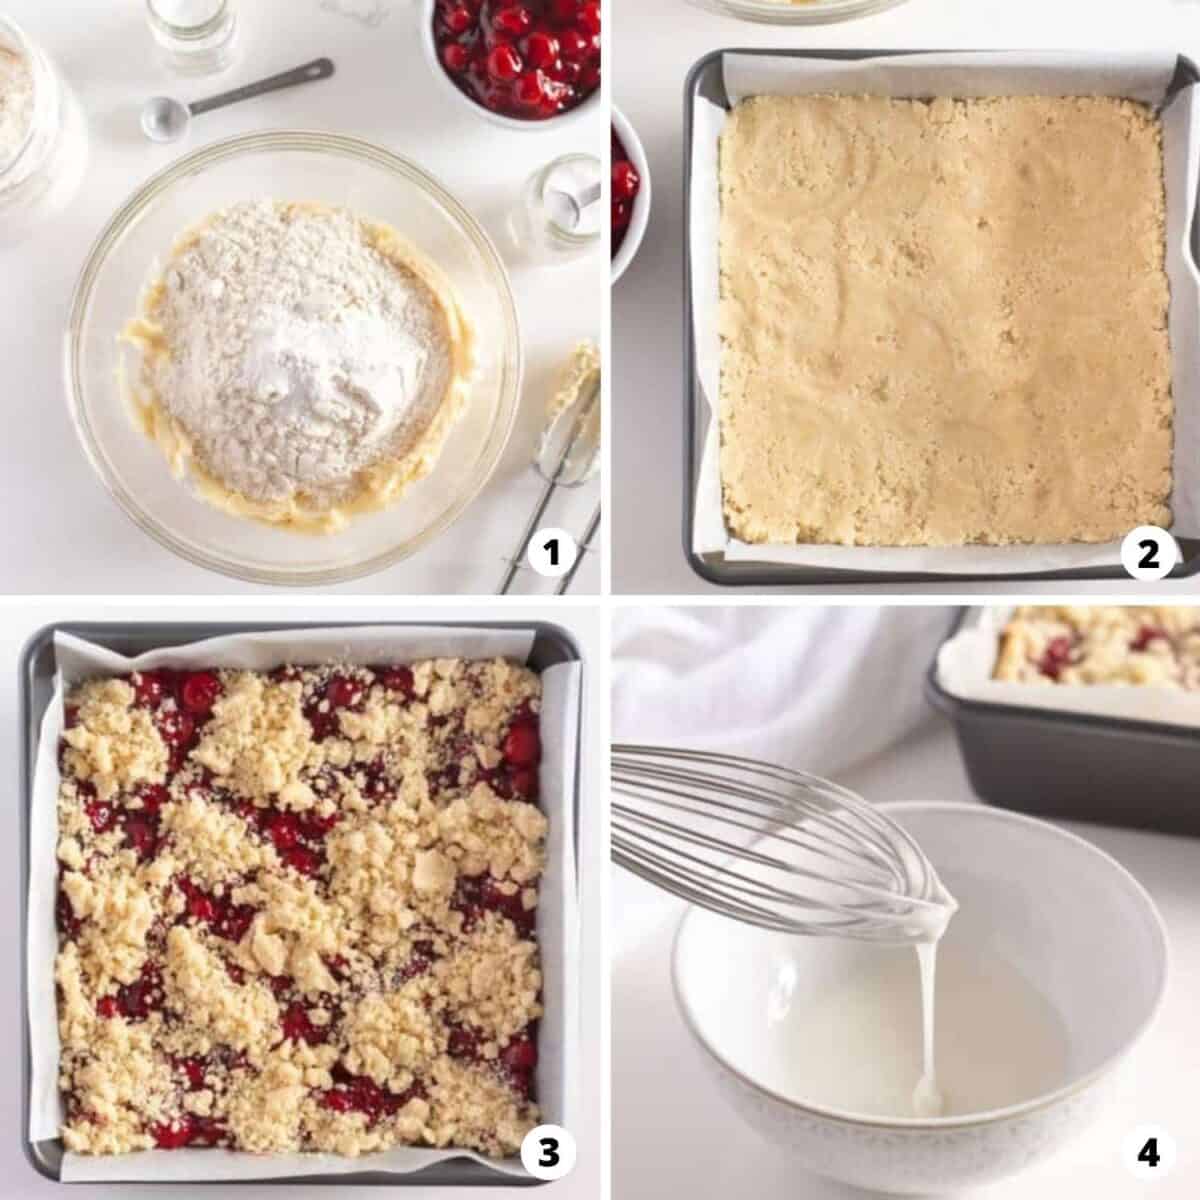
- Mix together. In a large mixing bowl, beat the butter and sugar together until light and fluffy. Add the vanilla and almond extract, mix then add the flour, baking powder, and salt.
- Press dough. Prepare a 9×9″ pan by lining it with parchment paper. Press about 2/3 of the dough in the prepared pan. You can use a piece of parchment paper to press down easier. Top dough with the pie filling.
- Bake. Drop the remaining dough in small spoonfuls evenly over the top of the filling, leaving space between the spoonfuls. Bake in the preheated oven for 20-30 minutes, or until the dough on top does not indent when lightly pressed with your finger.
- Glaze. In a small bowl, whisk together the powdered sugar, almond extract, and milk. Drizzle the glaze over the cooled cherry pie filling bars and refrigerate 10 minutes.

Baking Tips
Follow these simple tips to make these easy cherry pie dessert bars in no time!
- Line the pan with parchment paper, leaving some overhang on the sides. Once cooled, you can easily lift the bars out for slicing.
- If the dough is too sticky, try scooping it into the pan, then placing plastic wrap or parchment on top. Press it down with your hands—it spreads much easier this way.
- Drop small, well-spaced pieces of dough over the filling (like in the photo above). Avoid covering the top completely, you want that cherry filling to peek through for a prettier look and gooier texture.
- Par-bake the crust for a firmer base. If you want a crisper bottom that holds up better under the filling, bake the pressed crust on its own for 5 to 10 minutes before adding the cherries and topping. This is the easiest fix if you’ve had trouble with bars turning out soggy or undercooked in the middle.
- Look for visual cues to know they’re done. The top crust should be lightly golden and the cherry filling should be bubbling around the edges. If the dough on top still indents when you press it, give it a few more minutes.
- Let the bars cool completely before slicing. Trust me, it’s worth the wait! Cutting them too soon will make the filling messy and the topping mushy. To speed things up, pop them in the fridge. If the bars still seem runny after cooling, they likely needed a few more minutes in the oven.

Variations
- Filling alternatives. Try peach pie filling, blueberry filling, or apple pie filling. A fresh strawberry filling like the one in these strawberry crumb bars works beautifully too.
- Use jam. You can also make raspberry crumble bars with this same base.
- Cherry-almond crumble. Stir a handful of sliced almonds into the topping dough before dropping it over the filling. Adds a nice nutty crunch that pairs perfectly with the almond extract.
- Lemon zest in the crust. Add a teaspoon of fresh lemon zest to the dough for a brighter, more pie-like flavor.
- Almond extract. If you’re not a fan, swap in all vanilla.
- Skip the glaze. These bars are great without the glaze too. Top with sliced almonds instead, or try a cream cheese glaze for a tangier finish.

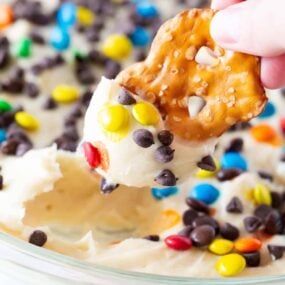
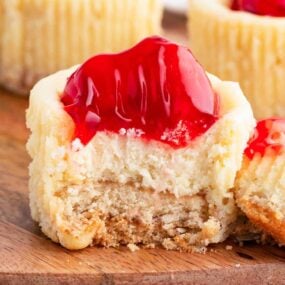
If you love cherry recipes, try these other favorites including cherry almond cookies and cherry cheesecake dip!
More Cherry Dessert Recipes
Cherry Pie Bars
Video
Ingredients
Bars:
- 1 cup unsalted butter , barely softened
- ¾ cup granulated sugar
- 1 teaspoon vanilla extract
- ½ teaspoon almond extract
- 2 cups all-purpose flour
- ½ teaspoon baking powder
- ¾ teaspoon fine sea salt or table salt
- 21 ounces cherry pie filling ,1 can
Glaze:
- ½ cup powdered sugar
- ¼ teaspoon almond extract , or vanilla extract
- 1 Tablespoon milk , or cream
Instructions
- Preheat the oven to 350°F. Prepare a 9×9" pan by lining with parchment paper.
- In a large bowl, beat 1 cup butter and 3/4 cup sugar together until light and fluffy. Add 1 teaspoon vanilla and 1/2 teaspoon almond extract. Mix until smooth. Add 2 cups flour, 1/2 teaspoon baking powder and 3/4 teaspoon salt. Mix until combined, scraping the sides as you mix.
- Press about 2/3 of the dough into the prepared pan. You can use a use a piece of parchment paper to press down easier. Top dough with the pie filling. If you like a crisper crust, you can bake for 5-10 minutes before adding filling.
- Drop the remaining dough by small spoonful's evenly over the top of the filling, leaving space between the spoonful's. Bake in the preheated oven for 20-30 minutes, or until the dough on top is lightly golden. Remove and let cool completely.
- When the bars have cooled, whisk together the powdered sugar, almond extract and milk. Add more milk or powdered sugar as needed to achieve the desired consistency. Drizzle the glaze over the cooled bars and refrigerate for about 10 minutes to set.
- Once set, slice into 16 bars and serve.
Last step: Please leave a comment and rating after you make the recipe.
Notes
Nutrition
Nutrition provided is an estimate. It will vary based on specific ingredients used.

Diane
This was excellent, I par baked the crust for 5 minutes. It’s as good as it looks!
Sarah @IHeartNaptime
Thanks for making the cherry pie bars!
Marie
First time making them and they are a hit! Definitely will be saving the recipe:)
Sarah @IHeartNaptime
So glad you loved the cherry pie bars!
Jenny Cruz
It tastes great, but it’s a runny mess. I feel like I should have baked the crust a little before adding the filling. I used room temp butter. After baking 6 minutes longer than the suggested time the dollops of dough on top never thoroughly baked.
Jamielyn Nye
Hi Jenny, Thanks for your review. I’m glad you still enjoyed the taste. These are more of a softer bar. If you prefer a firmer crust, I would par bake the crust 5-10 minutes before adding the filling. Every oven bakes differently, so you may need to bake a little longer until it sets.
Kim
My family thought the bars were absolutely delicious! The almond glaze was a great addition. Recipe was easy to follow. We will definitely make this again!
Sarah @IHeartNaptime
So happy your family loved the cherry pie bars!
Debbie
Simply devine!
Sarah @IHeartNaptime
So glad you enjoyed the cherry pie bars!
Mary L Dettmann
Just OK.
Sarah @IHeartNaptime
Thanks for the honest review Mary, of course taste is to personal preference!
Mary L Dettmann
Sarah, thanks for your reply. I think after reading other reviews and considering my method for bringing butter to room temperature I am the cause for the recipe not turning out as expected. Instead of bringing the butter to room temperature I almost melted it causing a cake like crust rather than the more pie like crust. I’m going to try it again. The filling was delicious.
Sarah @IHeartNaptime
Thanks for the reply back and glad to hear you could troubleshoot it! Enjoy!
Bonnie
Easy to make and very tasty!
Cheryl
To quote my son “it’s everything a cherry pie should be”. Needless to say, we will be making it often.
Sarah @IHeartNaptime
Love that! So glad the family enjoyed the cherry pie bars!
Barbara
My dough is like cake batter what did I do wrong
Sarah @IHeartNaptime
Hi, without being in the kitchen with you, it can be hard to say. Was your butter melted vs. softened? Did you not add enough flour?
Donna
Haven’t made it yet. I’m going to for the holidays. Can I add walnuts?
Sarah @IHeartNaptime
That should work for the cherry pie bars! Enjoy!
kallie
very yummy!
Sarah @IHeartNaptime
So glad you enjoyed them!
Daphne Reynolds
This is sooo good. I made an apple version. I made it lower carb by using lite apple pie filling, fiber gourmet flour and sucrolose for my sweetner. It came out perfect!
Connie
These cookie bars are SO good! I loved the cherry/almond flavor. I will be making these often and I know you will love them too!
Kristin
This is heavenly! My whole family loves them. 1st time I made them with blueberries, blackberries and raspberries. Last time without the raspberries. Each time they were wonderful! You could just eat the bar by itself without fruit also.. or use as a dipper. I plan to keep experimenting with the toppings for fun in the future.
I Heart Naptime
Wow! That sounds perfect! Let me know what other variations you have. These all sound delicious!
Kristin
We made just the bar base by itself.. and used it as a cookie to dip into cookies and cream pudding. This was also a fav of the kids and hubby.
I Heart Naptime
That sounds perfect! Thanks for sharing and rating it at a 5 star!