
This easy homemade cake pop recipe is covered in a sweet chocolate coating with a delicious crumb. The perfect bite-sized party treat or favor for any occasion!

This post may contain affiliate links. Read disclosure policy.
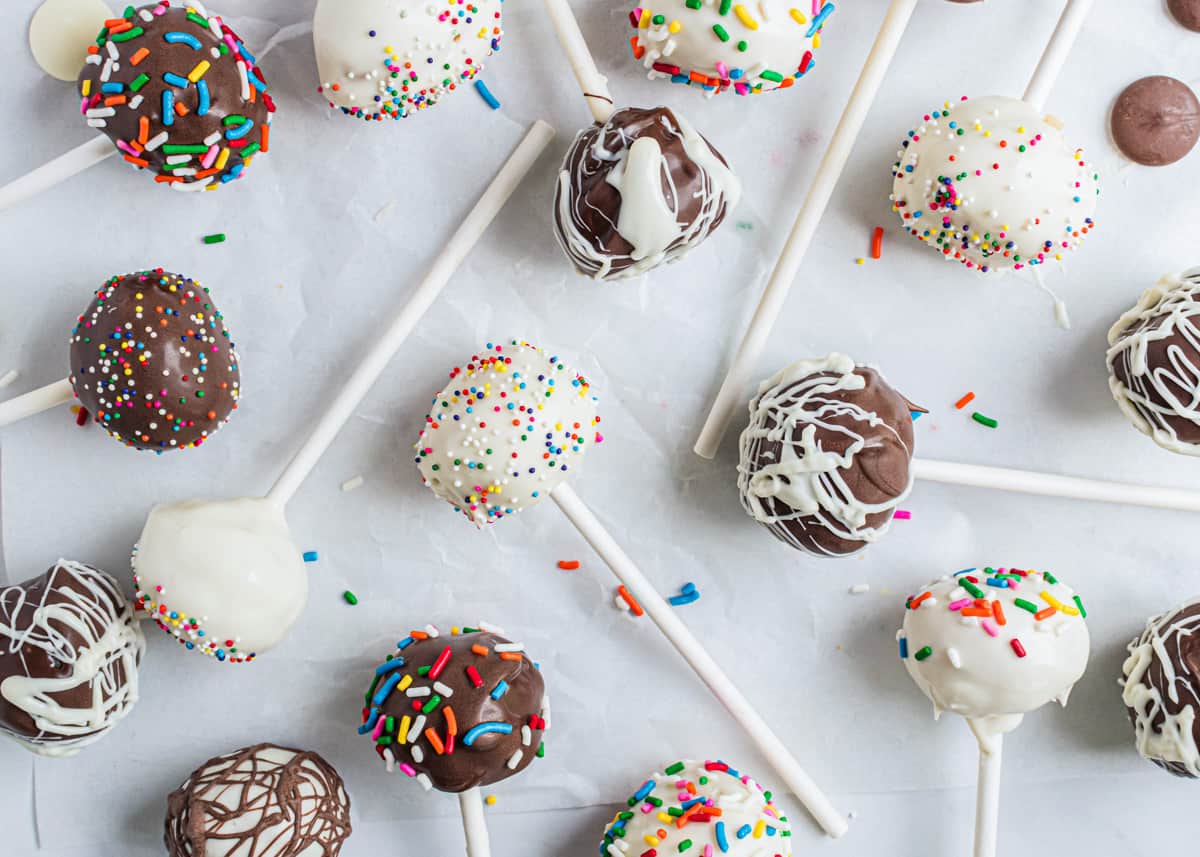
Homemade Cake Pops
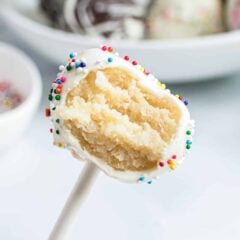
These cake pops are one of my favorite treats to make for a party. Moist cake crumbles mixed with creamy buttercream are shaped into cake balls, put on a stick, dipped in a smooth chocolate coating and finished with sprinkles. They look like they came from a bakery but I promise they are so much easier than they look!
These homemade cake pops are perfect for birthdays, baby showers, wedding showers, holidays or anytime you want a fun bite-sized treat. You can even wrap them individually and give them as favors!
This is a great way to use up leftover cake and frosting, and my step-by-step tutorial makes it totally beginner friendly.
Recipe Ingredients
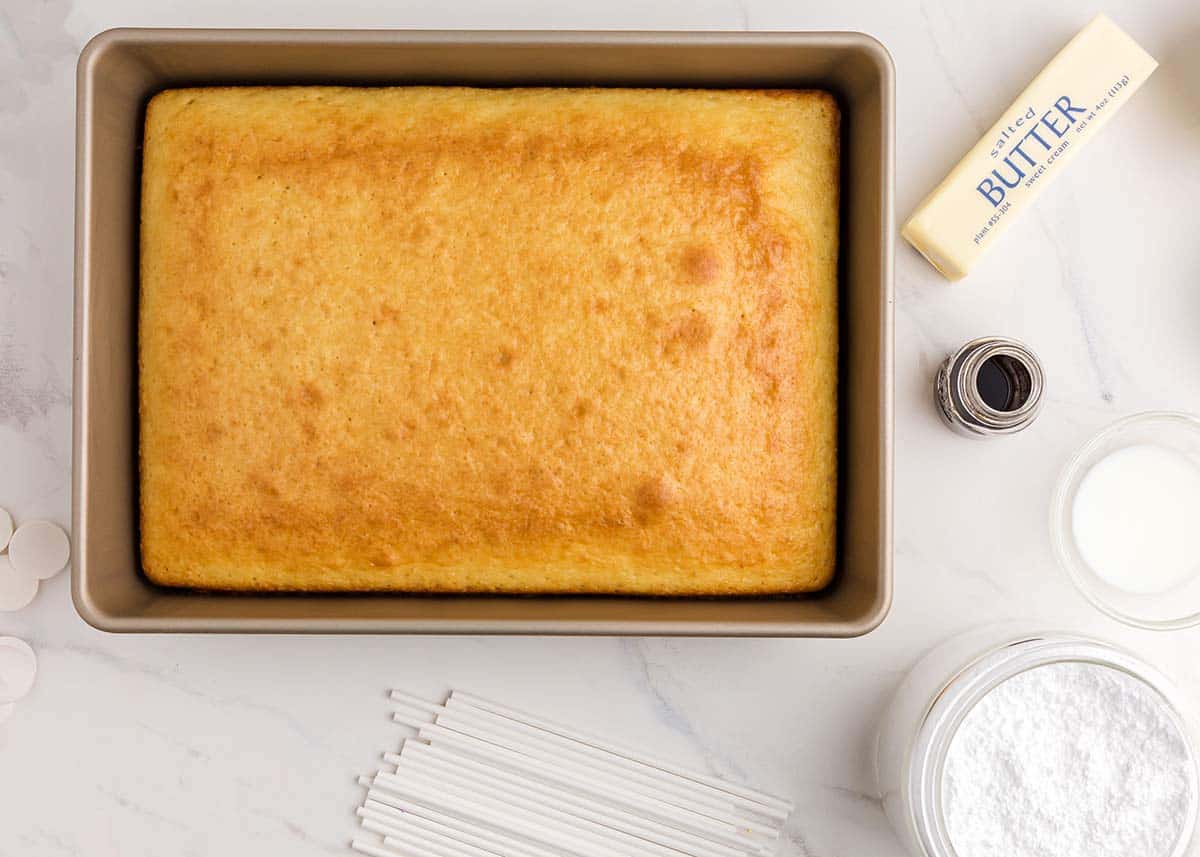
Find the full printable recipe with specific measurements below.
- Cake mix: This cake pop recipe with cake mix is the easiest way to make them. Use your preferred flavor or swap in your favorite from-scratch cake recipe if you prefer.
- Melting wafers: I prefer the Ghirardelli melting wafers in vanilla or chocolate. They give the smoothest finish and a sturdy coating. A high quality chocolate bar like Ghirardelli or Baker’s would be the next best option.
- Salted butter: If you only have unsalted butter, just add in a pinch of salt to the frosting.
- Powdered sugar: This will help bring the sweetness and stability to the frosting.
- Heavy cream or milk: This helps makes the frosting creamy.
- Sprinkles: Use your favorite sprinkles, jimmies, or other desired decorations.
- Cake pop sticks: Don’t forget these! Without them you’ve just got cake balls.
Frosting and Flavor Combinations
A classic buttercream is my favorite type of frosting for cake pops, but feel free to use others like chocolate buttercream or strawberry buttercream.
Below are a few different flavor combinations that would taste delicious:
- Vanilla cake + classic buttercream
- Chocolate cake + classic buttercream for chocolate cake pops
- Red velvet cake + cream cheese frosting make the cutest Grinch cake pops recipe
- Birthday cake (funfetti) + classic buttercream
- Lemon cake + lemon frosting
- Carrot cake + cream cheese frosting
- For Valentine cake pops, use strawberry sheet cake with cake mix + strawberry frosting
How To Make Cake Pops
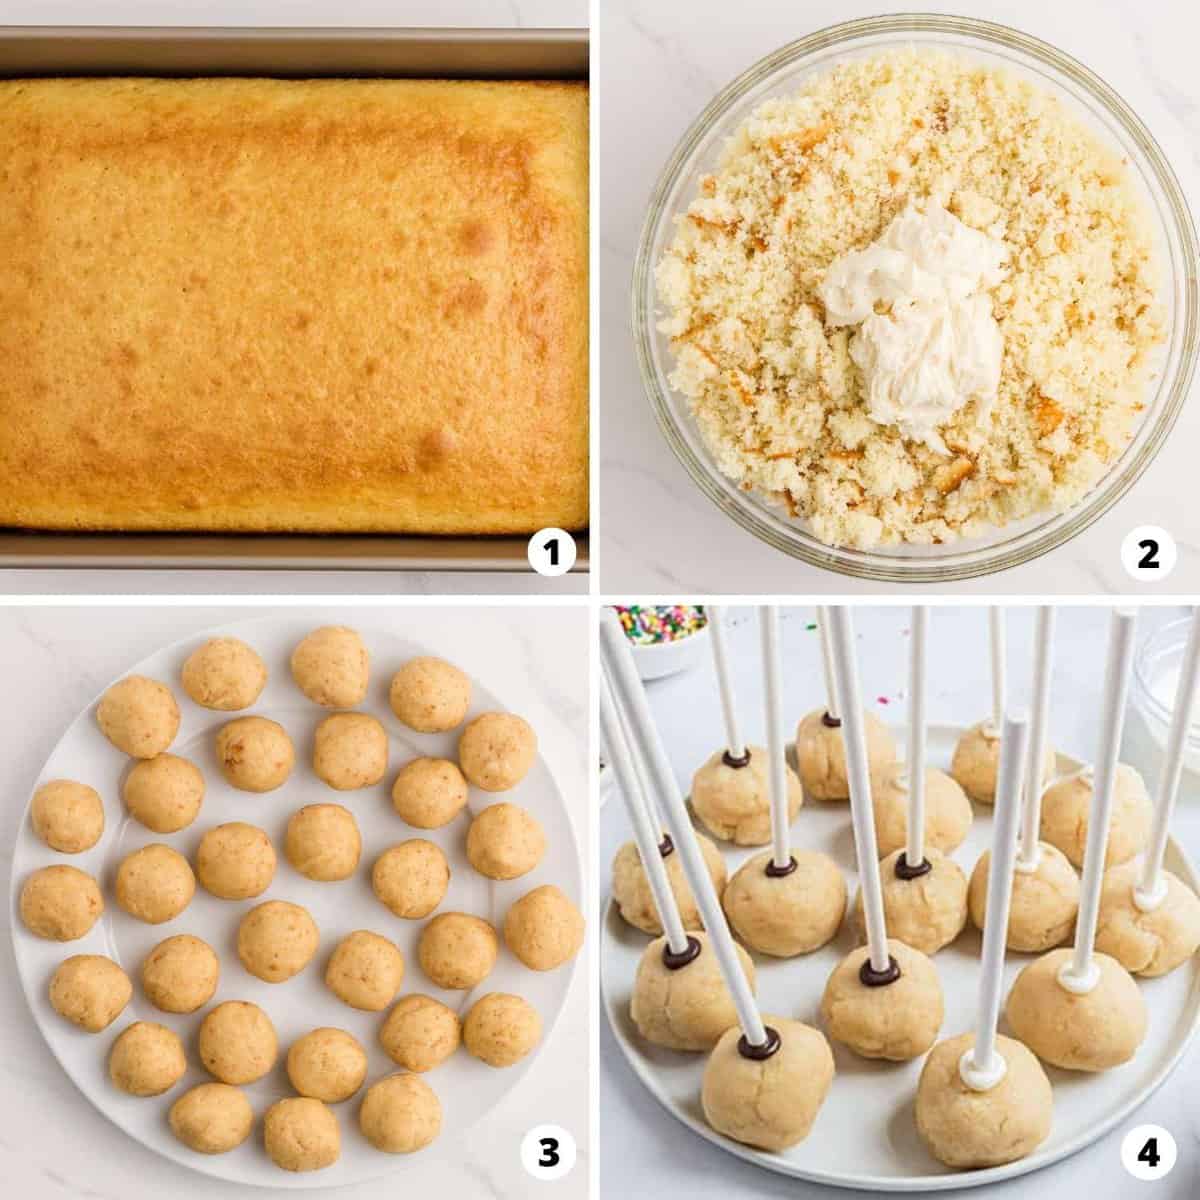
- Crumble. Allow the cake to cool slightly and then crumble in a large bowl.
- Mix. Add a few spoonful’s of frosting and use your hands to combine. The dough should hold together if squeezed. If it’s still crumbly, stir in a little more frosting.
- Scoop. Then scoop out the mixture with a medium cookie scoop (about 1 1/2 Tablespoons) and roll into a ball. Repeat until you’ve used all of the mixture.
- Add cake pop stick. Melt a few of the dark and white chocolate wafers in two separate bowls. Then dip the end of the cake pop stick into the melted chocolate and push that same end into the cake ball. The melted chocolate helps “glue” the stick to the cake ball. Once each ball has a stick, place them in the freezer to harden for about 20 minutes.
- Coat in chocolate. Melt the remaining dark and white chocolate in separate bowls. Use a taller glass or jar for easy dipping. Dip the cake balls into the melted chocolate, making sure it’s fully coated. Gently tap the stick on the side of the dish to remove any excess chocolate.

Decorations
There are so many ways to decorate cake pops!
- Add sprinkles or jimmies, drizzle with more melted chocolate or do both!
- Sprinkle crushed oreos like I did in these Oreo cake pops
- Make them for a holiday like my easy Halloween cake pops or Easter cake pops.
- Dye the cake batter with food coloring for a fun surprise when biting into them.
- Make them into a cake pop bouquet for a fun gift or centerpiece.

Recipe Tips
- Half batch of frosting: I made a half batch of my buttercream frosting and used only half of that. How much you need depends on how moist the cake is.
- Chill in the freezer: This step is essential. The cake balls need to be cold before dipping or they won’t hold their shape or grip the stick.
- Melting the chocolate: If the chocolate hardens while you’re working, reheat in 30-second increments. Any longer can burn it.
- Dipping method: Use a deep 2-cup measuring cup or tall glass filled with melted chocolate. Tap the stick on the edge to remove excess.
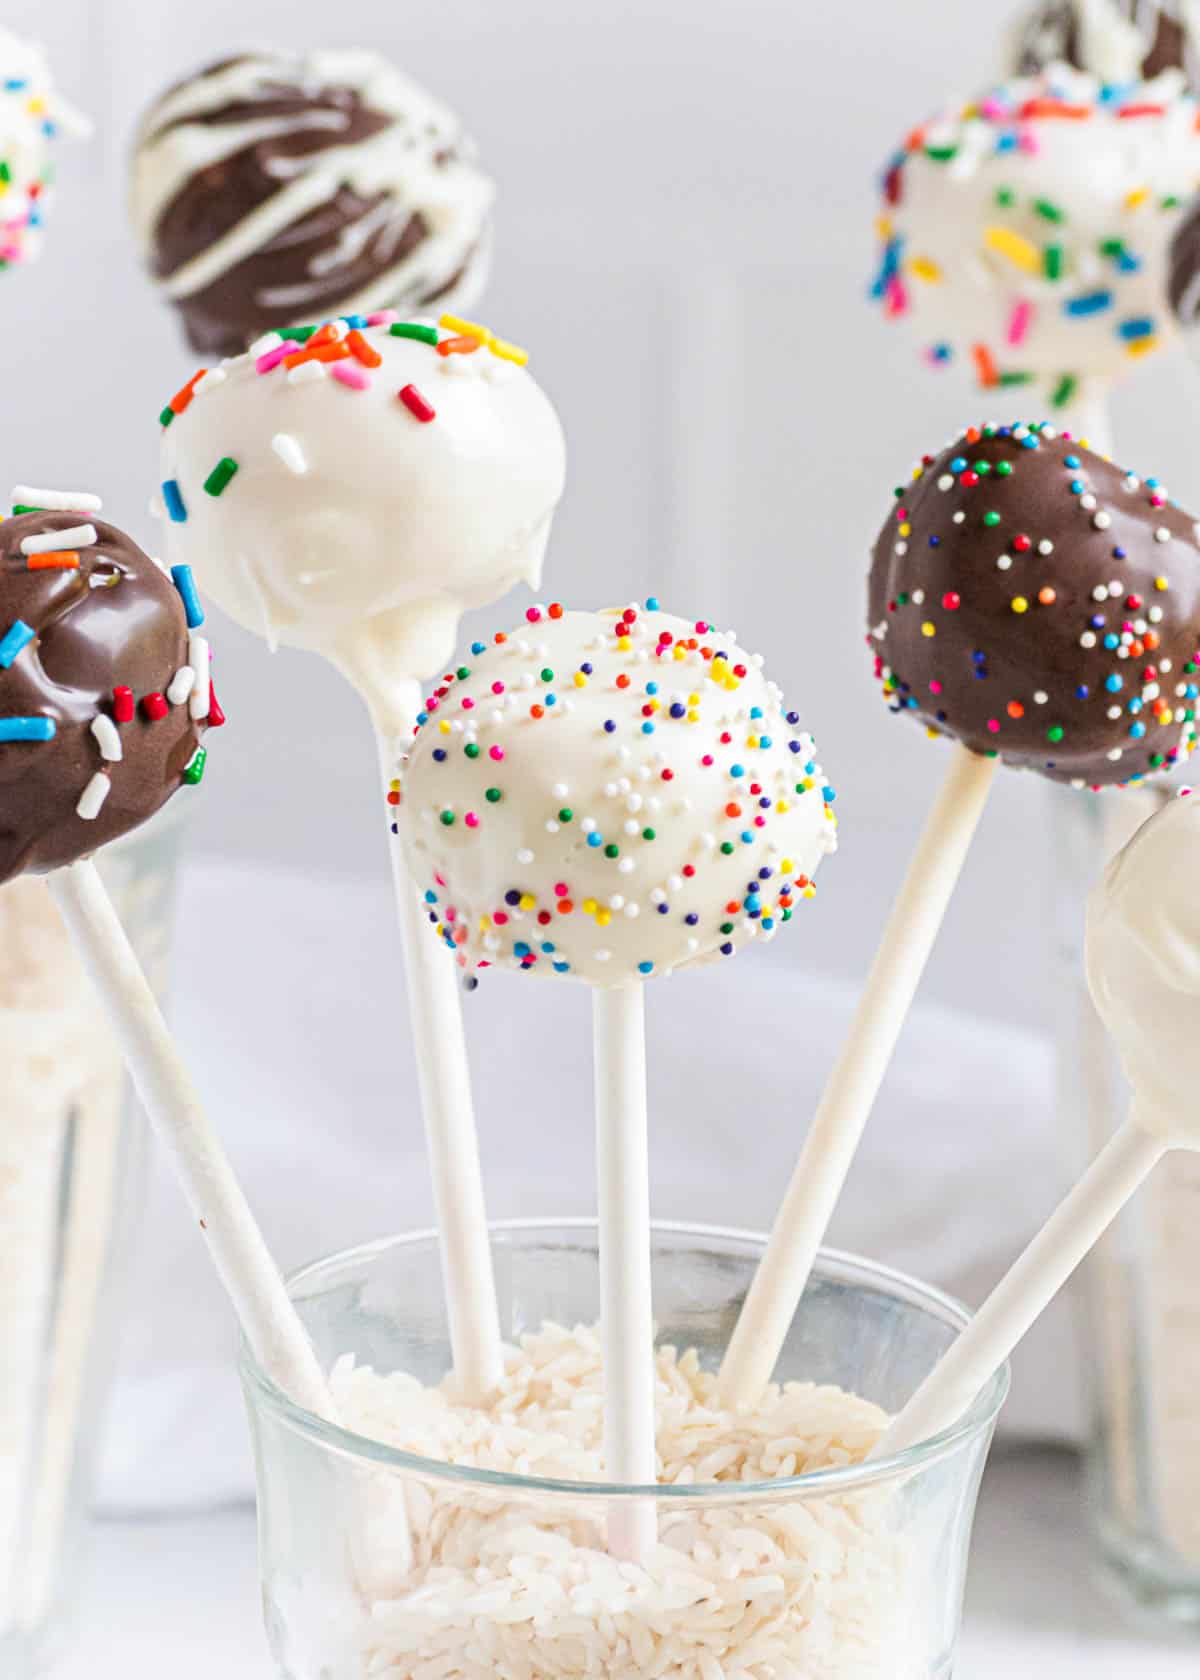
- Holding upright: Use a glass filled with rice or sprinkles, or a styrofoam block to hold the pops upright while the chocolate sets.
Troubleshooting
Cake pops falling apart: It’s all about the frosting. The mixture should hold together when squeezed. If it’s crumbly, add a little more frosting at a time. If you have a very moist cake, you may not need much at all.
Coating is cracking: This is usually a temperature issue. Don’t freeze the cake balls longer than instructed as the super cold cake combined with warm melted chocolate causes cracking. Also make sure you’re using melting wafers rather than chocolate chips. Wafers give a thicker, smoother finish once hardened.
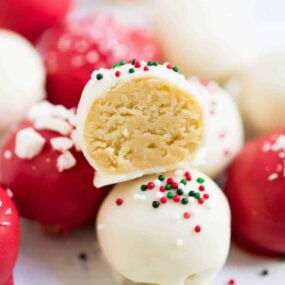
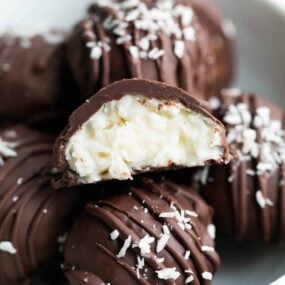
More Bite-Sized Party Treats


Cake Pops Recipe
Video
Equipment
Ingredients
- 15 ounce box white cake mix , cook according to package directions in a 9×13" pan
- 10 ounce package dark chocolate melting wafers
- 10 ounce package white chocolate melting wafers ,I prefer Ghiradelli
Buttercream Frosting
- 1 stick salted butter , softened
- 2-2 ½ cups powdered sugar
- 1 teaspoon vanilla extract
- 1 Tablespoon heavy cream or milk
Optional: Sprinkles, jimmies or other desired decorations
Instructions
Make Buttercream Frosting
- In a medium bowl, whip the butter. Add in 1 cup of powdered sugar. Mix until combined. Add the vanilla and additional powdered sugar, a little at a time. Add 1 Tablespoon of heavy cream or milk to make the frosting thick and creamy. It should hold a point.
Make Cake Pops
- In a large bowl, crumble the prepared cake into fine crumbs (make sure it has cooled slightly before crumbling). Add 2 spoonfuls of buttercream frosting to the cake. Combine with your hands or a spoon. Gradually add more frosting until the cake holds together if squeezed. You don't want it too crumbly or it won't hold together.
- Using a cake pop press or medium cookie scoop and scoop cake mixture. Roll into a ball and place onto a plate. Repeat until all the cake mixture has been formed into balls. Freeze balls for about 10 minutes.
Dip in chocolate
- Right before they are ready to be taken out of the freezer, melt the dark chocolate and the white chocolate in two separate microwave safe bowls. Begin by heating for 30 seconds and then stirring.
- Dip each lollipop stick into the chocolate and then into the center of the cake pop. Return to the fridge or freezer until chocolate is set. Pour chocolate into a glass cup or skinny jar and then dip cake pops, one by one. Gently tap the stick on the side of the melting dish to let the excess drip off. You can also spin or twirl the cake pop to remove the excess.
- Before the chocolate starts to harden, add sprinkles, jimmies or other decorations. If decorating with more chocolate, let the chocolate covering harden on the cake pop.
- Push the cake pop stick into a styrofoam block or use a glass filled with rice to hold them upright. The chocolate will be set in about an hour. Store for 3-4 days in an airtight container in a cool place.
Last step: Please leave a comment and rating after you make the recipe.
Notes
Nutrition
Nutrition provided is an estimate. It will vary based on specific ingredients used.

KC
I’m confused. You need both dark and white chocolate but I only see the recipe using one. To coat the pops. What am I missing? They sound amazing btw.
Sarah @IHeartNaptime
Hi KC, the pictures have both dark and white chocolate coating on the cake pops. You can use both, or just one chocolate. Your choice!
Ainsley
I loved the cake pops they where so fun to make thank you for the recipe
Sarah @IHeartNaptime
Thanks for making the cake pop recipe!
Ainsley
next time in your recipe add that you need to back the cake
TB
My daughter made these for her friends and I supervised. They turned out great!
Sarah @IHeartNaptime
Yeah! I love to hear when kids get to be in the kitchen! So glad everyone loved the cake pops!
Judy
They turned out awesome!!! My grandsons will be happy 😊
I was wondering if you can freeze these? I would like to make them way ahead of time and take them out for a party.
Sarah @IHeartNaptime
Hi Judy, yes you can freeze them, just make sure they’ve dried completely before freezing. They will stay fresh in the freezer for up to 6 weeks. Let thaw at room temperature.
Annie Hermanson
i love this recipe
CHRISTINA LALONDE
I’ve tried making these but the chocolate is far to thick and doesnt run off nicely leaving a very clunky cake pops, any suggestions as to what i can do to thin out the chocolate?
Sarah @IHeartNaptime
Hi Christina, we have never had this happen, perhaps it is the type of chocolate you used? Candy melts or melting wafers work best. You can try thinning out chocolate with shortening if needed but again, a high quality melting chocolate should turn out smooth.
Rosie
Good but takes long
Michelle
Hi! I made these and they overall turned out great! Some of my balls are cracking tho. Does that mean too much candy coating or too little?
Thanks!
Sarah @IHeartNaptime
It’s due to temperature difference between the chilled cake ball and warm melted coating. Let the candy melts (or chocolate) cool slightly before dipping.
Danah Wright
I am going to make these with my kids for Halloween. Any suggestions on how I can make these Halloween theme. ?
Sarah @IHeartNaptime
Yes, follow our Halloween Cake Pops recipe, lots of cute ideas!
Amanda Maffucci
Delicious, they came out perfect! Thank you for this amazing recipe!
Sarah @IHeartNaptime
Thanks for the review of the cake pop recipe!
Tam
Can you bake the cake ahead of time, like a few days ahead?
I realize then the cake would be completely cooled, does that matter?
Sarah @IHeartNaptime
That’s fine Tam! You want the cake completely cooled.