These Valentine’s cake pops are fun, festive and easy to make for Valentine’s Day! Everyone loves the creamy cake center covered in sweet chocolate candy coating then decorated in sprinkles.

This post may contain affiliate links. Read disclosure policy.
Easy Homemade Valentine’s Day Cake Pops
Celebrate your sweetheart with these adorable homemade Valentine’s Day cake pops. My kids love to help decorate the Valentine cake pops with different colors of chocolate, sprinkles, jimmies, you name it!
I love making cake pops for any special occasion. Not only are they scrumptious (and slightly addicting) but they’re so pretty and so easy to make. Cracking open that chocolate exterior and discovering the creamy cake goodness on the inside is so fun!
A bite-sized, and no-mess treat, means there’s always a reason to enjoy them. This easy guide to making cake pops will have you set for the perfect Valentine’s Day dessert and beyond. You could even skip the stick and make this cake ball recipe instead.
Ingredient Notes
Easy to make and even more fun to share with those you love! This cake pop recipe are a special treat and have all the flavor and cuteness overload you need this Valentine’s day.
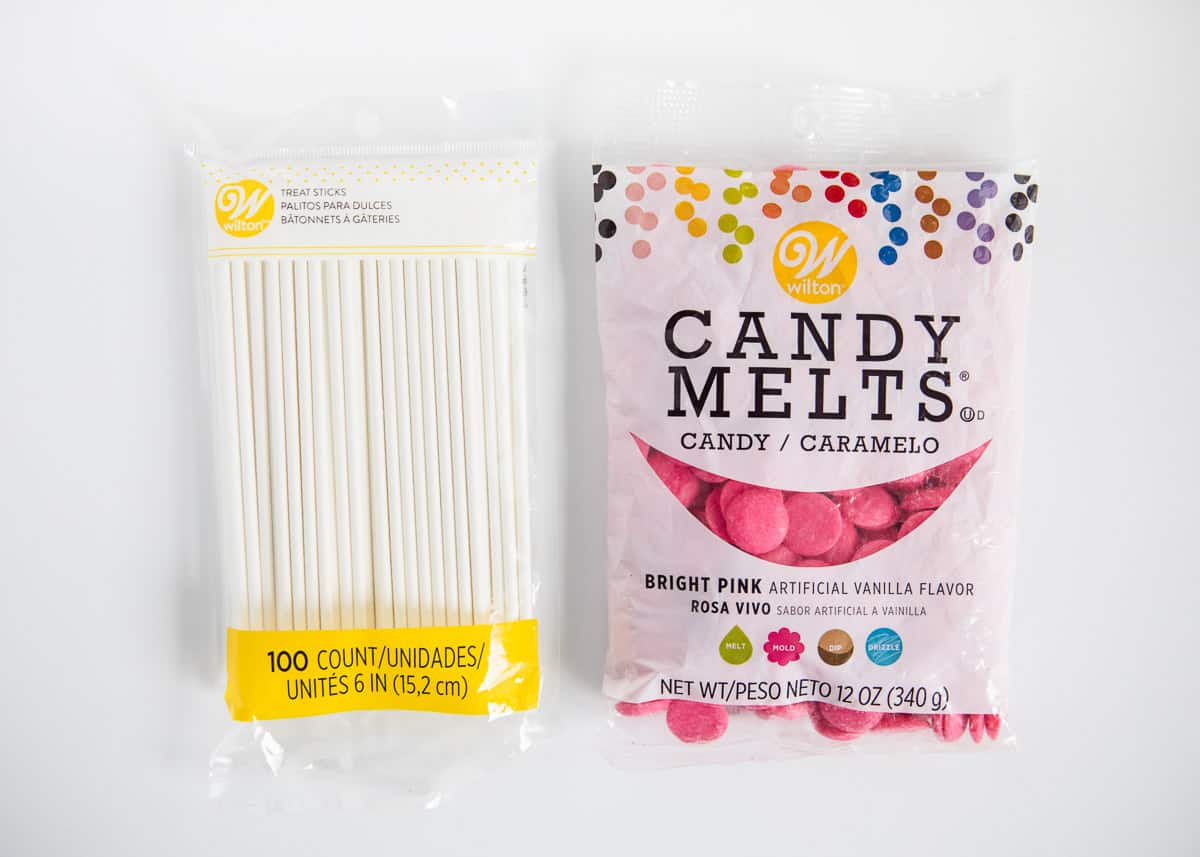
Find the full printable recipe with specific measurements below.
- Box cake mix: Pick your favorite box cake and cook it according to the package directions. I choose a chocolate cake mix.
- Melting Wafers: For Valentine’s Day, I went with pink candy melts. Red and white candy melts would be great, too. You could also use almond bark or chocolate melting wafers.
- Chocolate buttercream frosting: Softened salted butter, powdered sugar, cocoa powder, vanilla extract and heavy cream.
- Sticks: This is not an ingredient but is needed for holding the cake pops upright. I used Wilton lollipop sticks
How to Make Valentine Cake Pops
- Prep. Make buttercream frosting as per the directions below (or use store-bought). Bake the cake according to the directions on the box and cool cake to room temperature. Prepare space in the freezer for a tray of cake pops on a stick.
- Mix and roll. In a large bowl, crumble the cooled baked cake into crumbs. Remove the edges if they have browned and have become a little too dense. Mix in a couple of spoonfuls of buttercream frosting with cake crumbs and mix with hands to combine. Gradually add more frosting until the mixture binds together if squeezed. Roll it into a ball and place it onto a plate. Repeat with the remaining mix.
- Add the stick. In a small dish, melt the chocolate wafers in the microwave. Start with 30-second intervals, mixing in between. Once melted, dip one end of the cake pop into the melted chocolate then push it into the cake pop. Repeat until all balls have a stick, then place them into the freezer to solidify.
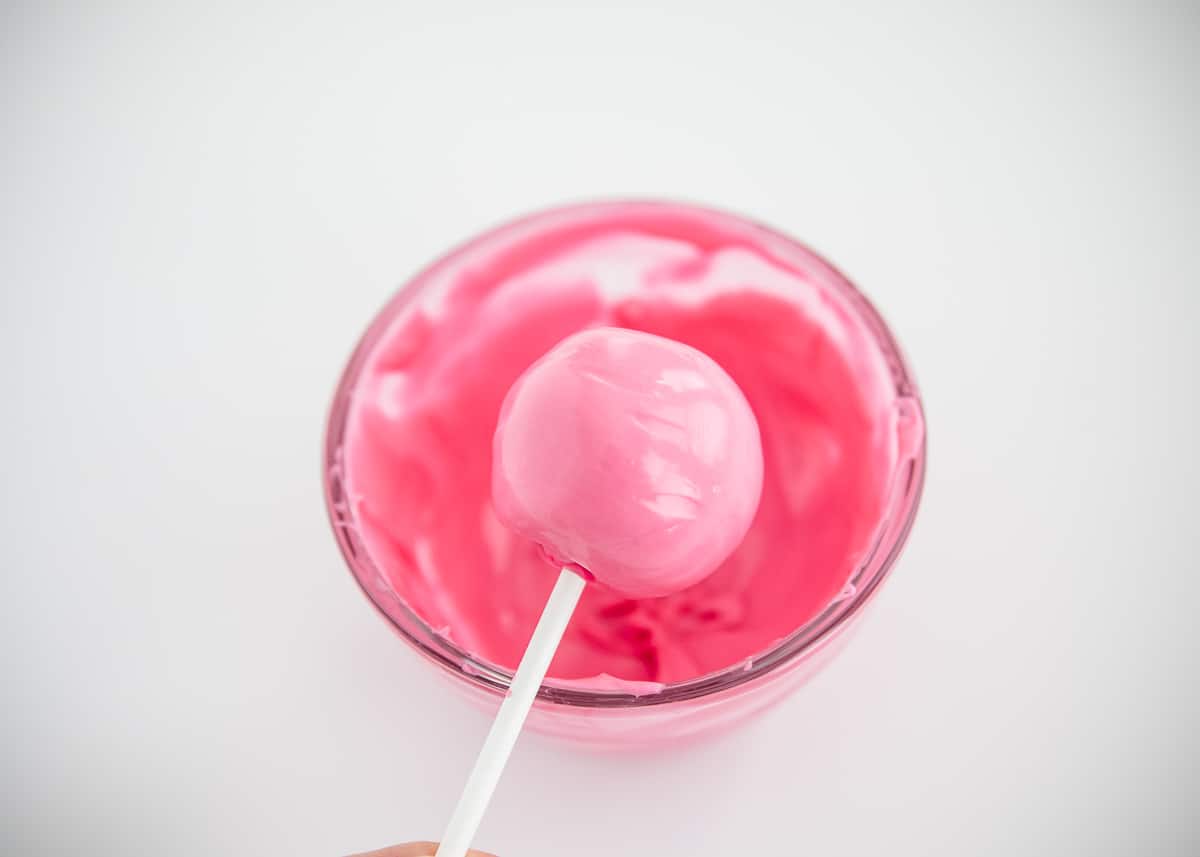
- Dip in chocolate. Just before taking them out of the freezer, melt the chocolate in a microwave-safe bowl. Coat each cake pop in chocolate, making sure it’s entirely covered. Gently tap the excess chocolate and allow to drip off.
- Decorate. Before the chocolate hardens, decorate with sprinkles, jimmies, or whatever you’d like. If you’re going to decorate with a drizzle on top, let coated chocolate harden first, which takes about an hour. Otherwise, it will just blend together.
Decorations
Since we’re sticking to Valentine’s day theme, let’s talk about all things pink and red! Below are a few easy and adorable ideas:
- Add red, pink, and white sprinkles or jimmies
- Drizzle with more melted chocolate. You could use red, white, pink, or milk chocolate.
- Dye the batter with food coloring for a fun surprise when biting into them.
- Make them into a cake pop bouquet to gift to your Valentine!
Valentine’s Cake Pop Variations
I made chocolate cake pops with this recipe. The chocolate cake contrasts with the pink coating very nicely, but you can really use any flavor. Oreo cake pops are a fun, too!
- Vanilla cake mix + classic buttercream
- Chocolate cake + classic buttercream
- Red velvet cake + cream cheese frosting
- Strawberry cake + strawberry cream cheese frosting

Tips for Success
- An extra roll: After your cake balls are chilled and before dipping in chocolate, give them an extra roll for a perfectly round shape.
- Holding upright: Use a pretty glass filled with rice or sprinkles or a styrofoam block to hold them upright. This means no need to transfer them for presentation.
- The right amount of frosting: Using too much frosting could cause them to have too much moisture and become greasy and soggy. It depends on the moisture level of your cake. You also don’t want the opposite problem, you will need more if your cake is dry and will fall apart after freezing.
- Easy dipping: Use a deeper cup, about the size of a measuring cup for dipping. If you do use a shallow dish, make sure you have a spoon handy to scoop up the melted chocolate and pour it over to coat evenly.
- Chill in the freezer: These are easier to work with when they are cold. Try just taking half of them at a time out of the freezer to coat, that way the other half doesn’t warm up too much while they wait.
- Boxed mix, store-bought frosting: If you’re looking to make life a little easier for yourself, buy all of the Valentine’s cake pops ingredients.
Storage
- Make ahead and storage: Valentine’s Day cake pops can be prepared two to three days in advance. Keep your valentine’s cake pops in the refrigerator until ready to serve or if you have leftovers from your celebration.
- Freeze: You can also freeze cake pops up to 3 months. Thaw and enjoy.

More Valentine’s day desserts include Valentine’s Chex mix, Valentine’s M&M cookies and sugar cookie bars, too!
More Valentine’s Day Dessert Recipes

Valentine Cake Pops
Equipment
- 20 cake pop sticks
Ingredients
- 15 ounce box cake mix (bake according to package directions in a 9×13" pan)
- 10 ounce package pink melting wafers (I prefer Wilton)
Buttercream Frosting
- ½ cup salted butter , softened
- 2-2 ½ cups powdered sugar
- 3 Tablespoons cocoa powder , if doing chocolate
- 1 teaspoon vanilla extract
- 1 Tablespoon heavy cream or milk
Optional: Sprinkles, jimmies or other desired decorations
Instructions
Make Buttercream Frosting
- In a medium bowl, whip 1/2 cup butter. Add in 1 cup of powdered sugar. Mix until combined. Add 3 Tablespoons cocoa powder, 1 teaspoon vanilla and additional powdered sugar, a little at a time. Add 1 Tablespoon of heavy cream or milk to make the frosting thick and creamy. It should hold a point.
Make Cake Pops
- Once the cake has cooled, crumble into fine crumbs. If the edges have browned, I like to remove the edges. Add 2 spoonful's of buttercream frosting to the cake. Combine with your hands or a spoon. Gradually add more frosting until the cake holds together if squeezed. You don't want it too crumbly or it won't hold together.
- Using a medium cookie scoop, scoop out 1 scoop of cake mixture. Roll into a ball and place onto a plate. Repeat until all of the mixture has been formed into balls.
Dip in chocolate
- In a small microwave safe dish, melt the chocolate wafers. Begin by heating for 30 seconds and then stirring. Repeat until all the wafers are melted.
- Dip the end of the cake pop stick into the melted chocolate and then push the stick into the cake pop. Repeat until all cake pops have a stick. Place the plate of cake pops in the freezer for about 20 minutes.
- Right before they are ready to be taken out of the freezer, melt the chocolate. A deep, 2 cup measuring cup will allow you to dip the cake pop in the chocolate, or in a shallow dish, you can spoon the melted chocolate over the cake pop.
- Once coated in chocolate, gently tap the stick on the side of the melting dish to let the excess drip off. You can also spin or twirl the cake pop to remove the excess.
- Before the chocolate starts to harden, add sprinkles, jimmies or other decorations. If decorating with more chocolate, let the chocolate covering harden on the cake pop. Then, using a spoon or fork, drizzle with the additional melted chocolate if desired.
- Push the cake pop stick into a styrofoam block or use a glass filled with rice (or beans) to hold them upright. The chocolate will be set in about an hour. Store for 3-4 days in an airtight container in a cool place.
Last step: Please leave a comment and rating after you make the recipe.
Notes
Nutrition
Nutrition provided is an estimate. It will vary based on specific ingredients used.







Melissa
Great recipe – easy to make and so delicious! We made them for my daughters birthday and she loved them.
I Heart Naptime Community
Thanks Melissa! I’m so glad you and your daughter enjoyed thee cake pops!
Jessica
Oh my gosh, these were so fun to make. Super easy too with the easy-to-follow instructions. Thank you!
Renee T
I can’t believe how aorable these came out! Your instructions were perfectly clear and everyone loved them.
Matt
Gotta love cake pops! These look incredible, perfect for Valentine’s Day!
Beth
These are so fun and festive! My daughter is going to love this! Can’t wait to show her! Looks so yummy and delicious!
Anna
These pops are super adorable! My kids request them every year!