
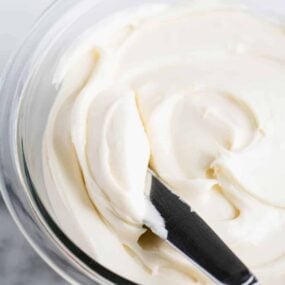
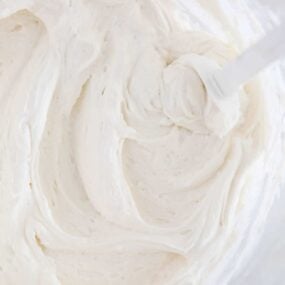
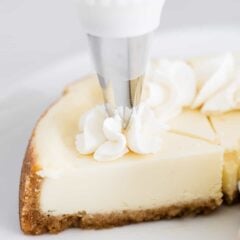
Make bakery quality stabilized whipped cream that can be used for piping cakes, cupcakes and more. It’s light and fluffy like regular whipped cream but can hold it’s shape longer.
Fresh whipped cream is the best dessert topping! Homemade whipped cream and this homemade Cool Whip are two other favorites.

This post may contain affiliate links. Read disclosure policy.
Table of Contents
What Is Stabilized Whipped Cream?
If you’re looking for something to hold it’s shape a little longer, this stabilized whipped cream recipe is a great option. I love to use it in my jello poke cake, watergate salad and my chocolate lasagna recipe.
Stabilized whipped cream, unlike homemade whipped cream, contains the addition of simple gelatin and added sugar, which allows it to hold it’s shape even after storing in the refrigerator or sitting out for a few hours. Cool Whip is an example of stabilized whipped cream that is sturdy yet sweet and creamy.
Recipe Ingredients
Whipped cream with gelatin tastes the same as regular whipped cream but can hold its shape and be used for decorating desserts without turning into a runny mess.
Find the full printable recipe with specific measurements below.
- Gelatin: Make sure to get unflavored gelatin. Knox is an easy-to-find brand.
- Water: The gelatin dissolves into the water until it’s thick and gelatinous.
- Heavy whipping cream: It needs to be cold in order to make this recipe.
- Sugar: I like to use powdered sugar (confectioners’ sugar), but granulated sugar will also work.
- Vanilla: This is my flavor of choice. You could always sub other extracts in it’s place.
How to Make Stabilized Whipped Cream
It just takes a few steps to create a stabilized whipped cream.

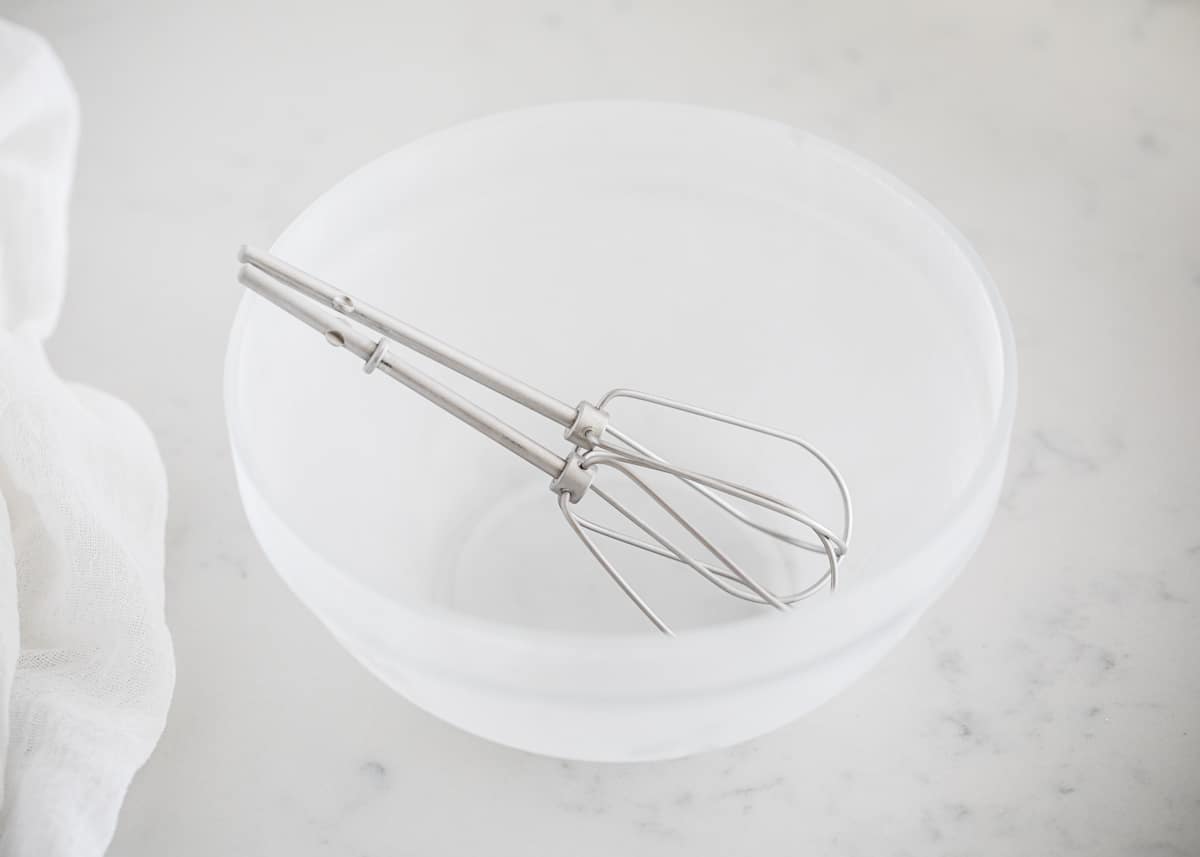
- Prep. One of the major components of any good whipped cream is temperature. It needs to be cold! Beforehand, put a medium-large mixing bowl and the beaters into the freezer for about 15 minutes.
- Dissolve. In a separate microwavable bowl with the water, dissolve the gelatin. Let it sit until it has thickened.
- Microwave. Place the bowl with the dissolved gelatin in the microwave for about 10 seconds to allow it to turn back to liquid.
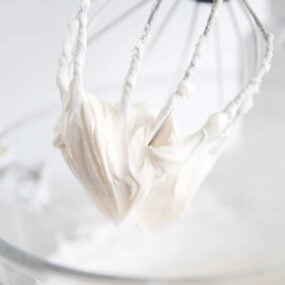
- Pour. Take the chilled bowl out of the freezer and, to it add the cream, sugar, and vanilla. Beat on low until ingredients are blended then beat on high until soft peaks form. Slowly mix in the liquid gelatin while continuing to beat. Do this until a peak forms.
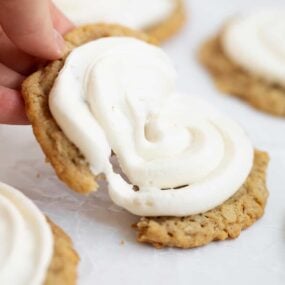
- Enjoy. Use this for cake fillings, cheesecakes, cupcake frostings, and more!

Tips for Success
- Chill out. Heat is not what you want when using whipped cream. Chilling your bowl and beaters ahead of time is a great way to keep it nice, cold and develop stiff peaks.
- The gelatin. Use unflavored. If you don’t, then you’re essentially using jello and then things start to get weird. Also, make sure you let it cool a bit before adding it to the whipped cream. Adding hot gelatin to it would be counterproductive.
- Make ahead. It is great for making a couple of days ahead of time. Just keep it in the fridge until ready to use.
- Substitution. You can use this whipped topping in place of cool whip in most recipes.
Ways to Use Stabilized Whipped Cream
I love to use this as a replacement for Cool Whip in many recipes from strawberry pretzel salad to strawberry shortcake trifle! It can also be used as a stabilized whipped cream frosting.
Other favorites include:
- No-Bake Cheesecake
- Easy Pumpkin Pie Recipe
- Caramel Apple Cider
- Banana Pudding
- Tres Leches Cake Recipe

Other dessert recipes to use this include pineapple fluff dessert, frozen s’mores and this banana cream pie recipe!
More Frosting Recipes
Stabilized Whipped Cream
Video
Ingredients
- 1 teaspoon gelatin (unflavored)
- 1 Tablespoon water
- 1 cup cold heavy cream
- 2-4 Tablespoons powdered sugar or granulated sugar
- ½ teaspoon vanilla extract
Instructions
- Chill mixing bowl. Place a medium to large bowl and electric beaters (or whisk attachment and the bowl of a stand mixer) in the freezer and chill 15 minutes.
- Dissolve gelatin. In a small microwave-safe bowl, dissolve 1 teaspoon gelatin in 1 Tablespoon water. Let sit a few minutes until thickened. Microwave 5 seconds, or until it turns back to liquid.
- Whip cream and add gelatin. In the chilled bowl, add 1 cup cream, 2-4 Tablespoons powdered sugar, and 1/2 teaspoon vanilla. Using an electric mixer fitted with chilled beaters, beat on low until combined. Beat on high 1 minute, or until soft peaks form. Slowly mix in the gelatin mixture while the beaters are on. Beat until soft peaks forms.
- Chill. Chill until ready to use. It will stay stable for 24 hours. Replace in any recipe using cool whip, cup for cup.
Last step: Please leave a comment and rating after you make the recipe.
Notes
Nutrition
Nutrition provided is an estimate. It will vary based on specific ingredients used.
Recipe FAQs
I haven’t tried it, but I have heard that coconut cream or a soy based whipping cream can be a great dairy-free substitute that works well.
If one day, you’d like to try using a different flavor, such as peppermint, lemon, orange, or almond to name a few then it’s just a matter of swapping out the vanilla for almond extract, or a few drops of citrus or zest. Flavor alternatives might be nice depending your taste.
It can sit out at room temperature for about 2 hours or you can store it in the refrigerator in an airtight container for 24 hours up to a few days.
Guess what? You can! Just be sure to make it with heavy cream and I recommend piping it into the shape or onto the dessert before freezing as it doesn’t pipe well after freezing.

Jen
Is there another way to liquify the gelatin? No microwave available.
Sarah @IHeartNaptime
Any heat source works, like the stove.
Sheila Covington
Can I use bourbon in place of the water or vanilla to bourbon whip cream for my pumpkin pie brulee?
Sarah @IHeartNaptime
Hi Sheila, sorry we have not tested that, I think also it would work better with Simple Homemade Whipped Cream if you try!
Virginia
How long will it hold its shape? Can I pipe the cake the day before?
Jamielyn Nye
It will hold shape 24 hours. I still prefer to do the day of, but it will hold the day before :)
jackie callaway
do you add this to already made whipped cream icing
Jamielyn Nye
No you’ll use a heavy whipping cream (liquid) to whip into whipped cream :)
Barb
Heavy cream , heavy whipping cream. Does it matter which one ? Thanks
Jamielyn Nye
Either will work :D
Stacey
Quick question, when using stevia or granulated sugar, do you dissolve with the gelatin and water? My guess would be yes, just making sure.
Jamielyn Nye
No I do not dissolve with the gelatin and water (that step is mainly to thicken the gelatin).
Sue
Stabilized whipped cream makes it so much easier to prep ahead for serving later!
Jamielyn Nye
Yes, definitely!! Great to prep ahead of time on busy holidays.
Beth
Love this recipe! This comes in handy for sure! Saved this recipe for anytime I need it! Thank you!
Rachna
This whipping cream recipe is super useful. I will try it out the next time I need whipped cream for a recipe. Thank you.
Jamielyn Nye
I hope you enjoy!
Jen
Thank you for the tip about putting the bowl and beaters in the freezer beforehand. Such a game changer when making this.
Lisa Huff
Saving this whipped cream recipe. I always have the hardest time with it not lasting long.